DIY Lighting For A Softbox
I needed a continuous (strobe) light for a video shoot. I already had several speedlights for photography, but flash doesn’t work for video, and I didn’t have $800 to spend on new strobe lights. So, I decided to build my own. Total cost was less than $45 to build an adjustable 100 watt solution.
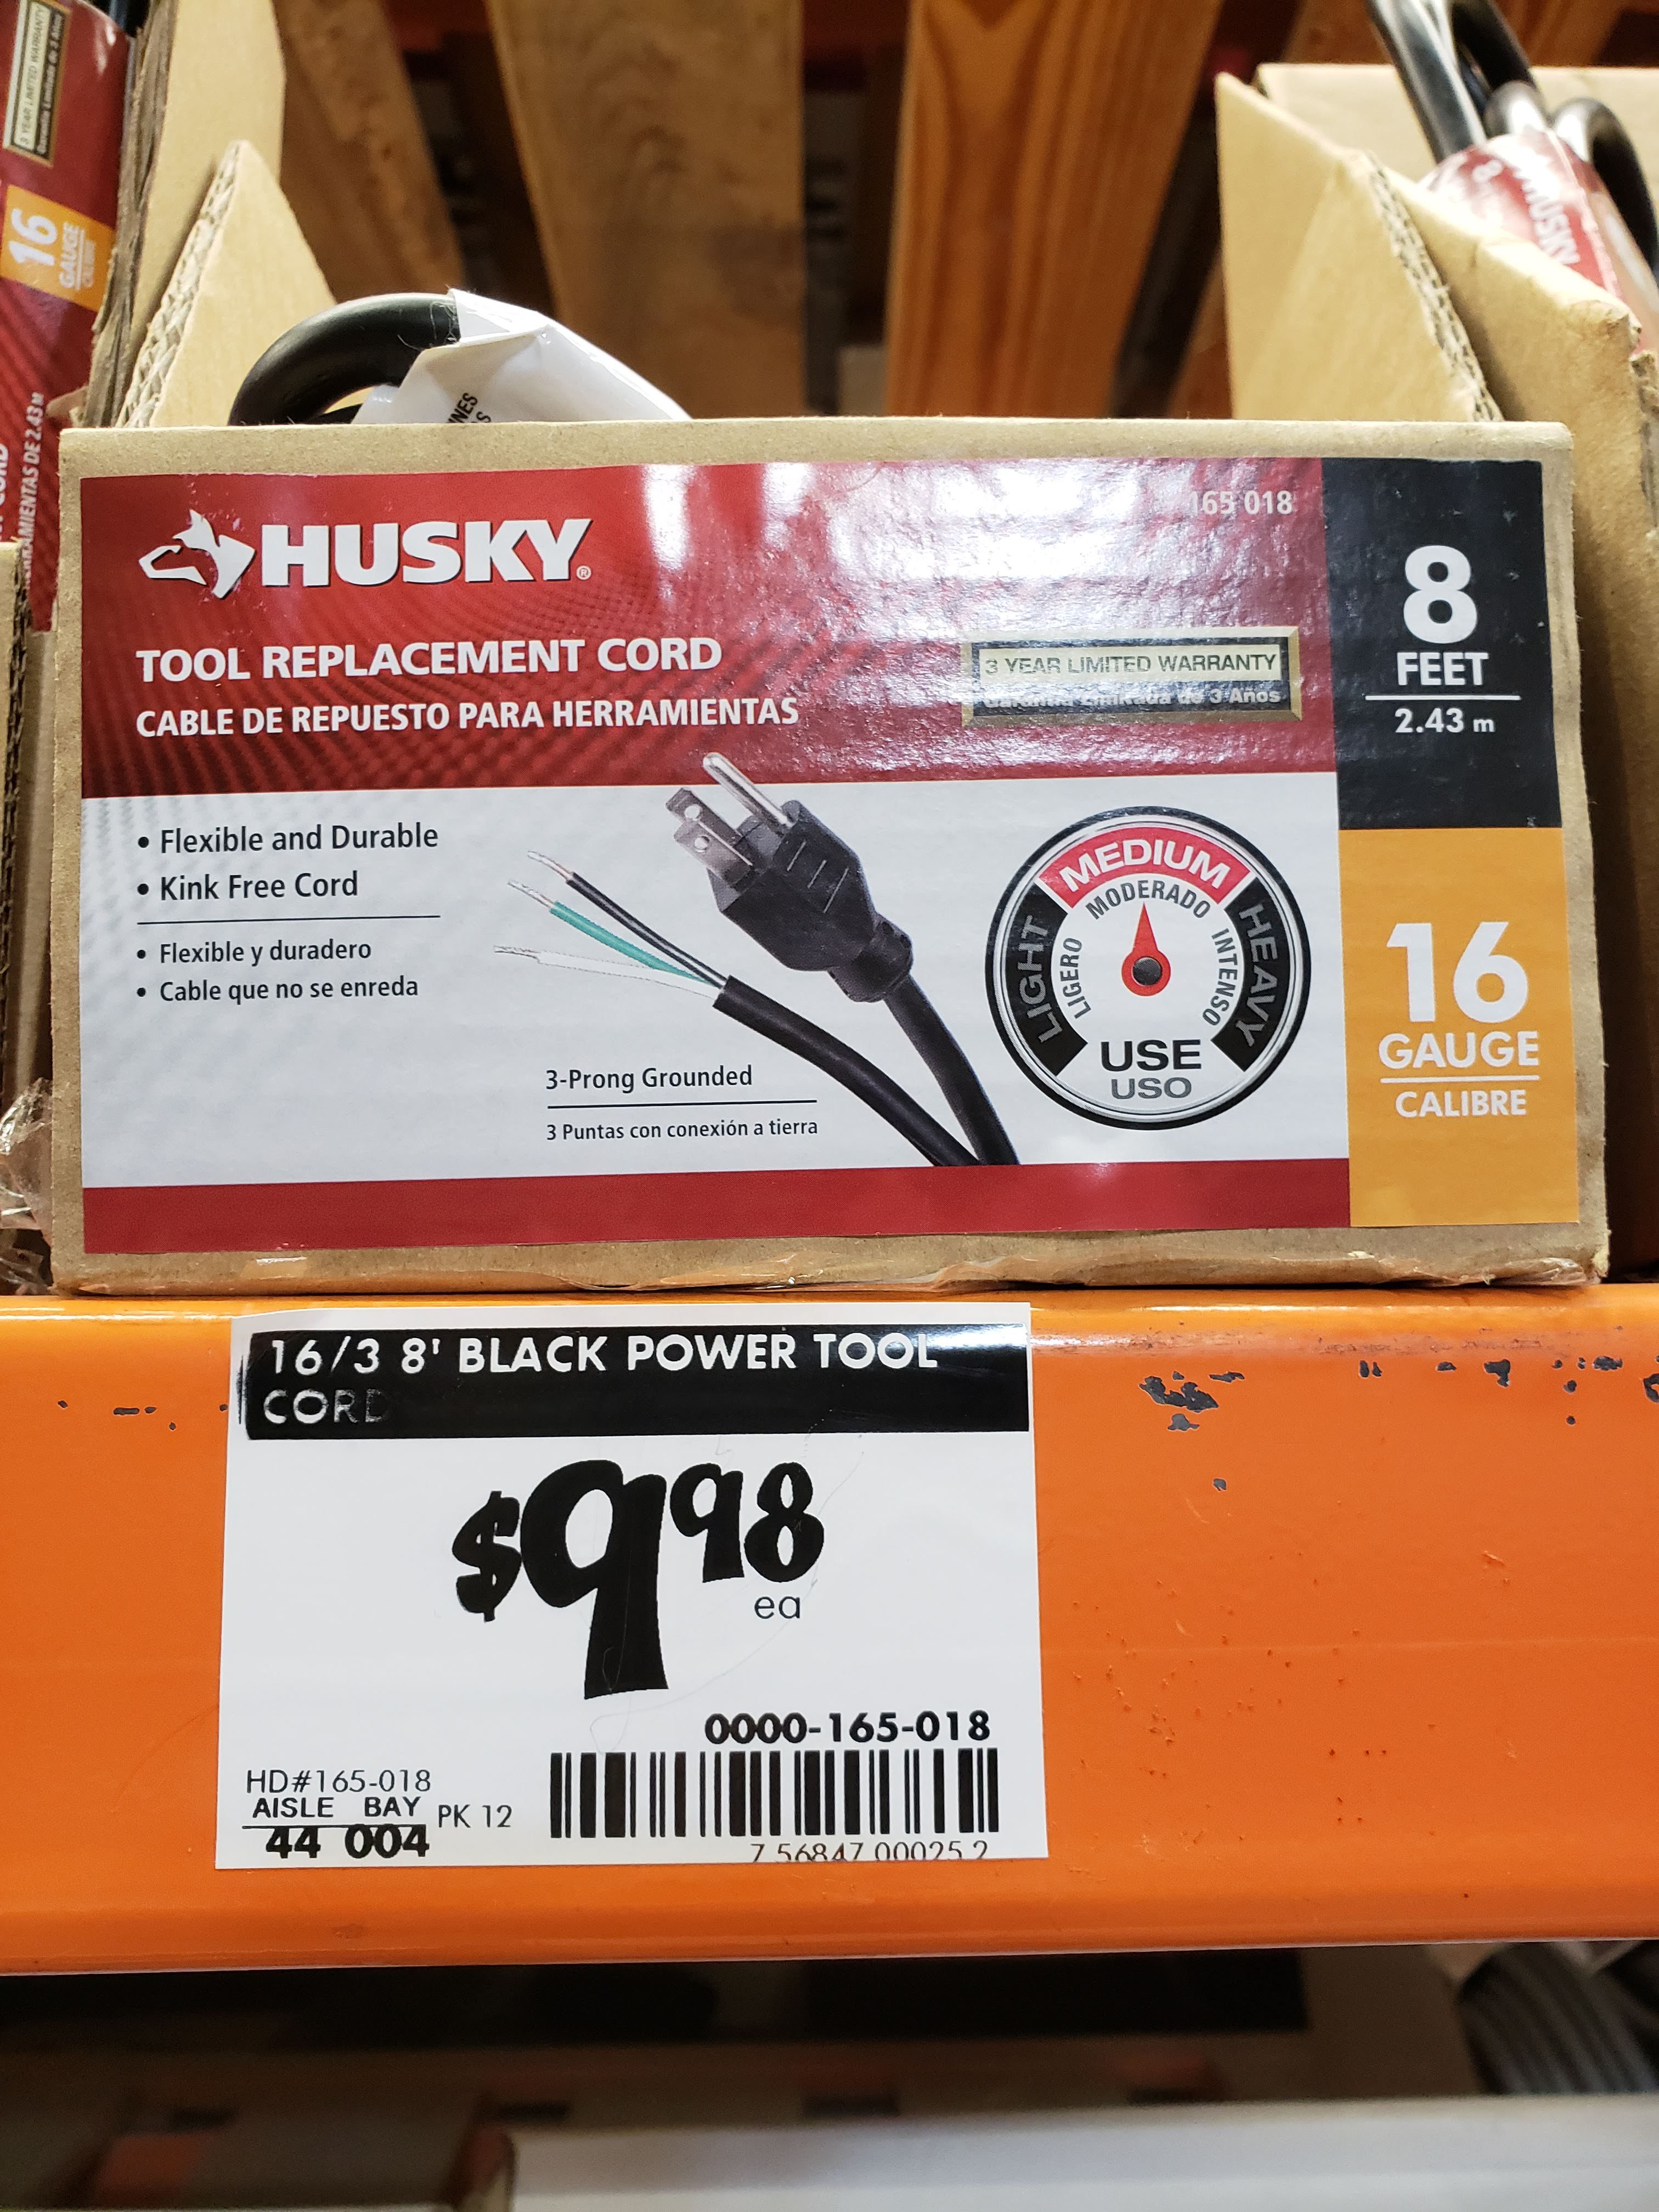
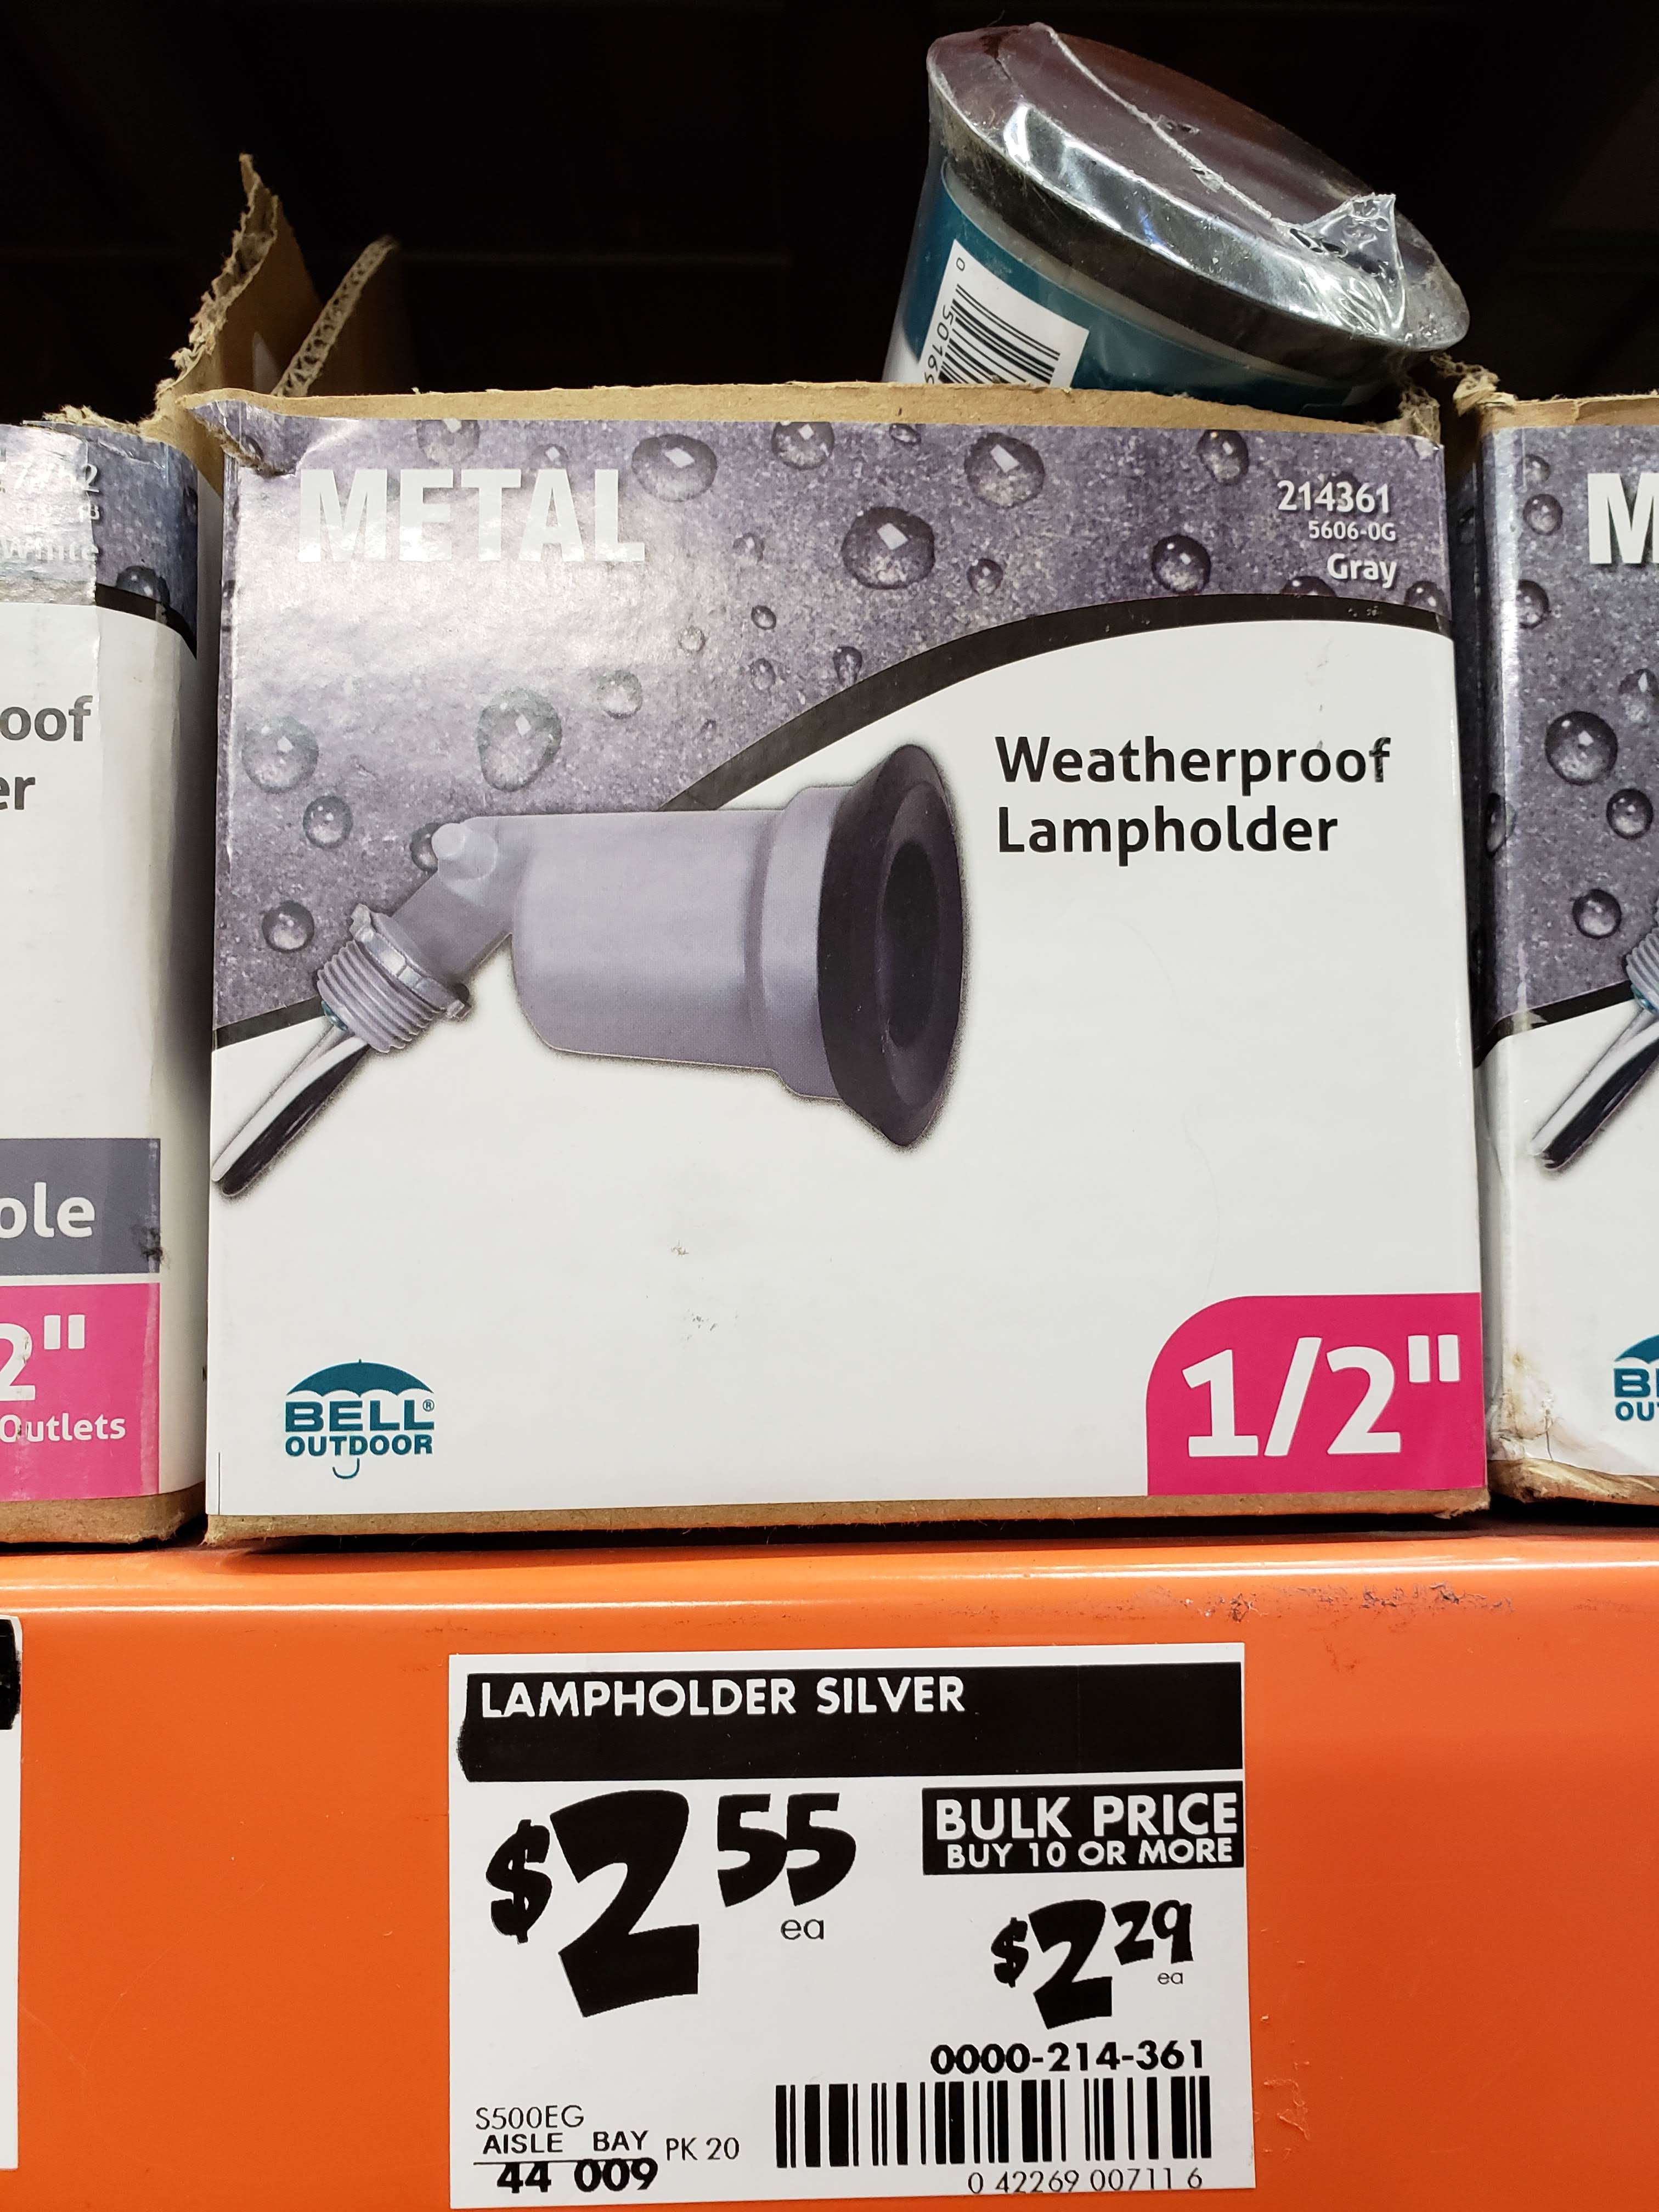
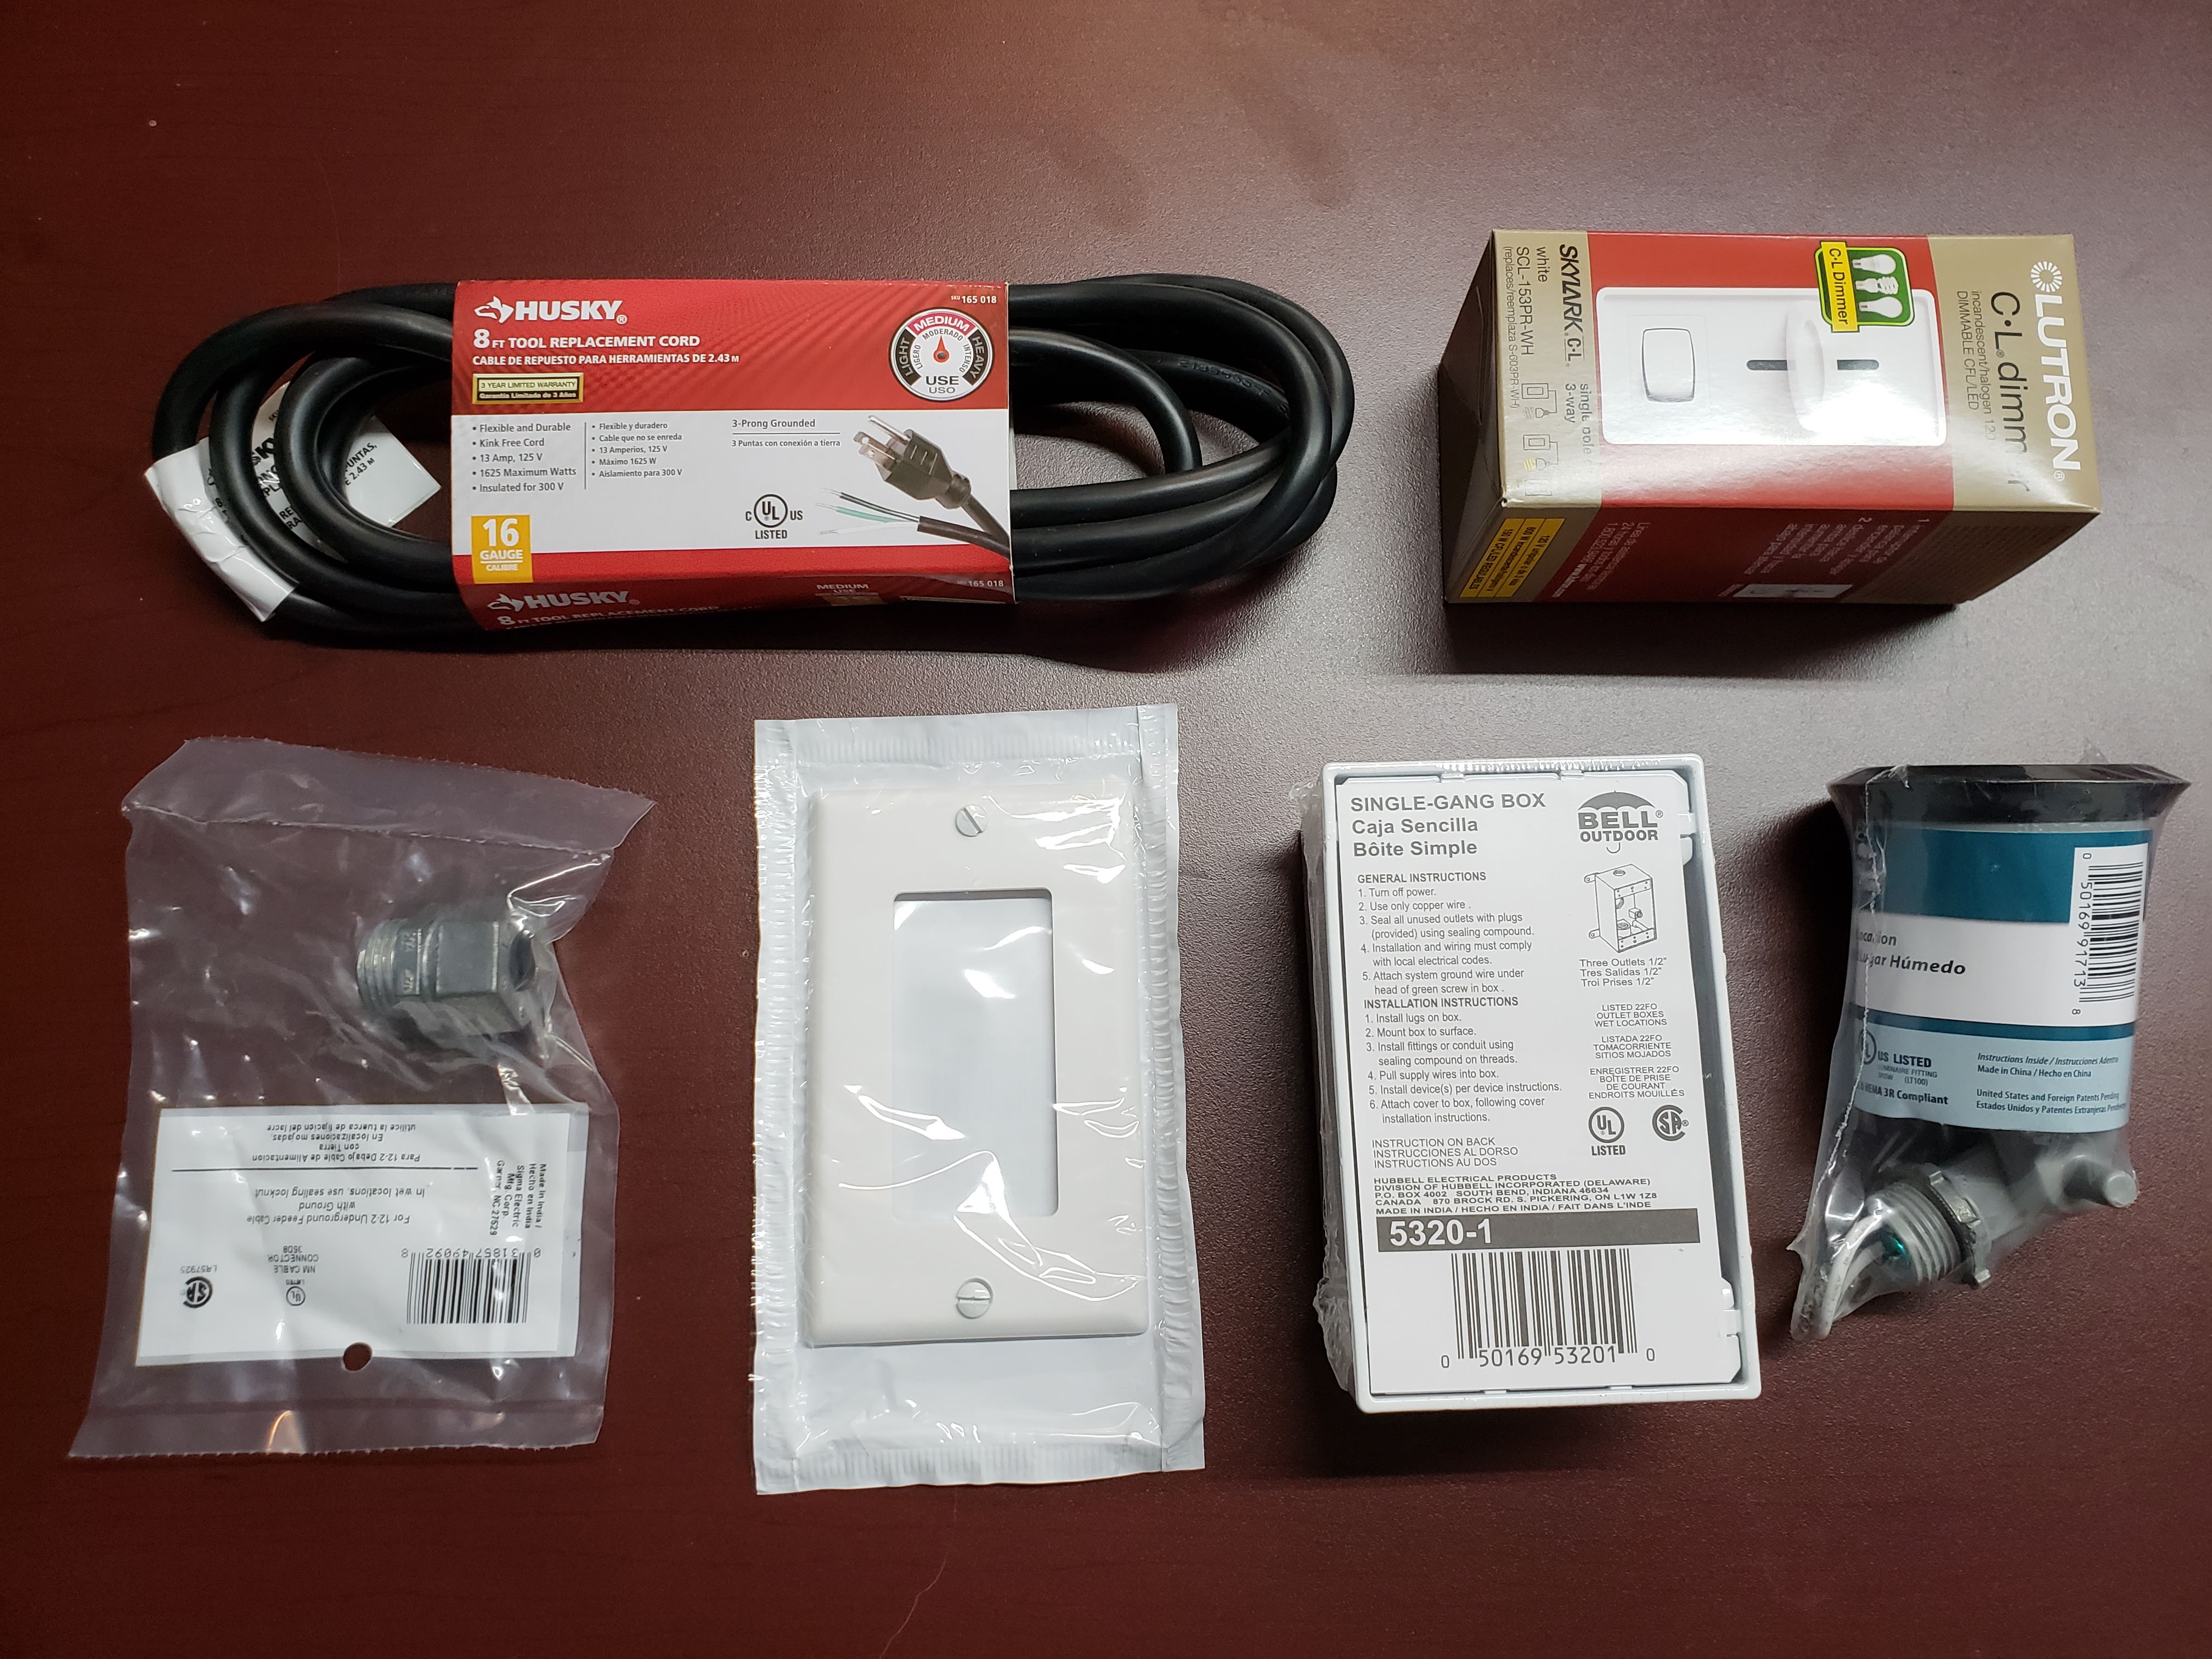
Shopping List


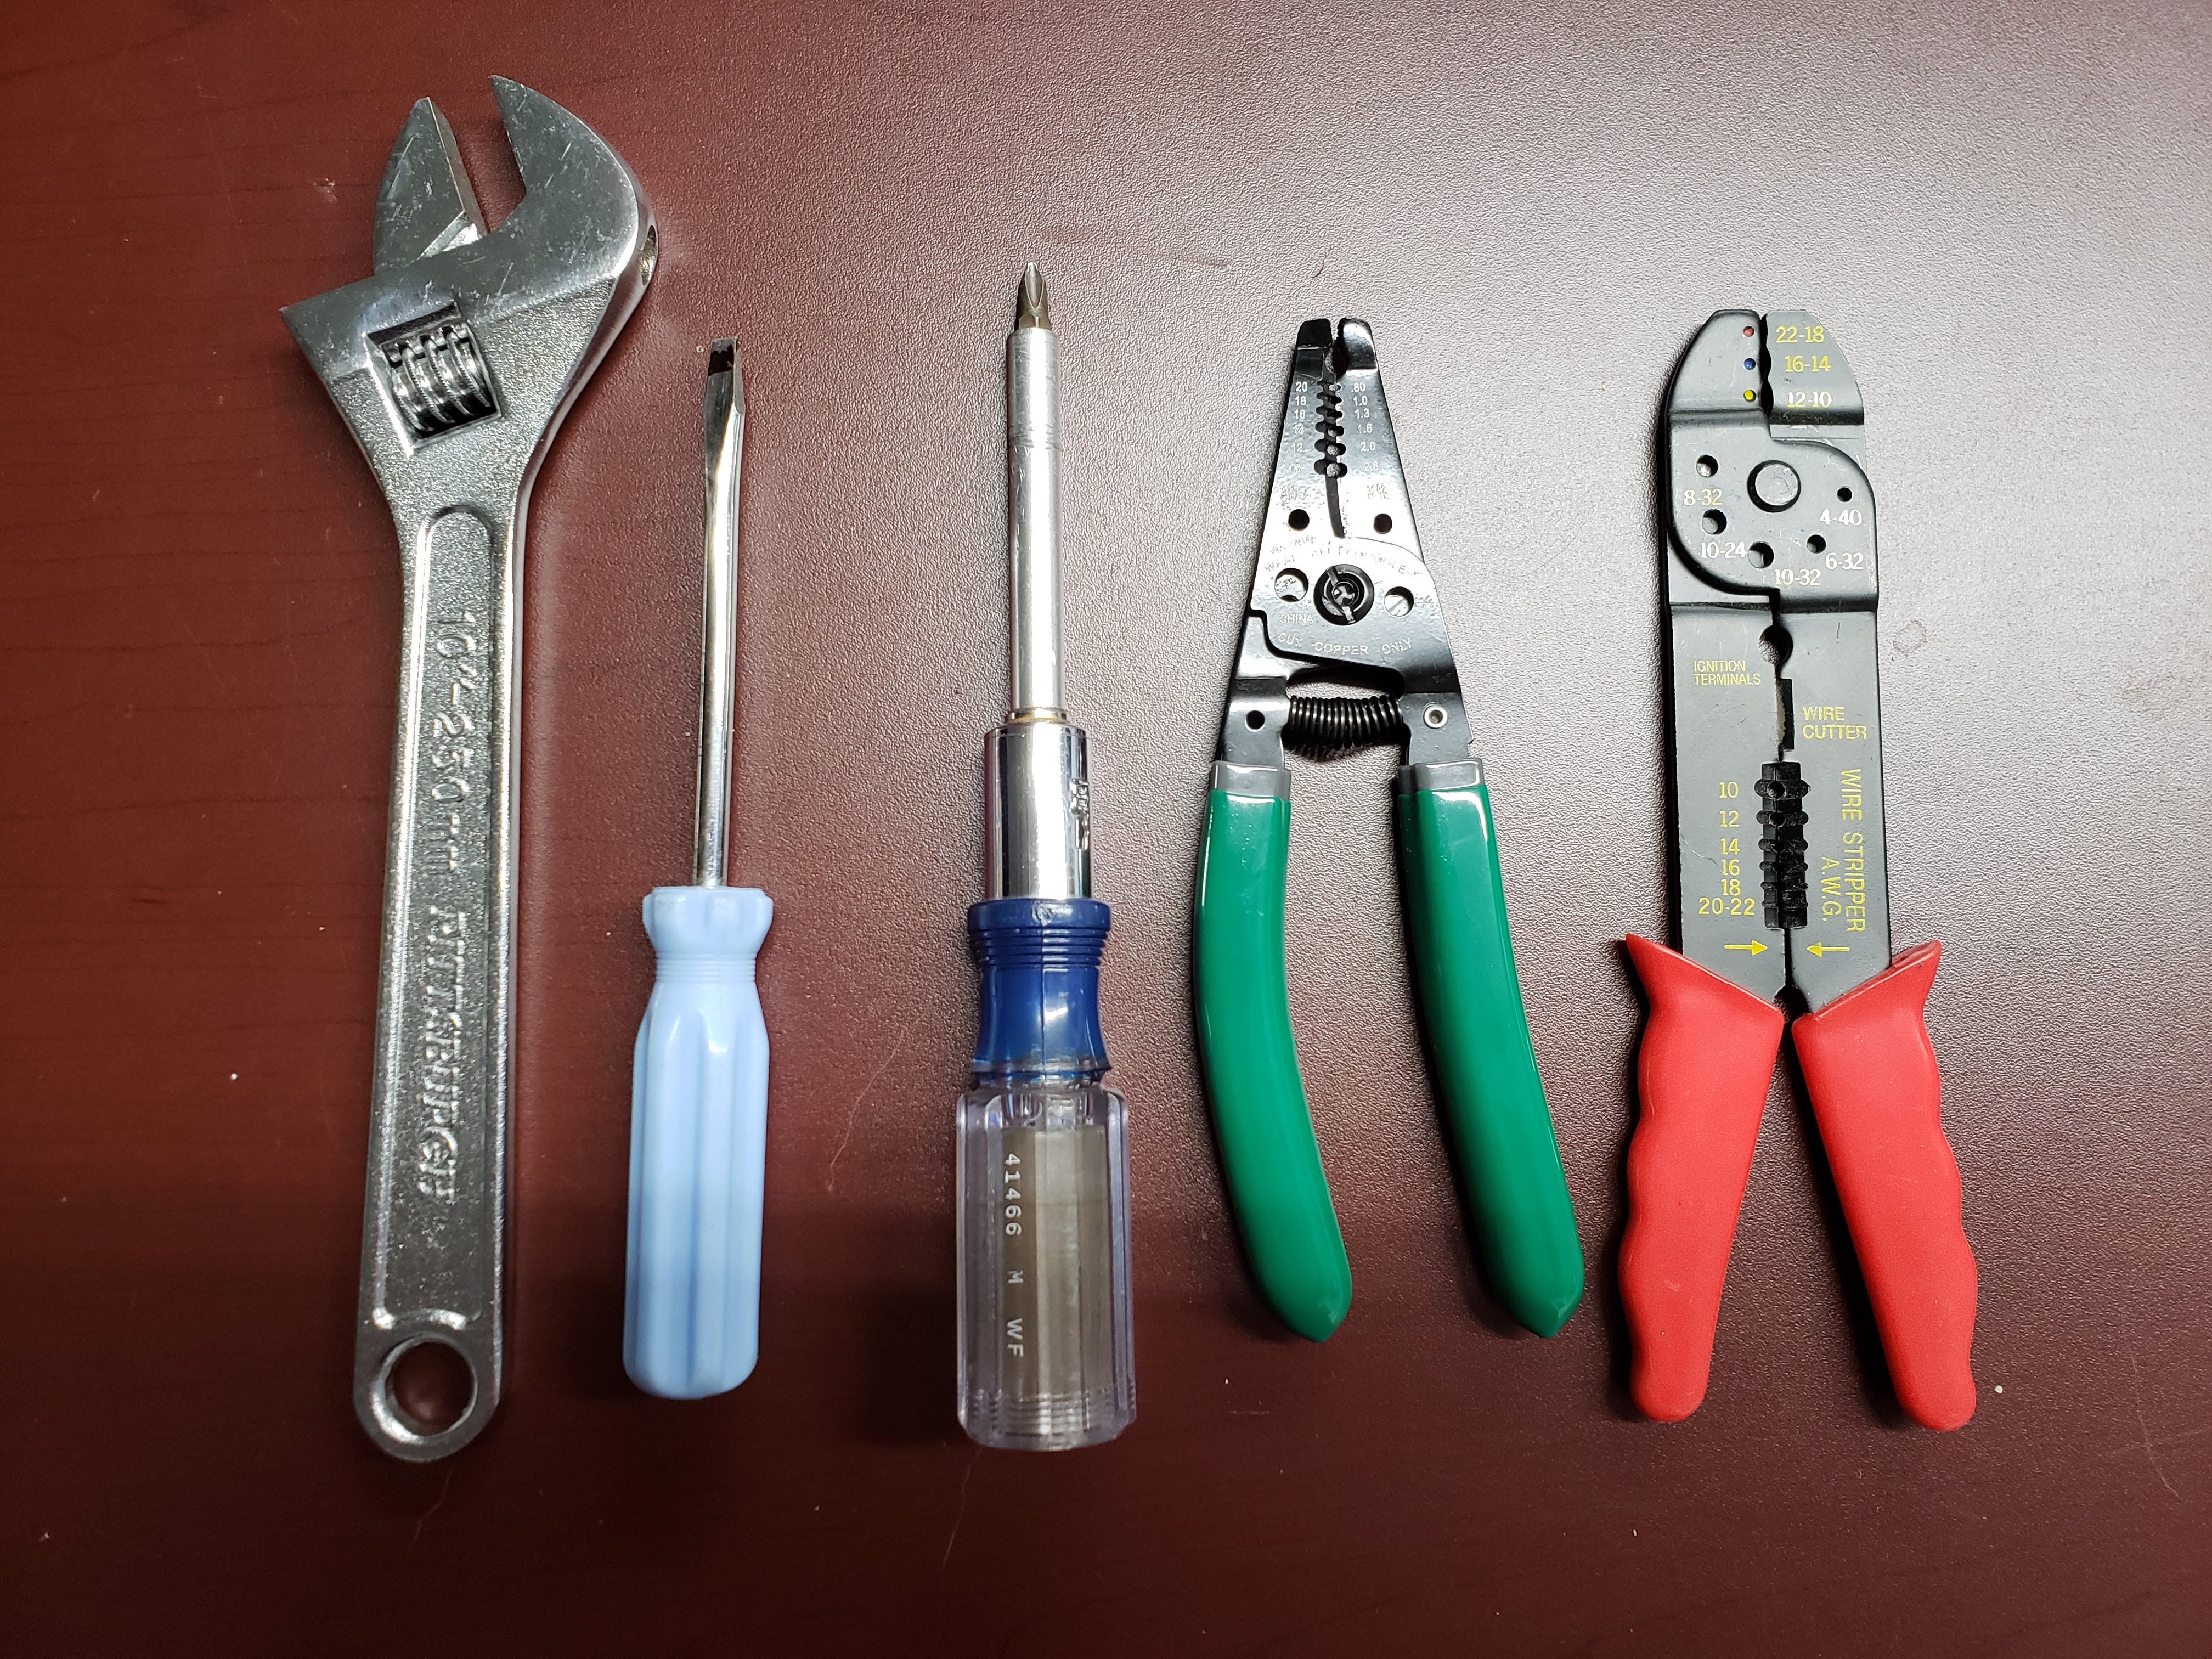
Tools
- Wrench
- Phillips Head Screwdriver
- Flathead Screwdriver
- Wire Stripper
Steps
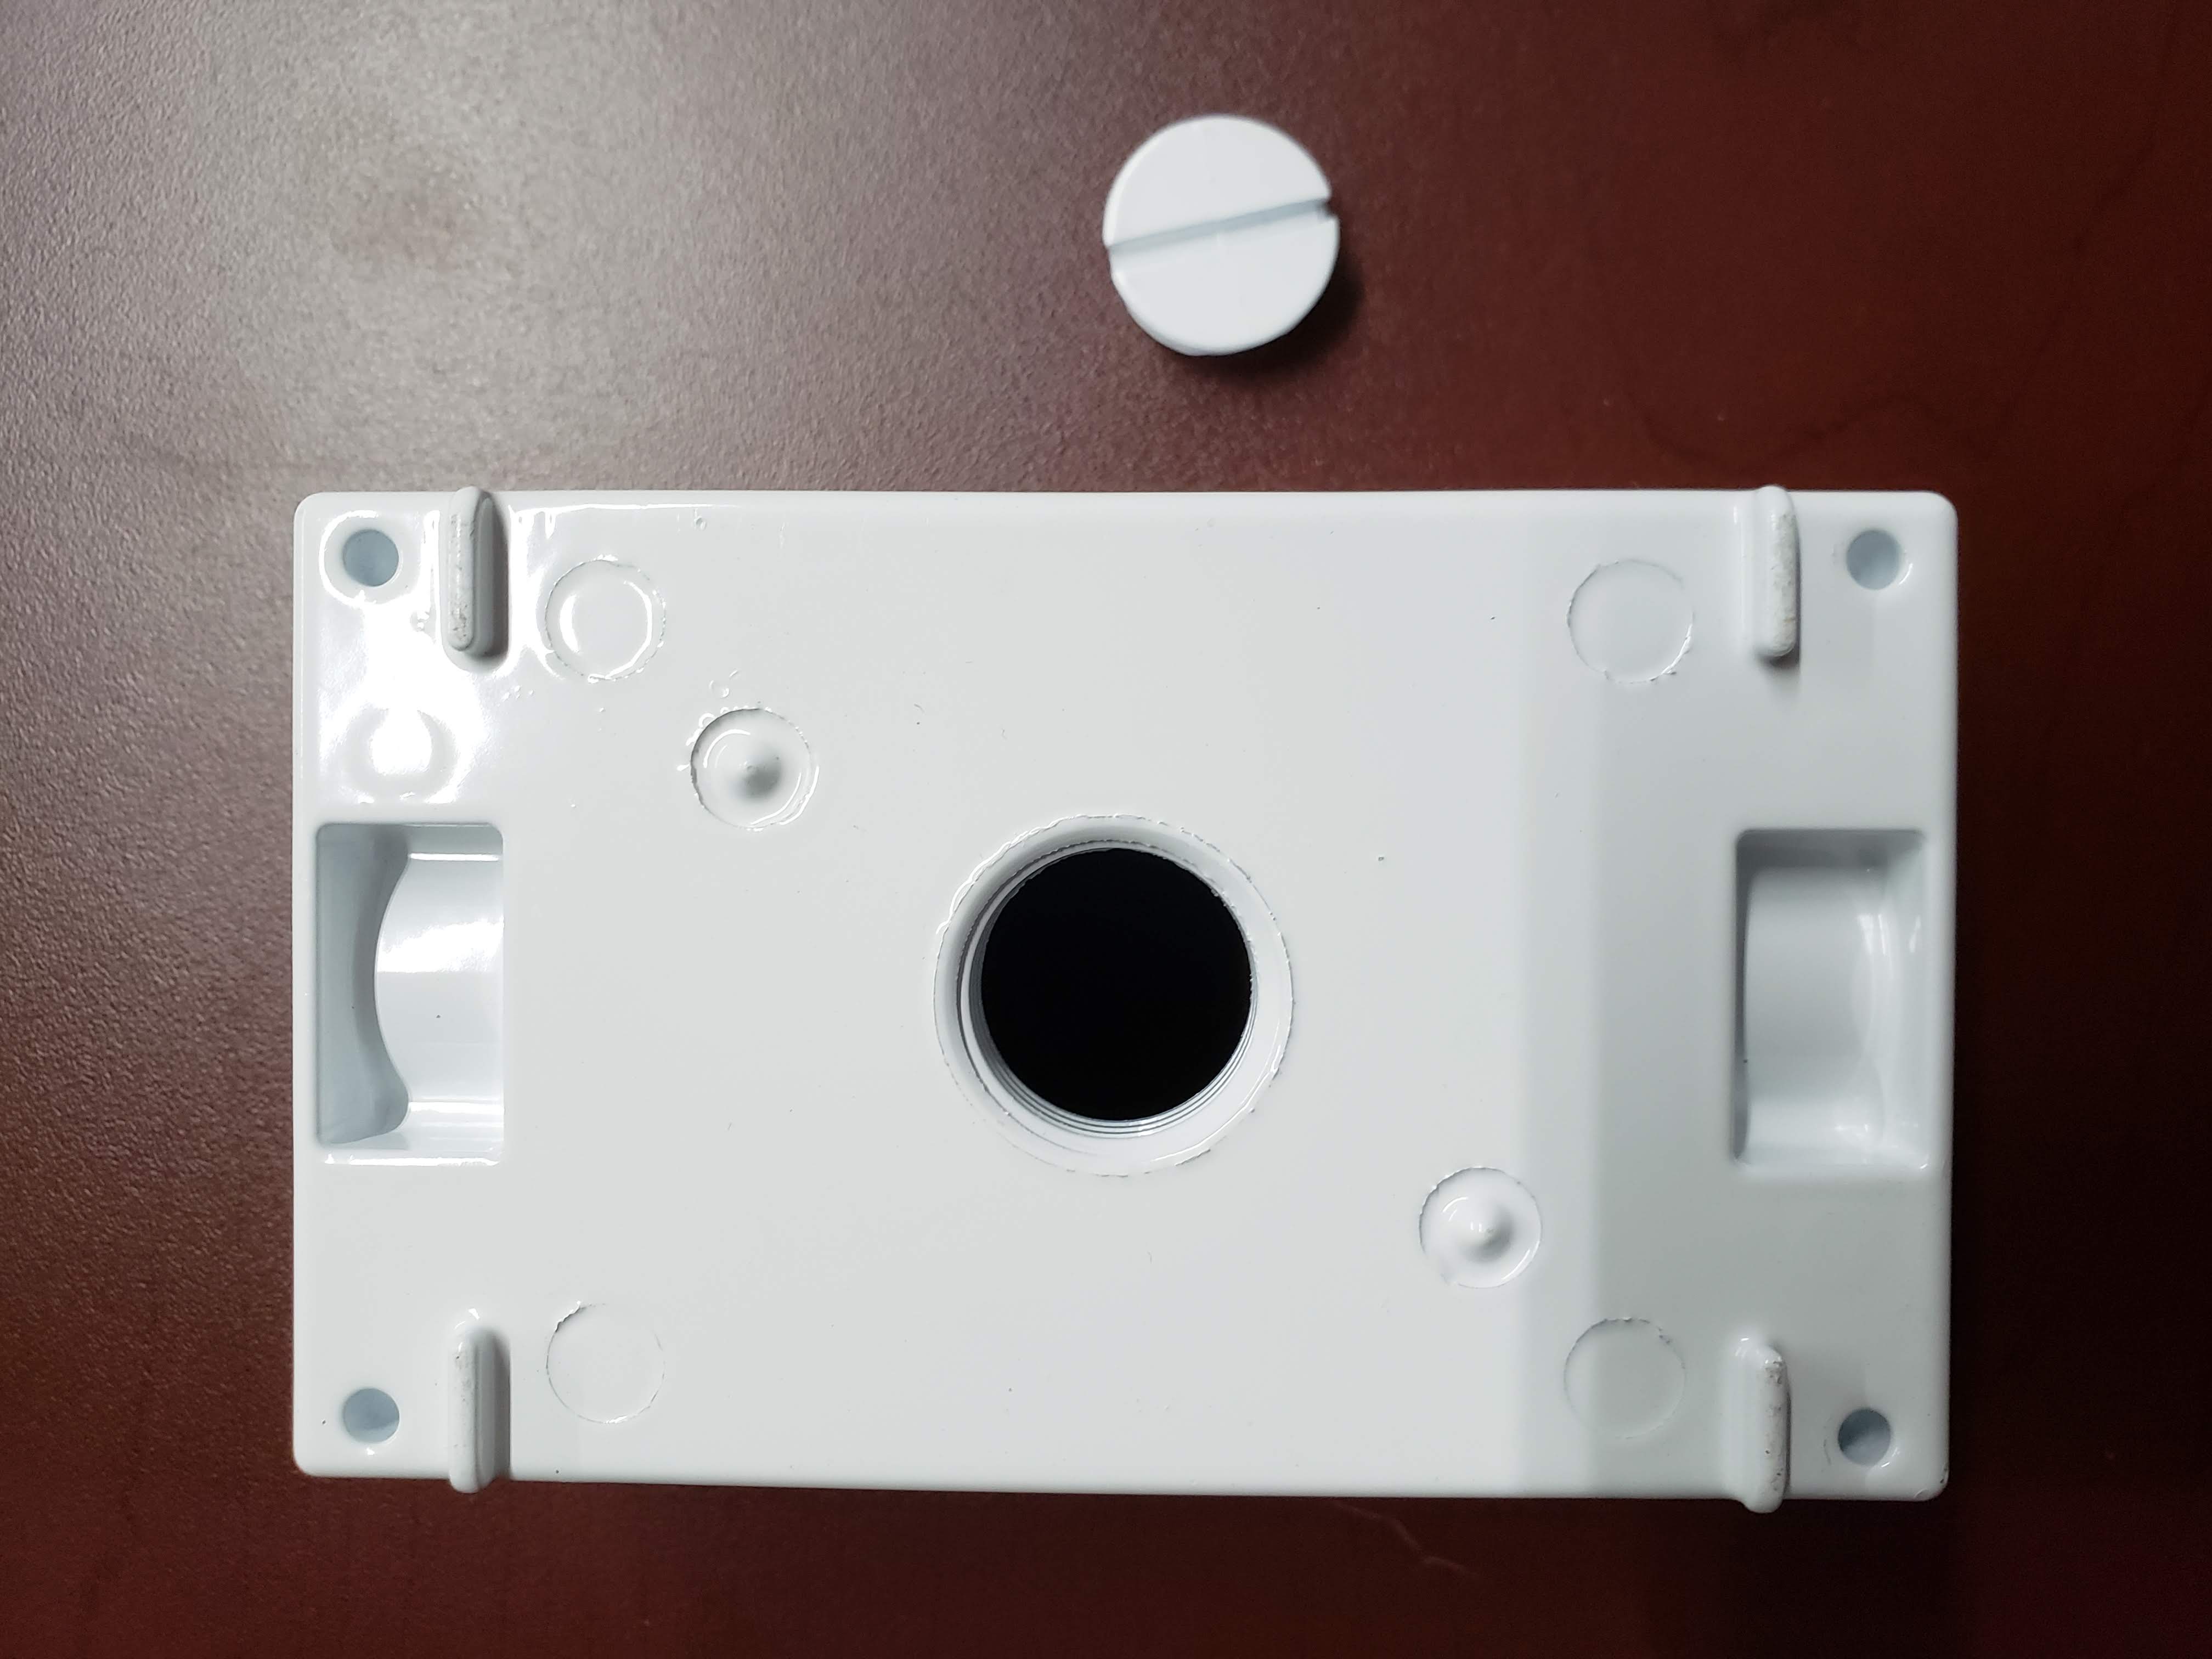
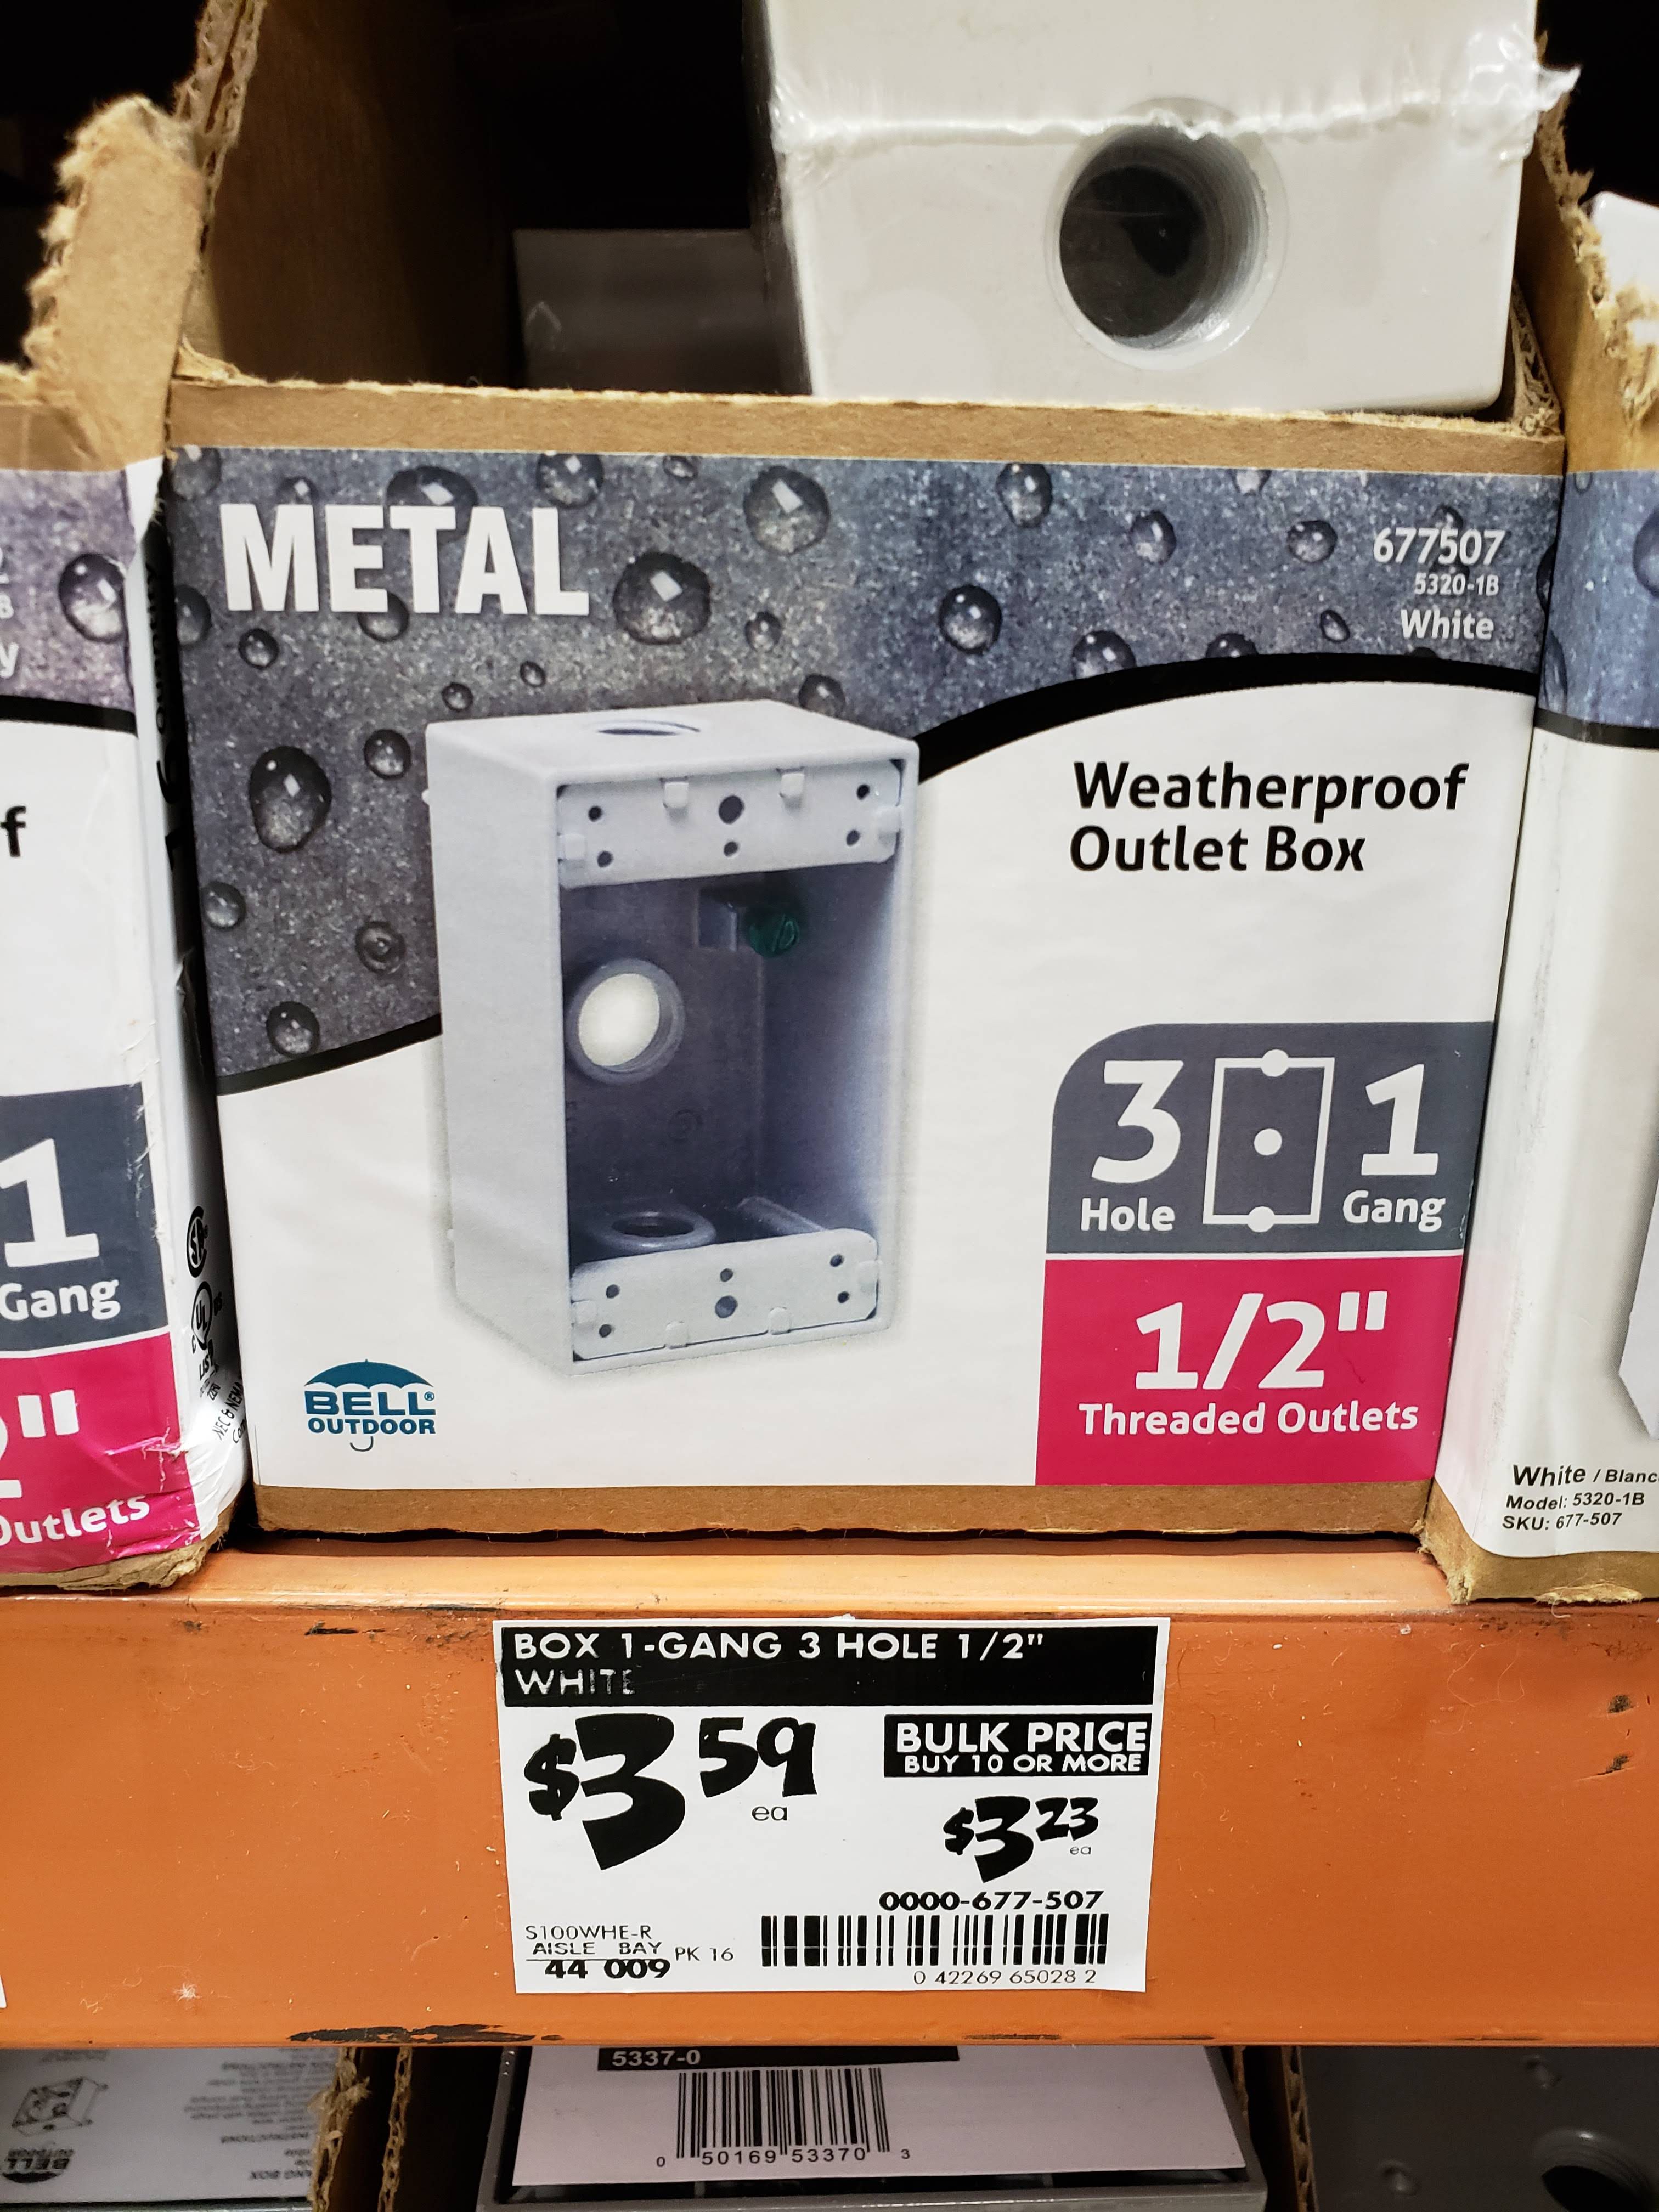
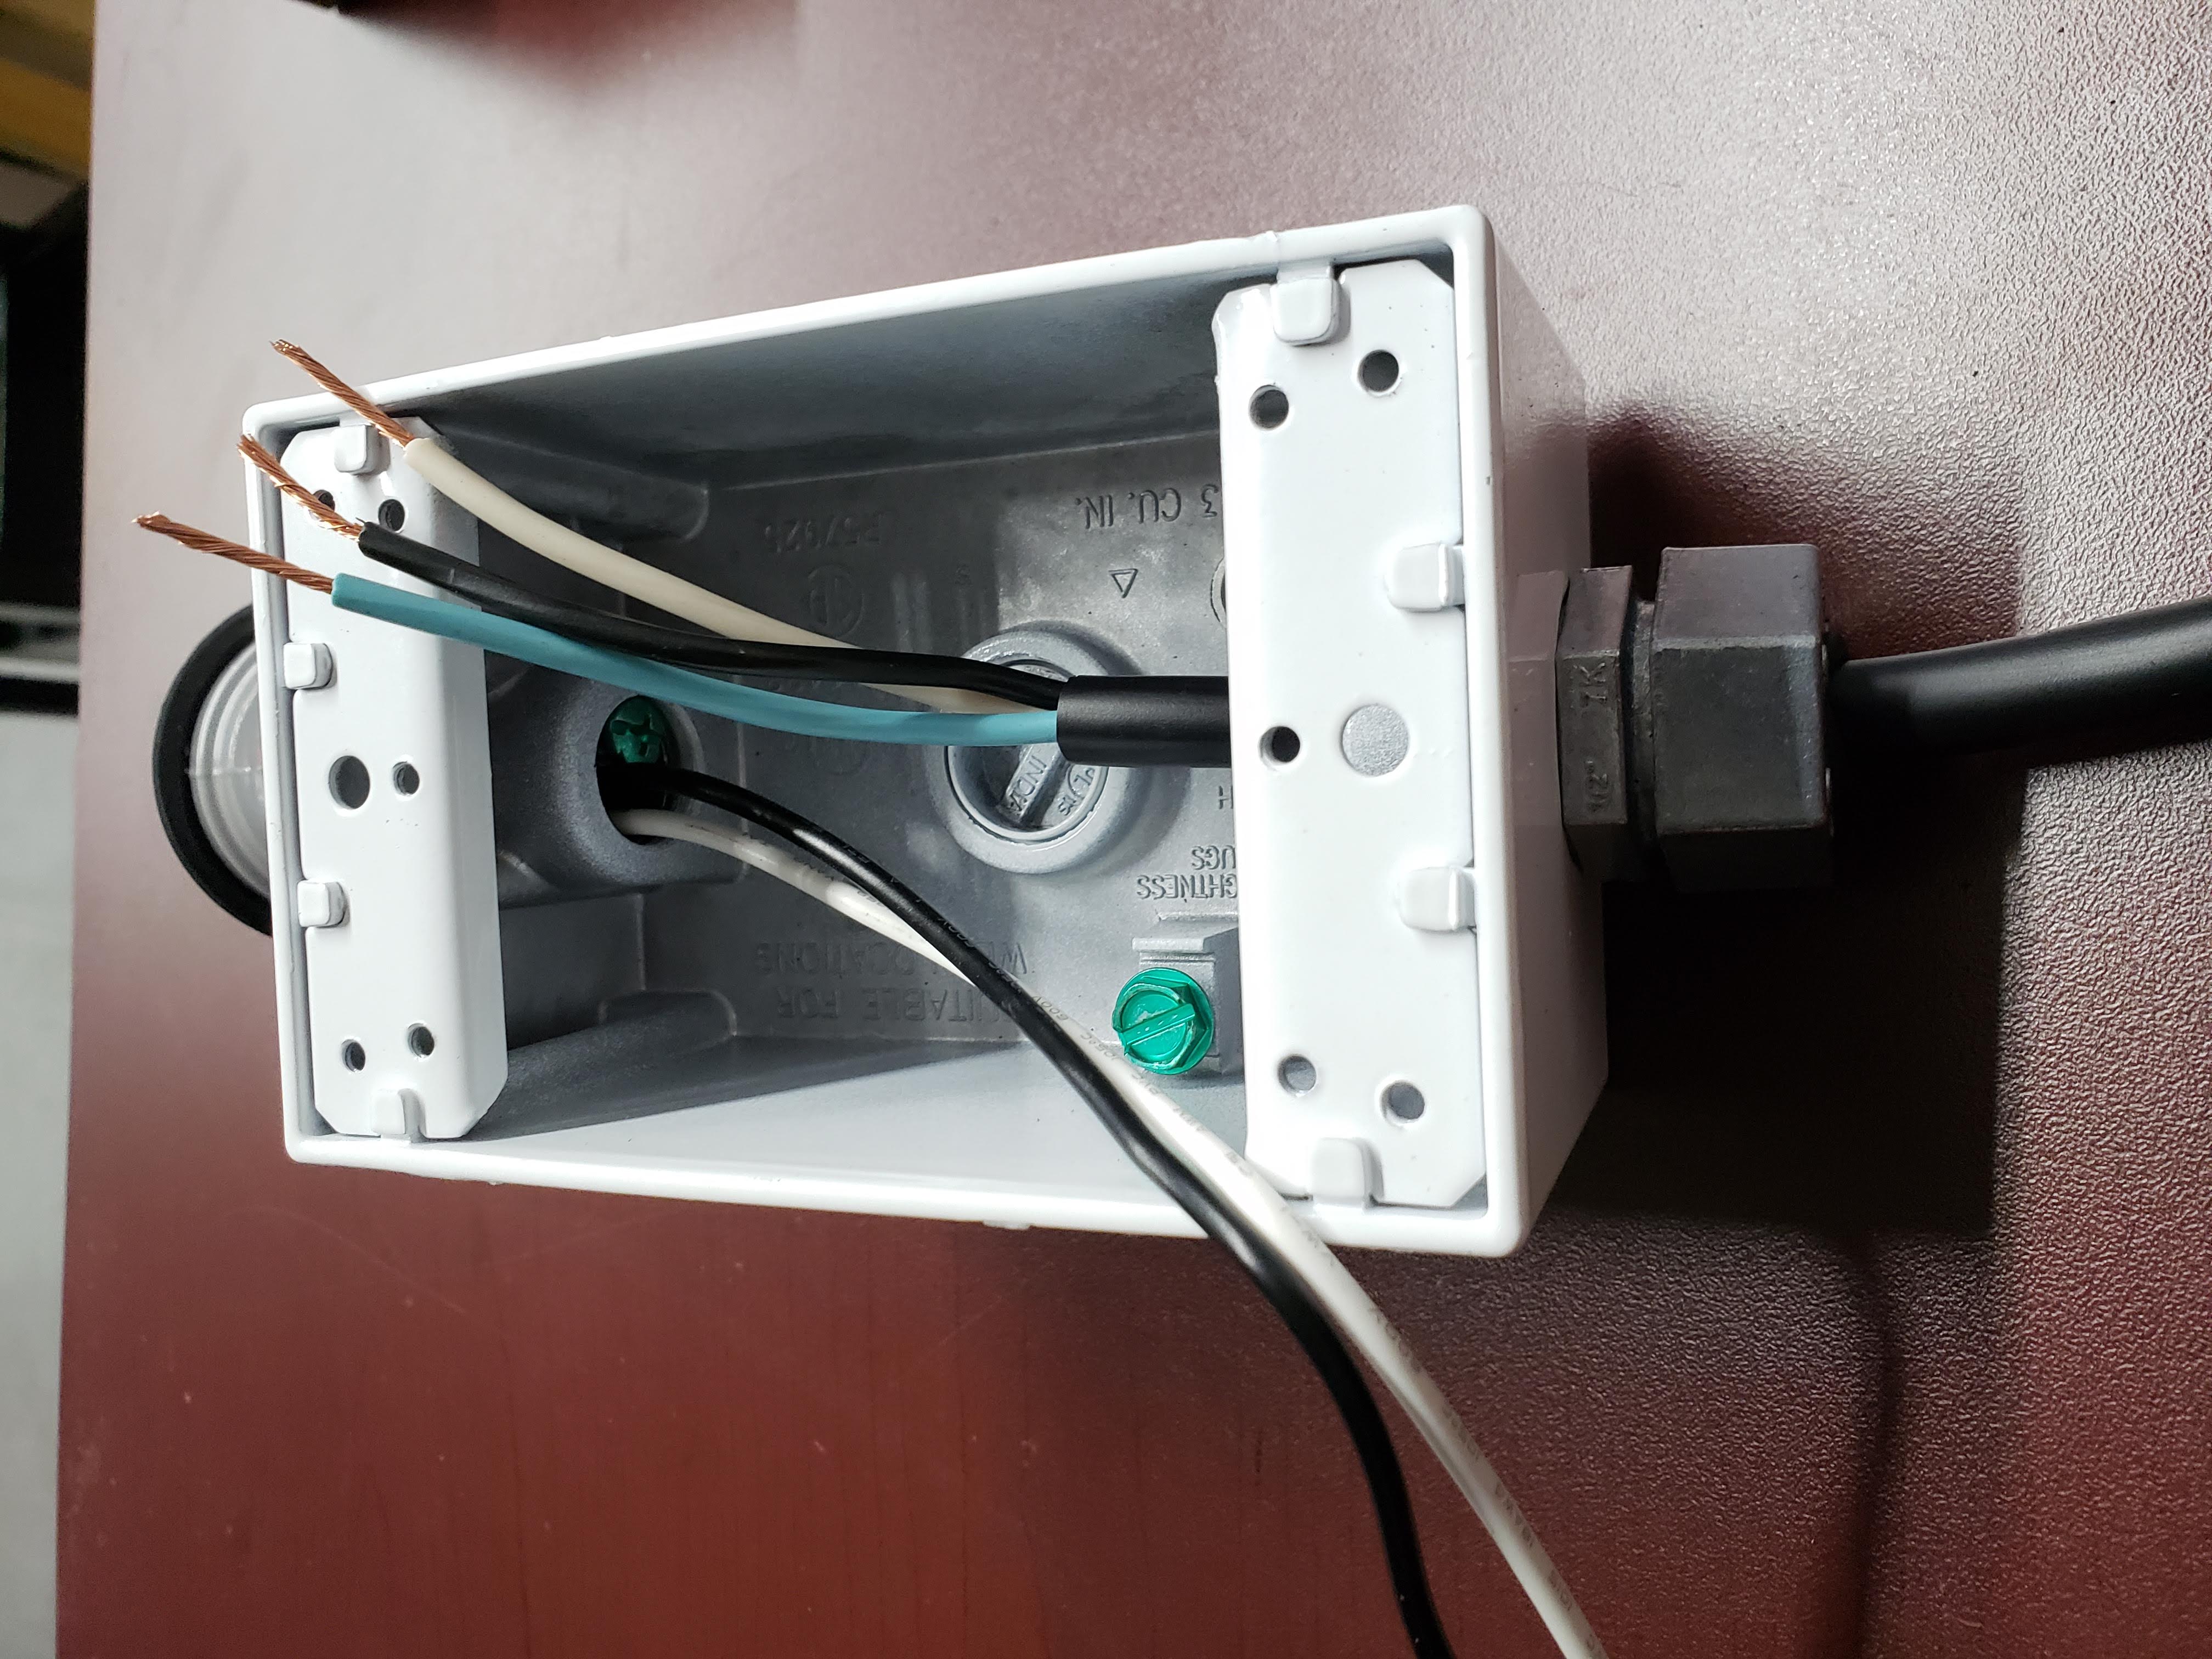
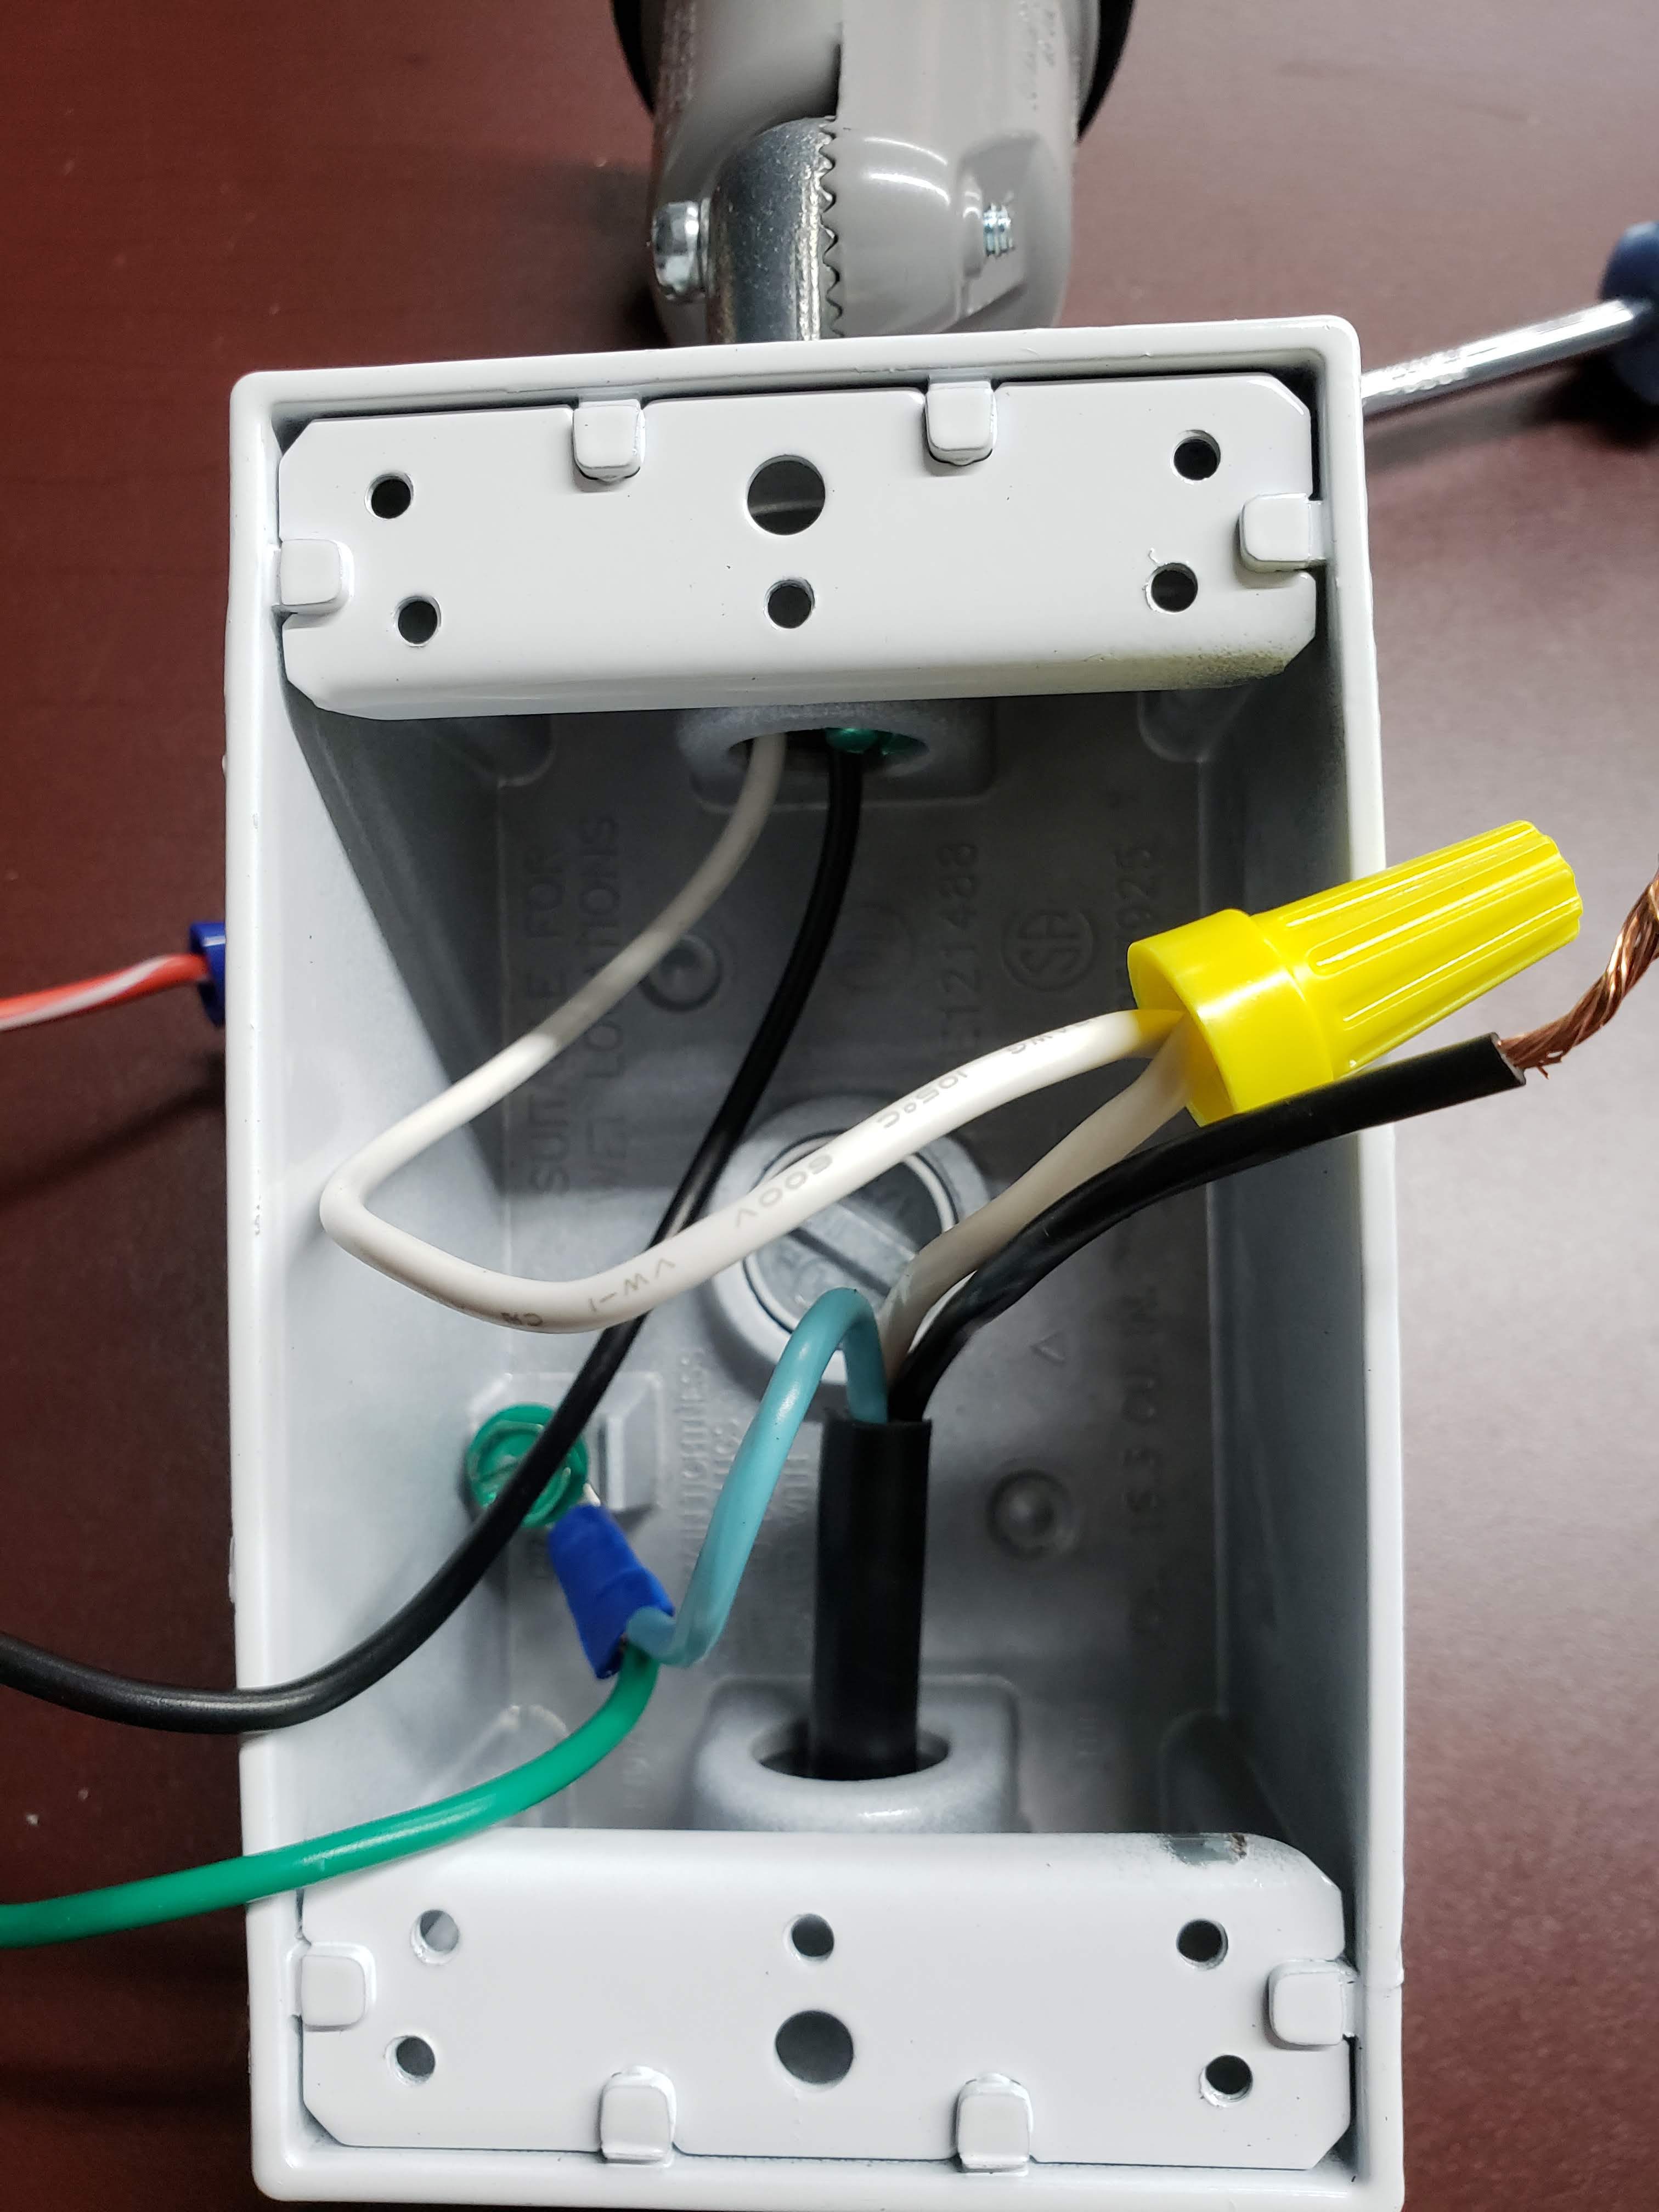
In the outlet box, you should find a plug that will screw in to any of the three holes. Screw it in to the hole on the back, as you won’t need to use it for anything.
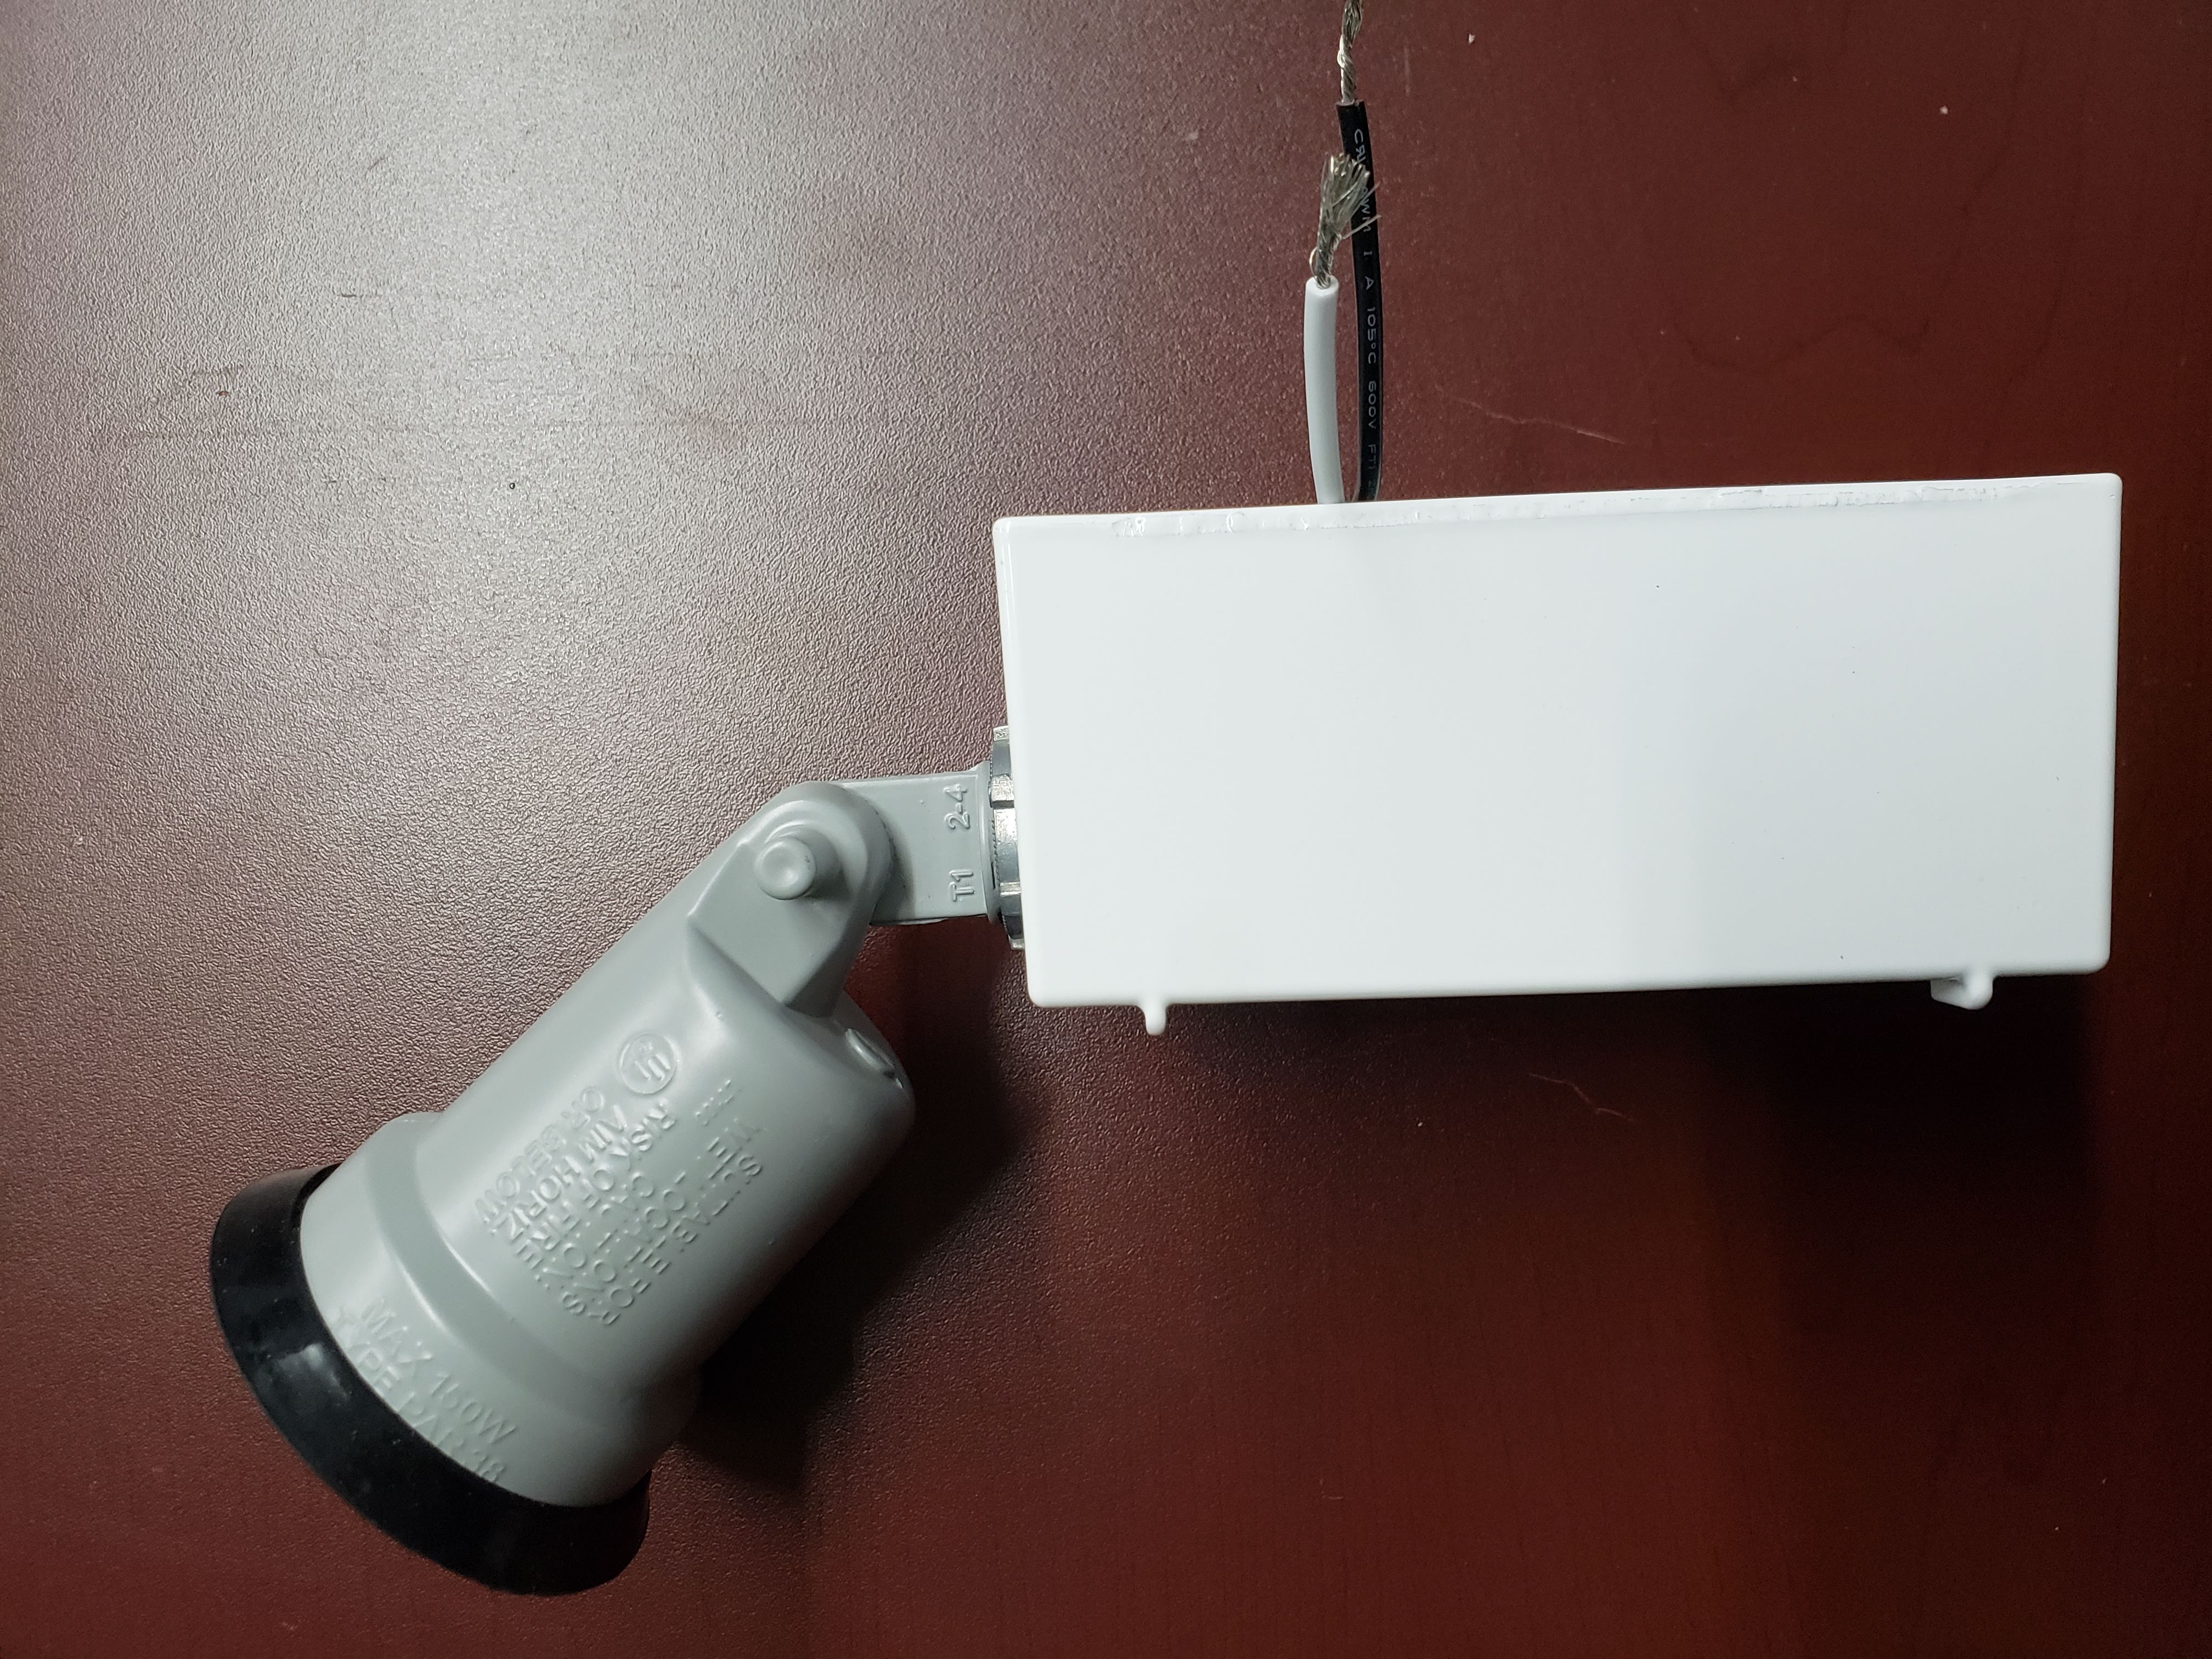
Thread the wires from the lamp holder through the hole at one end of the outlet box, and then tighten the lamp holder to the box.
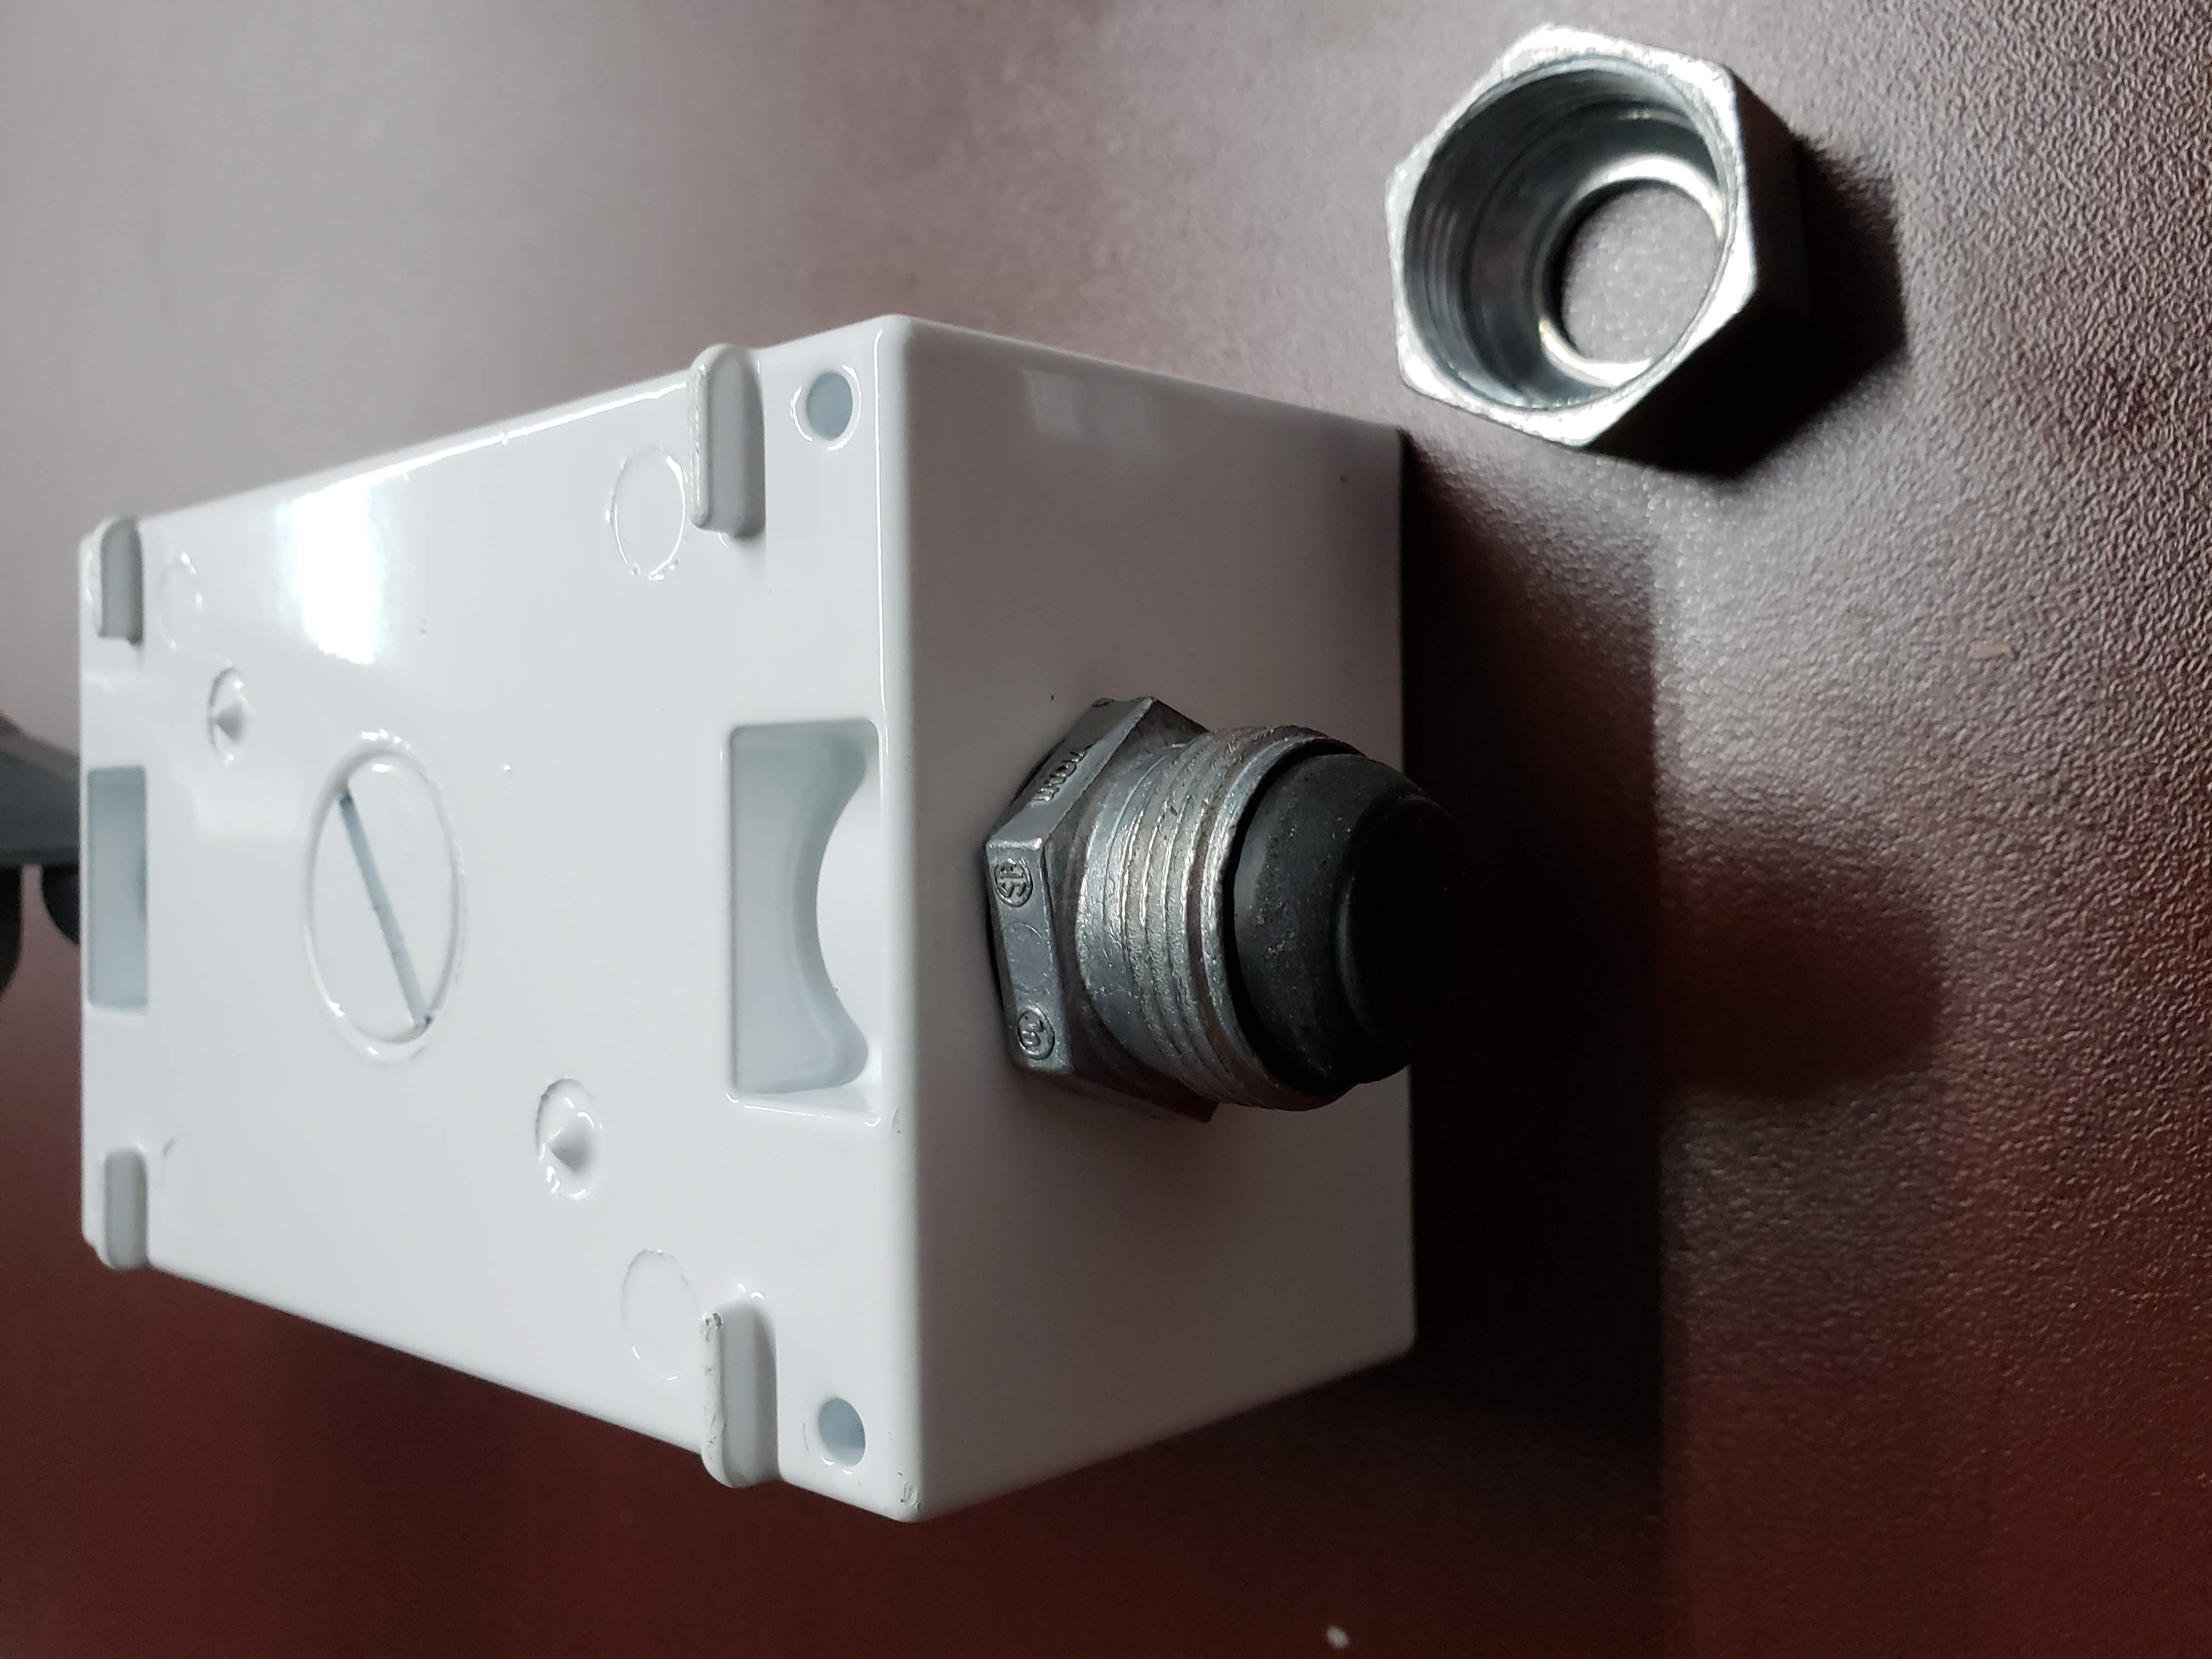
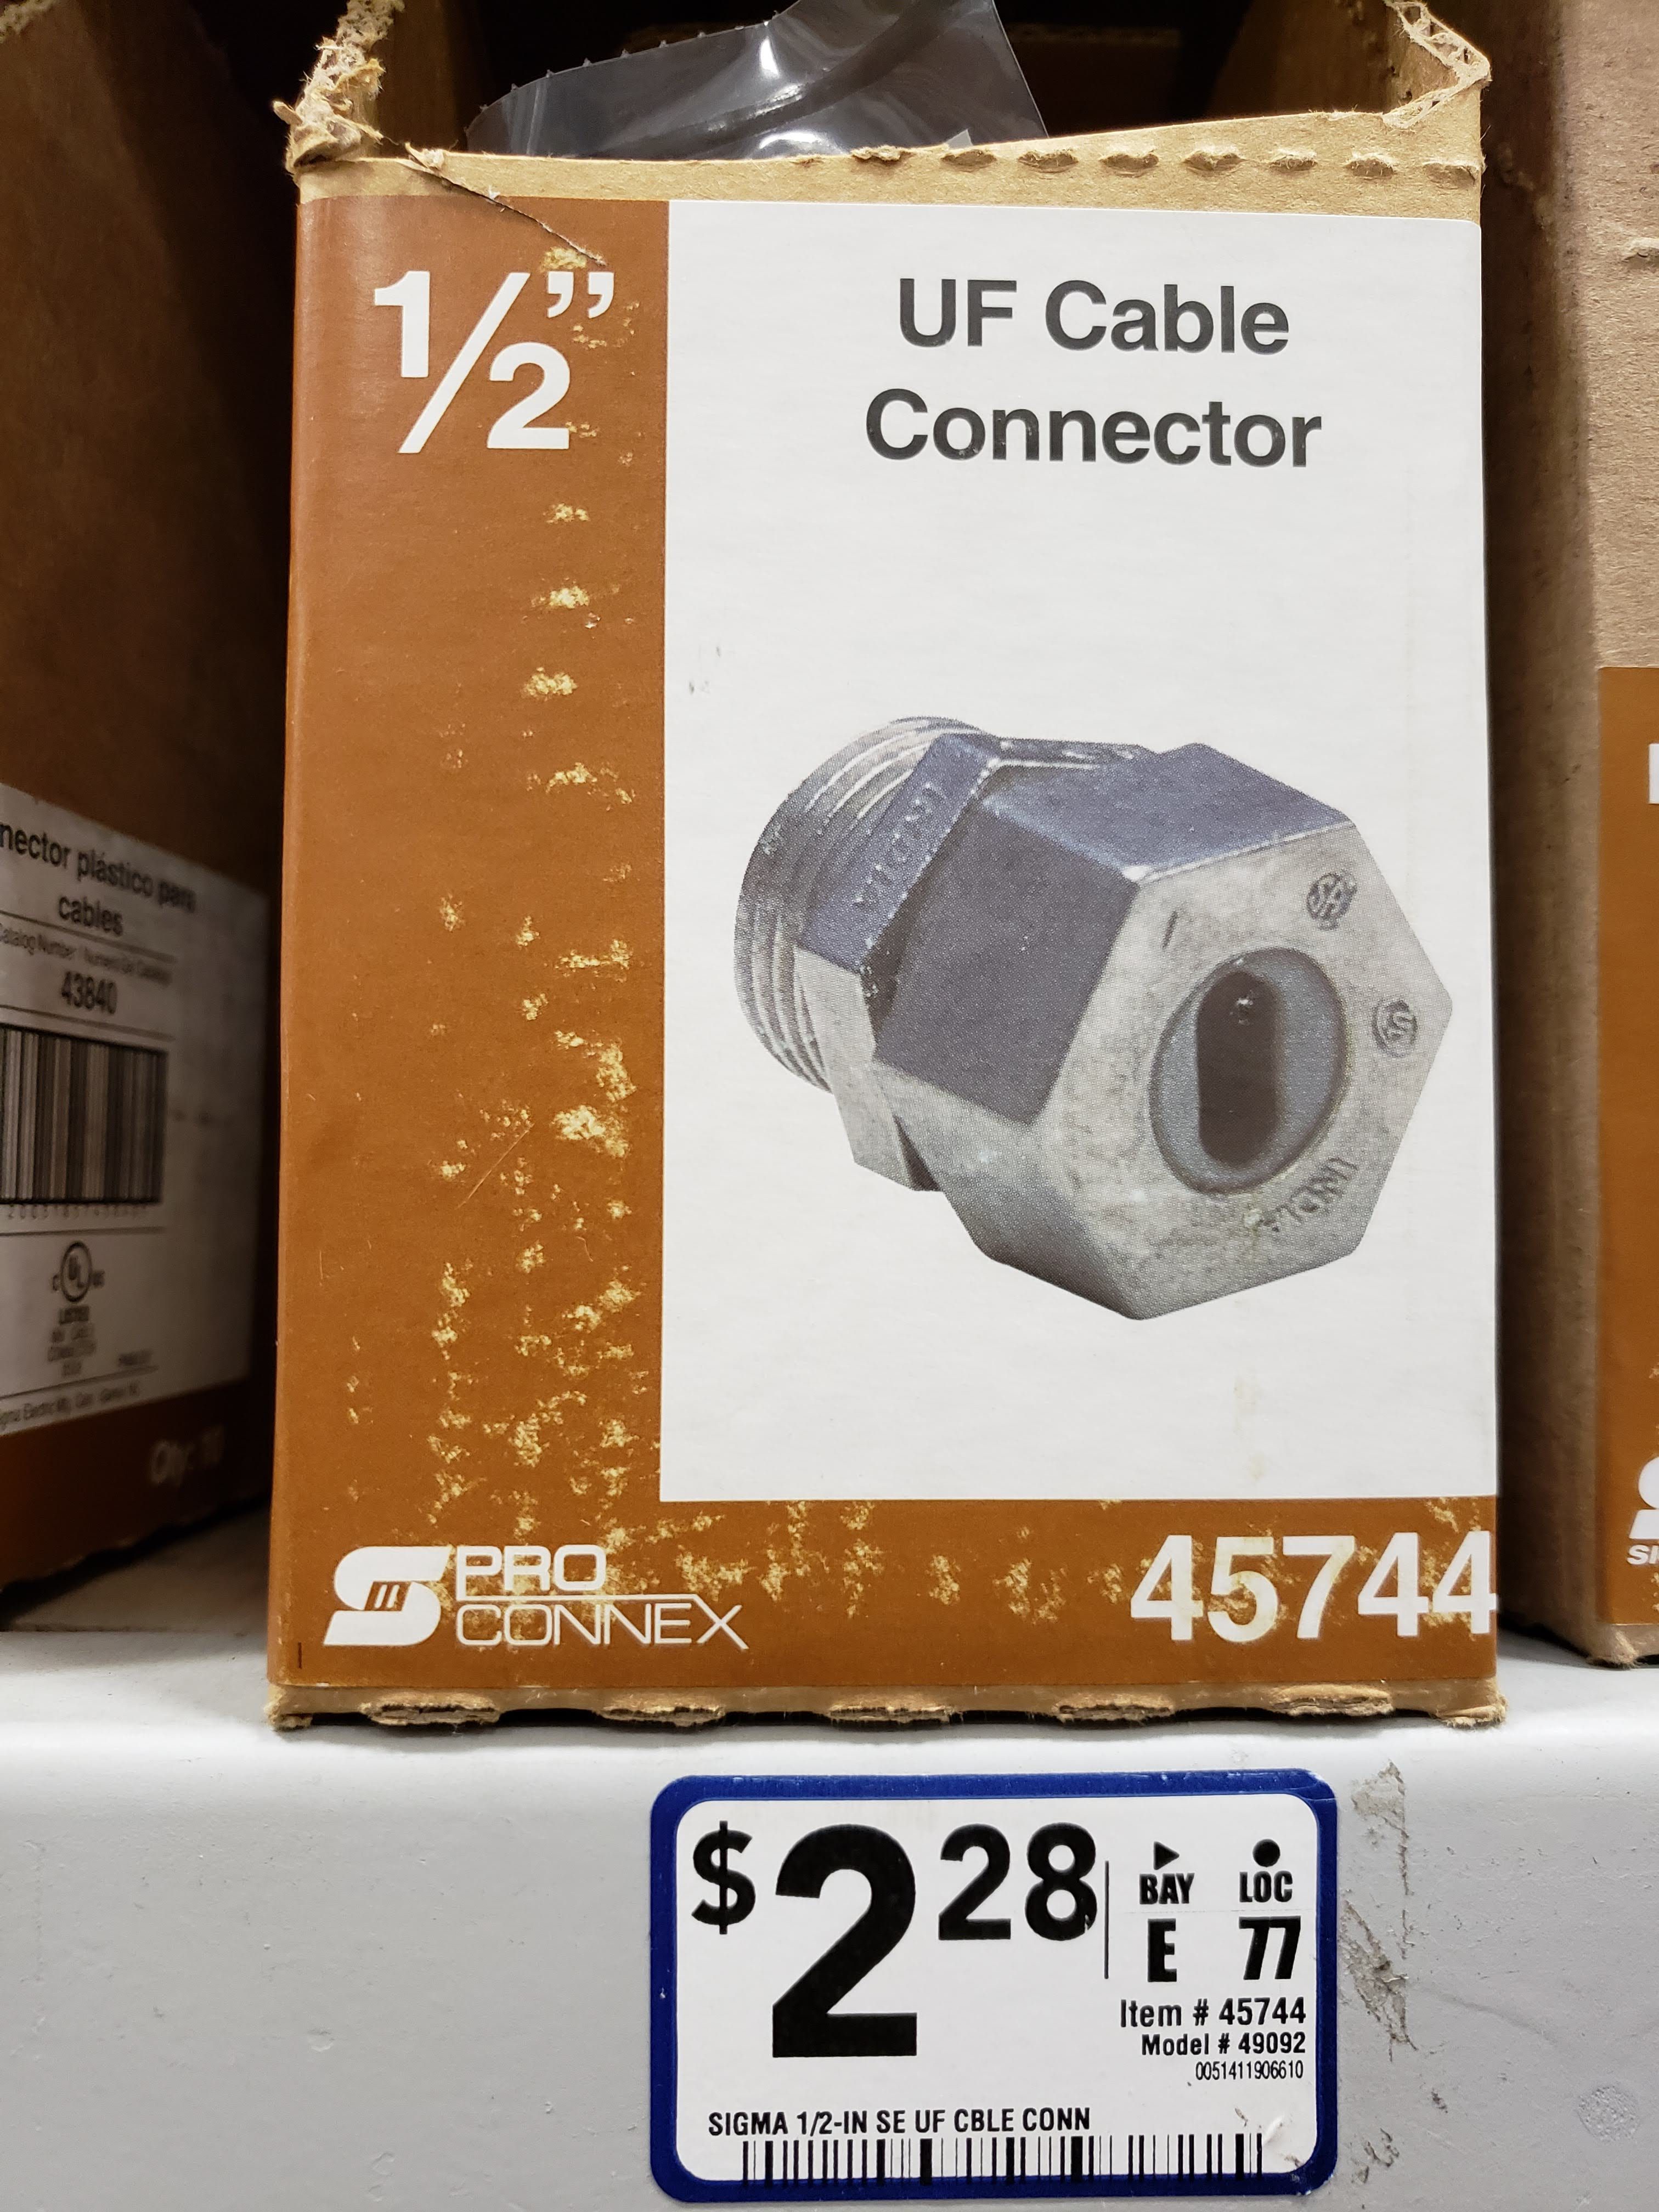
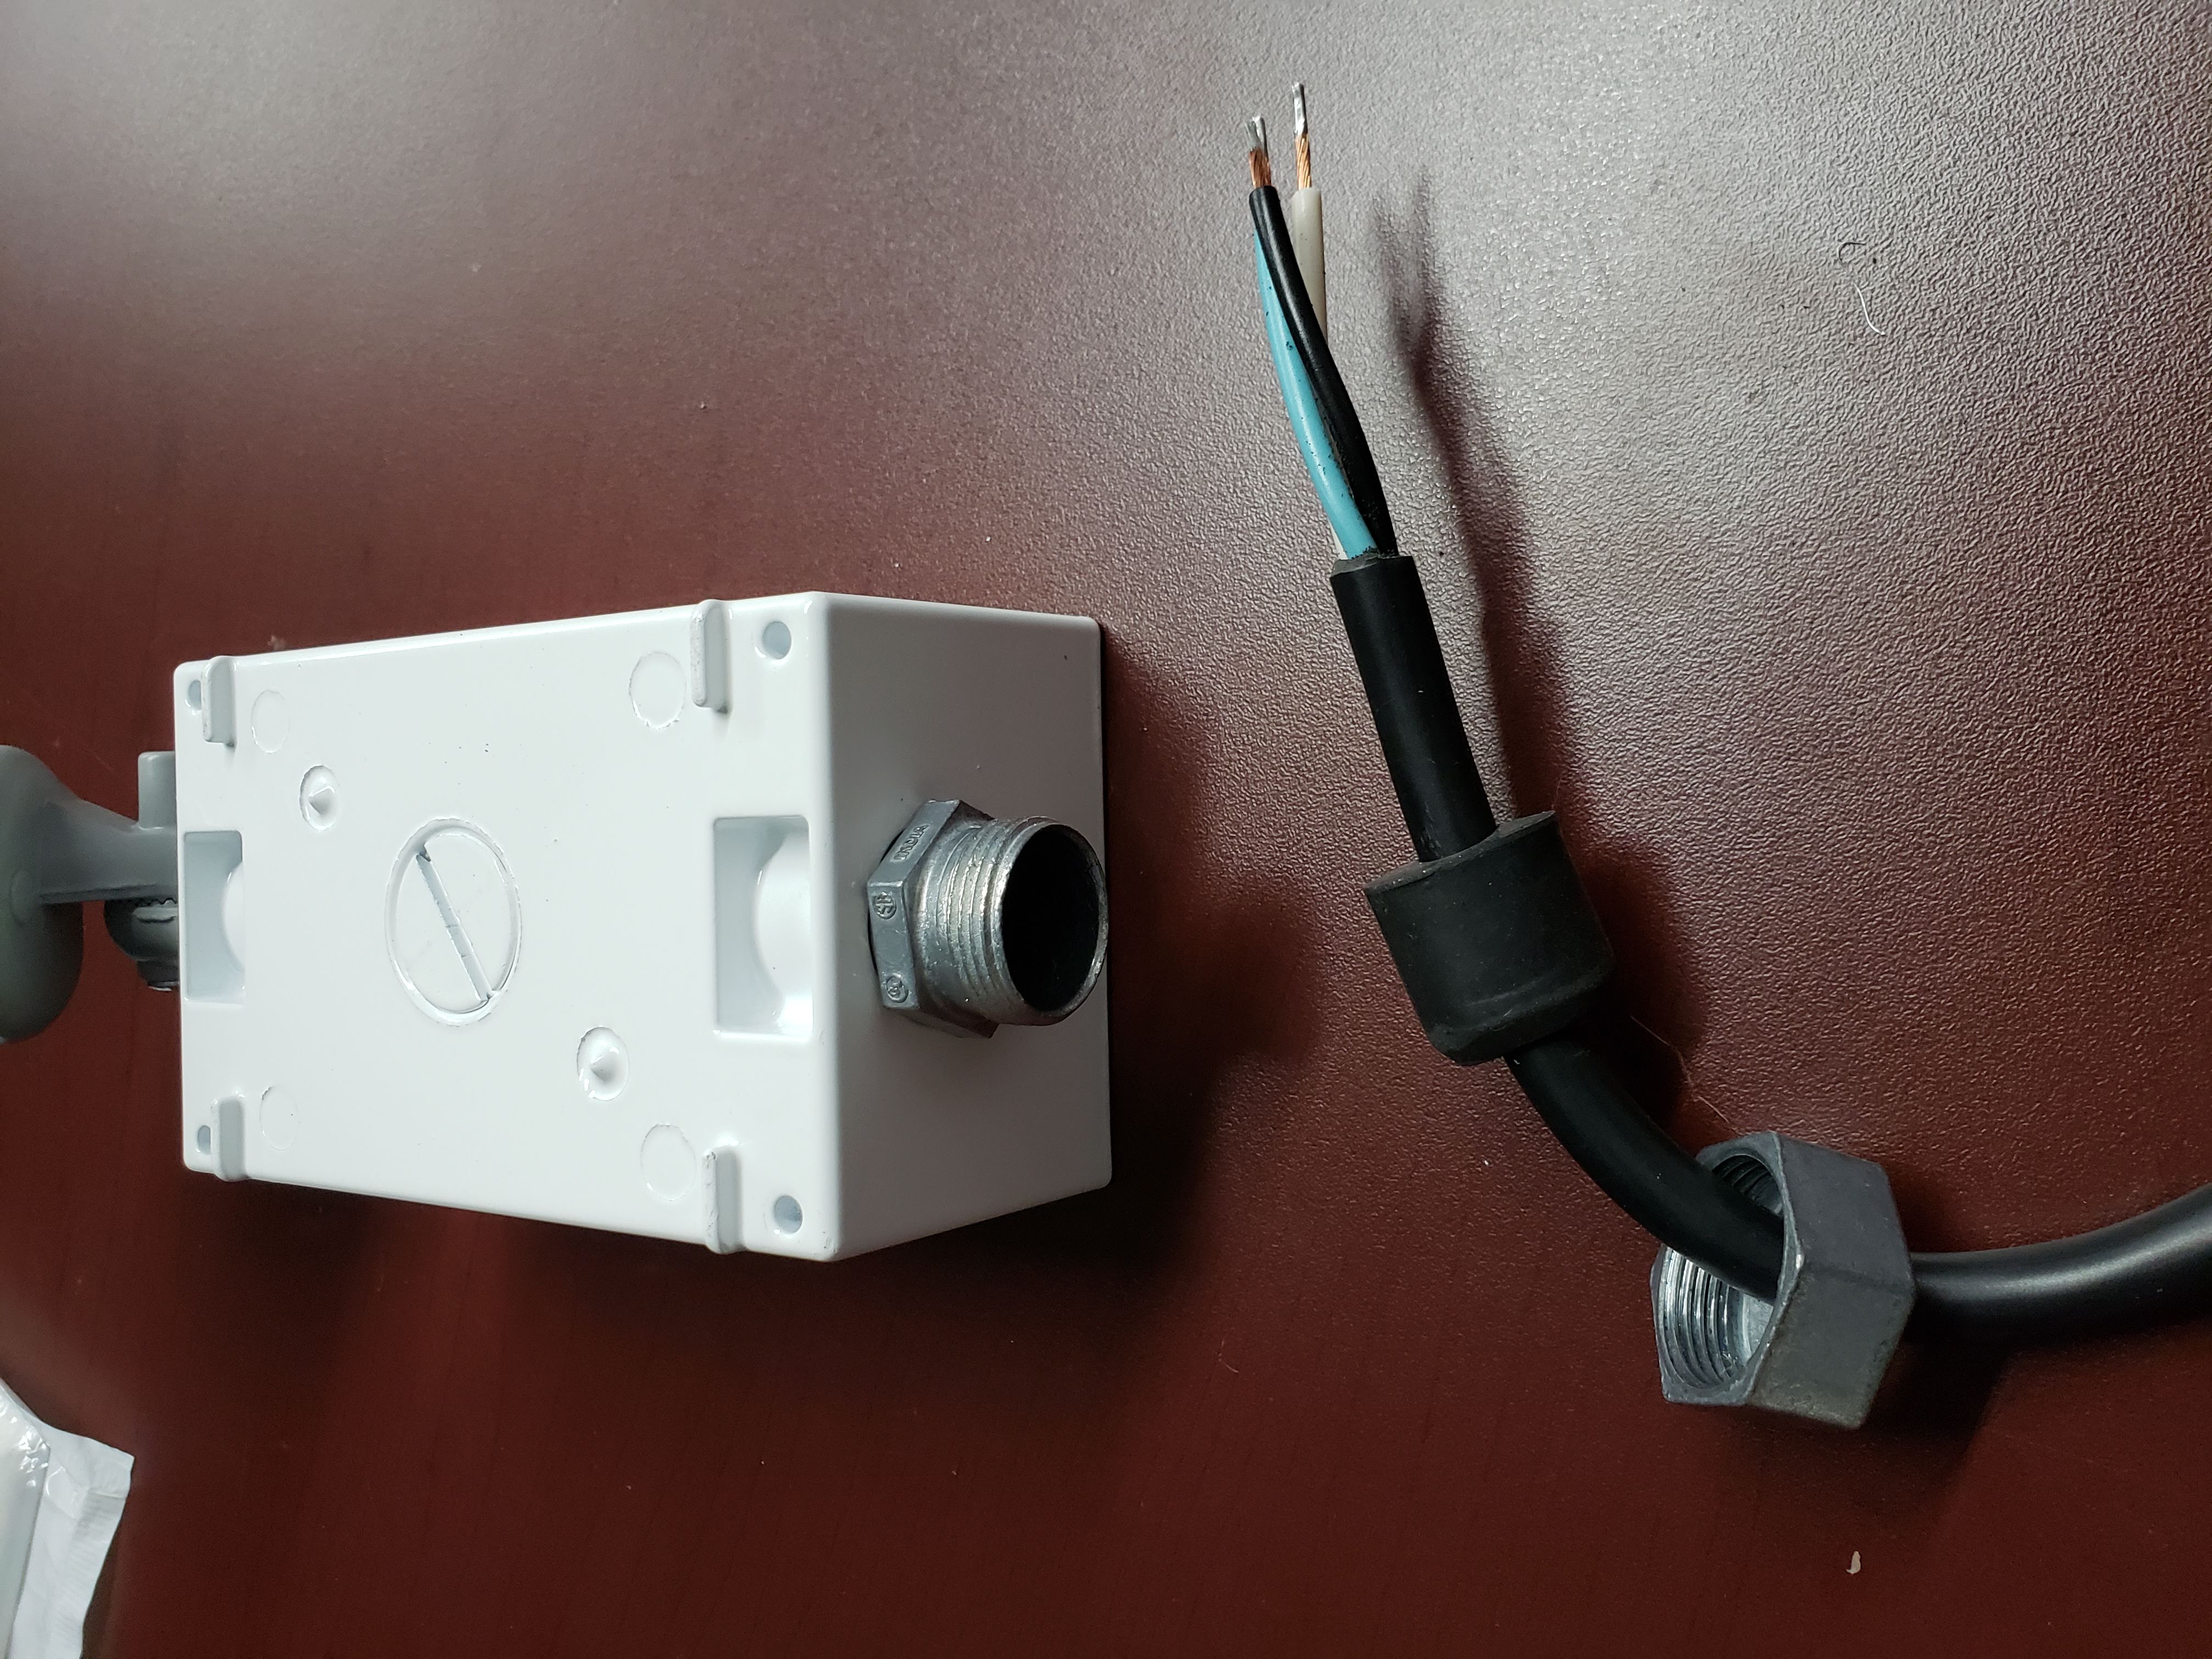
Connect the UF cable connector to the other end of the box. Remove the nut and the rubber insert from the connector.
Insert the wires from the power cord through the nut first and then the rubber gasket. Leave ~4″ of wire length on the inside of the gasket. Push the wires through the hole on the outlet box, and re-insert the gasket. Tighten down the nut.
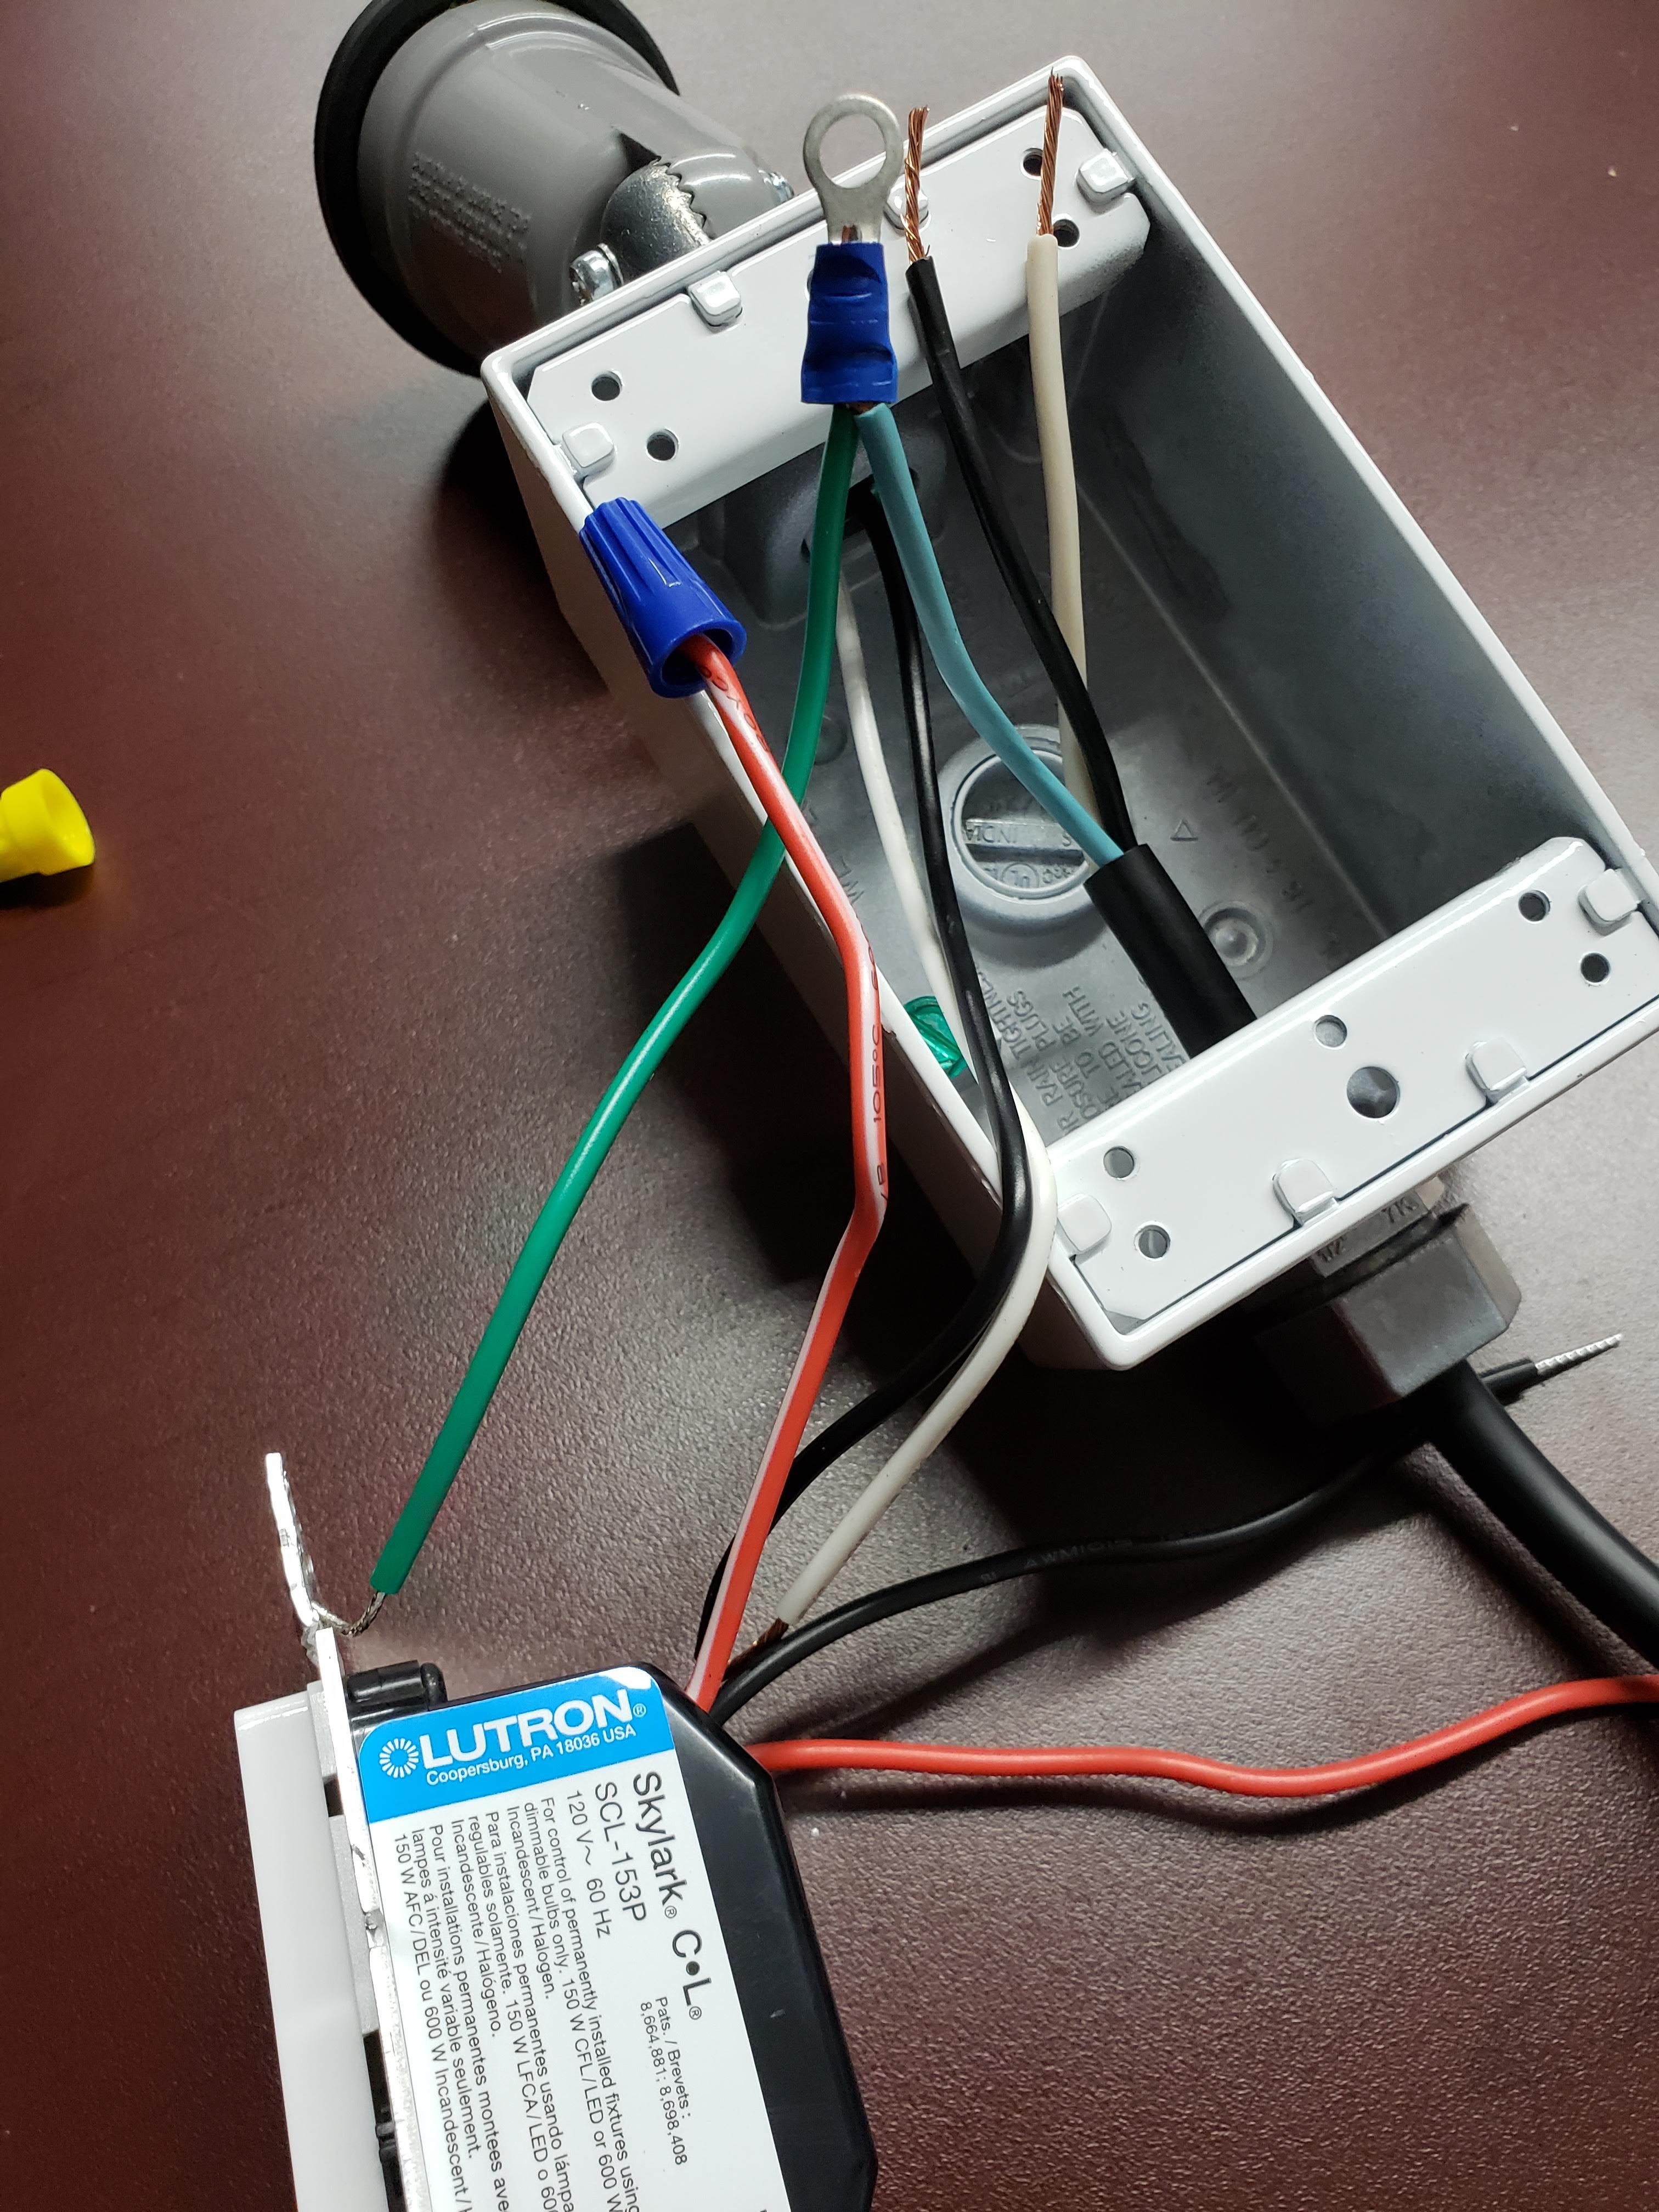
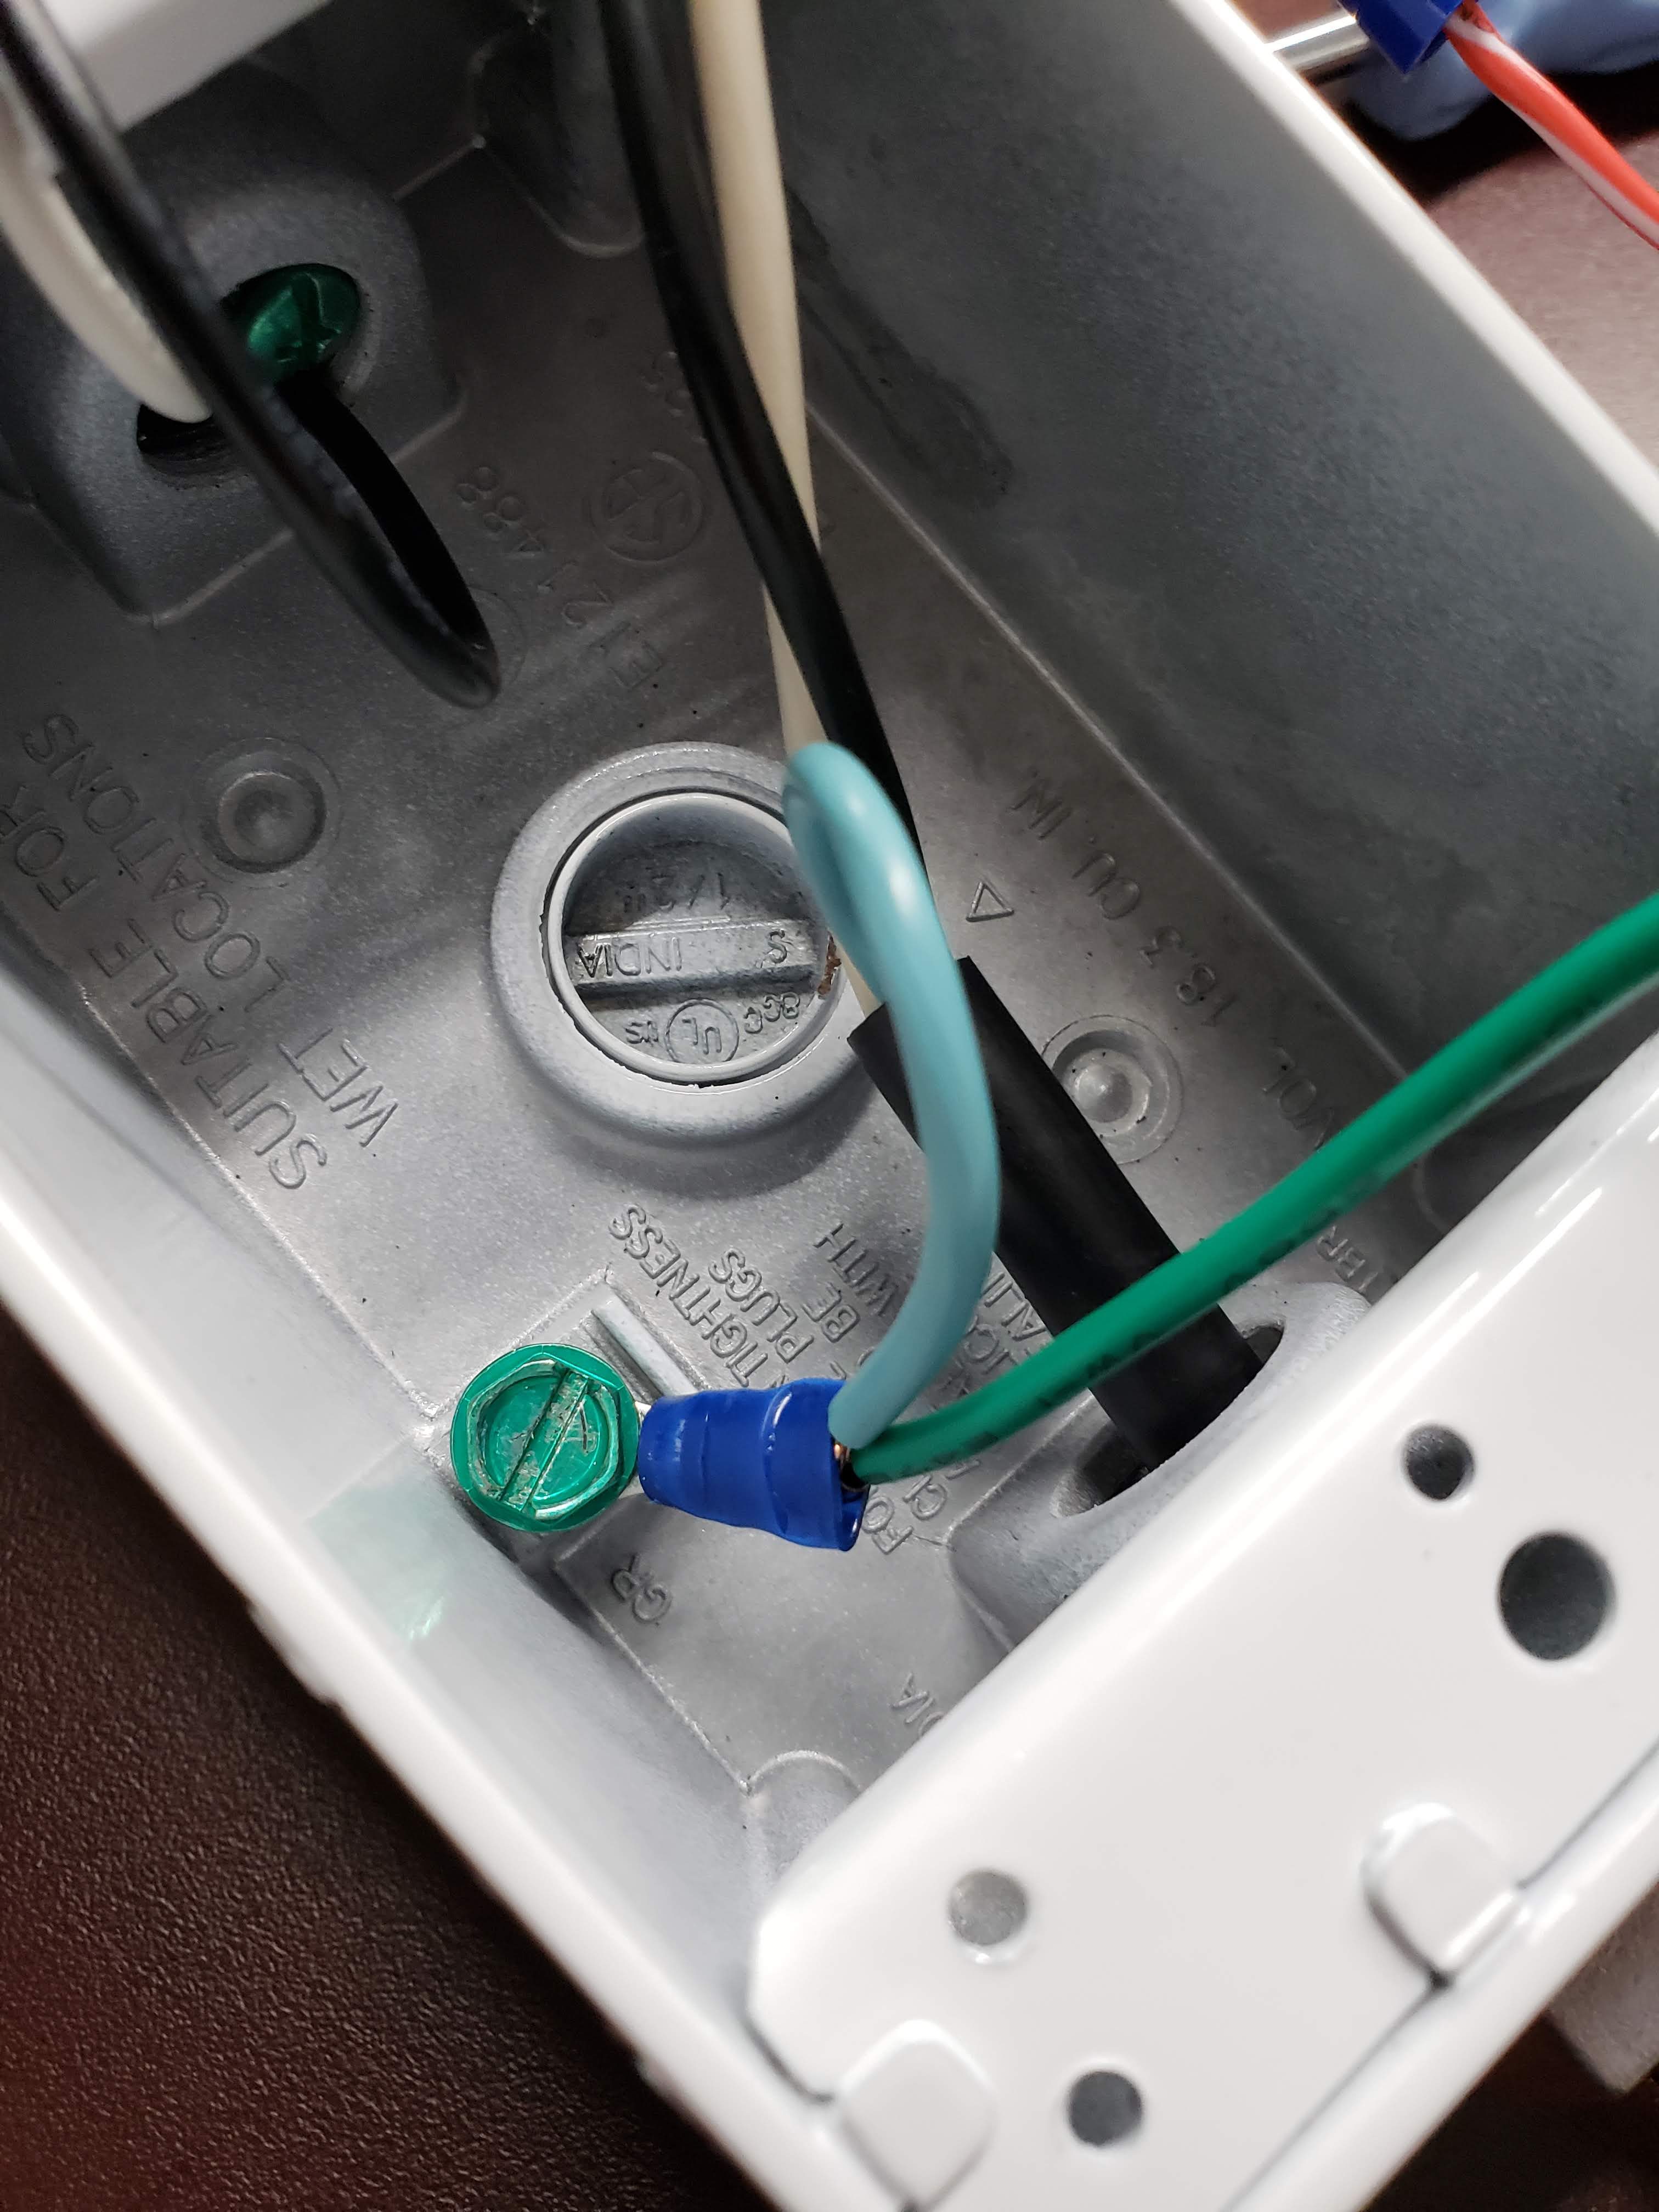
Connect the green wire from the dimmer switch with the green wire from the power cord, using a ring terminal. Use the wire strippers or a crimper to crimp the ring terminal. The green wires are the grounding wires.
Connect the ring terminal to the outlet box using the provided green-headed screw.
Connect the white wire from the power cord with the white wire from the lamp holder using the wire nut that came with the dimmer.
Connect the RED wire from the dimmer with the BLACK wire from the power cord using a wire nut.
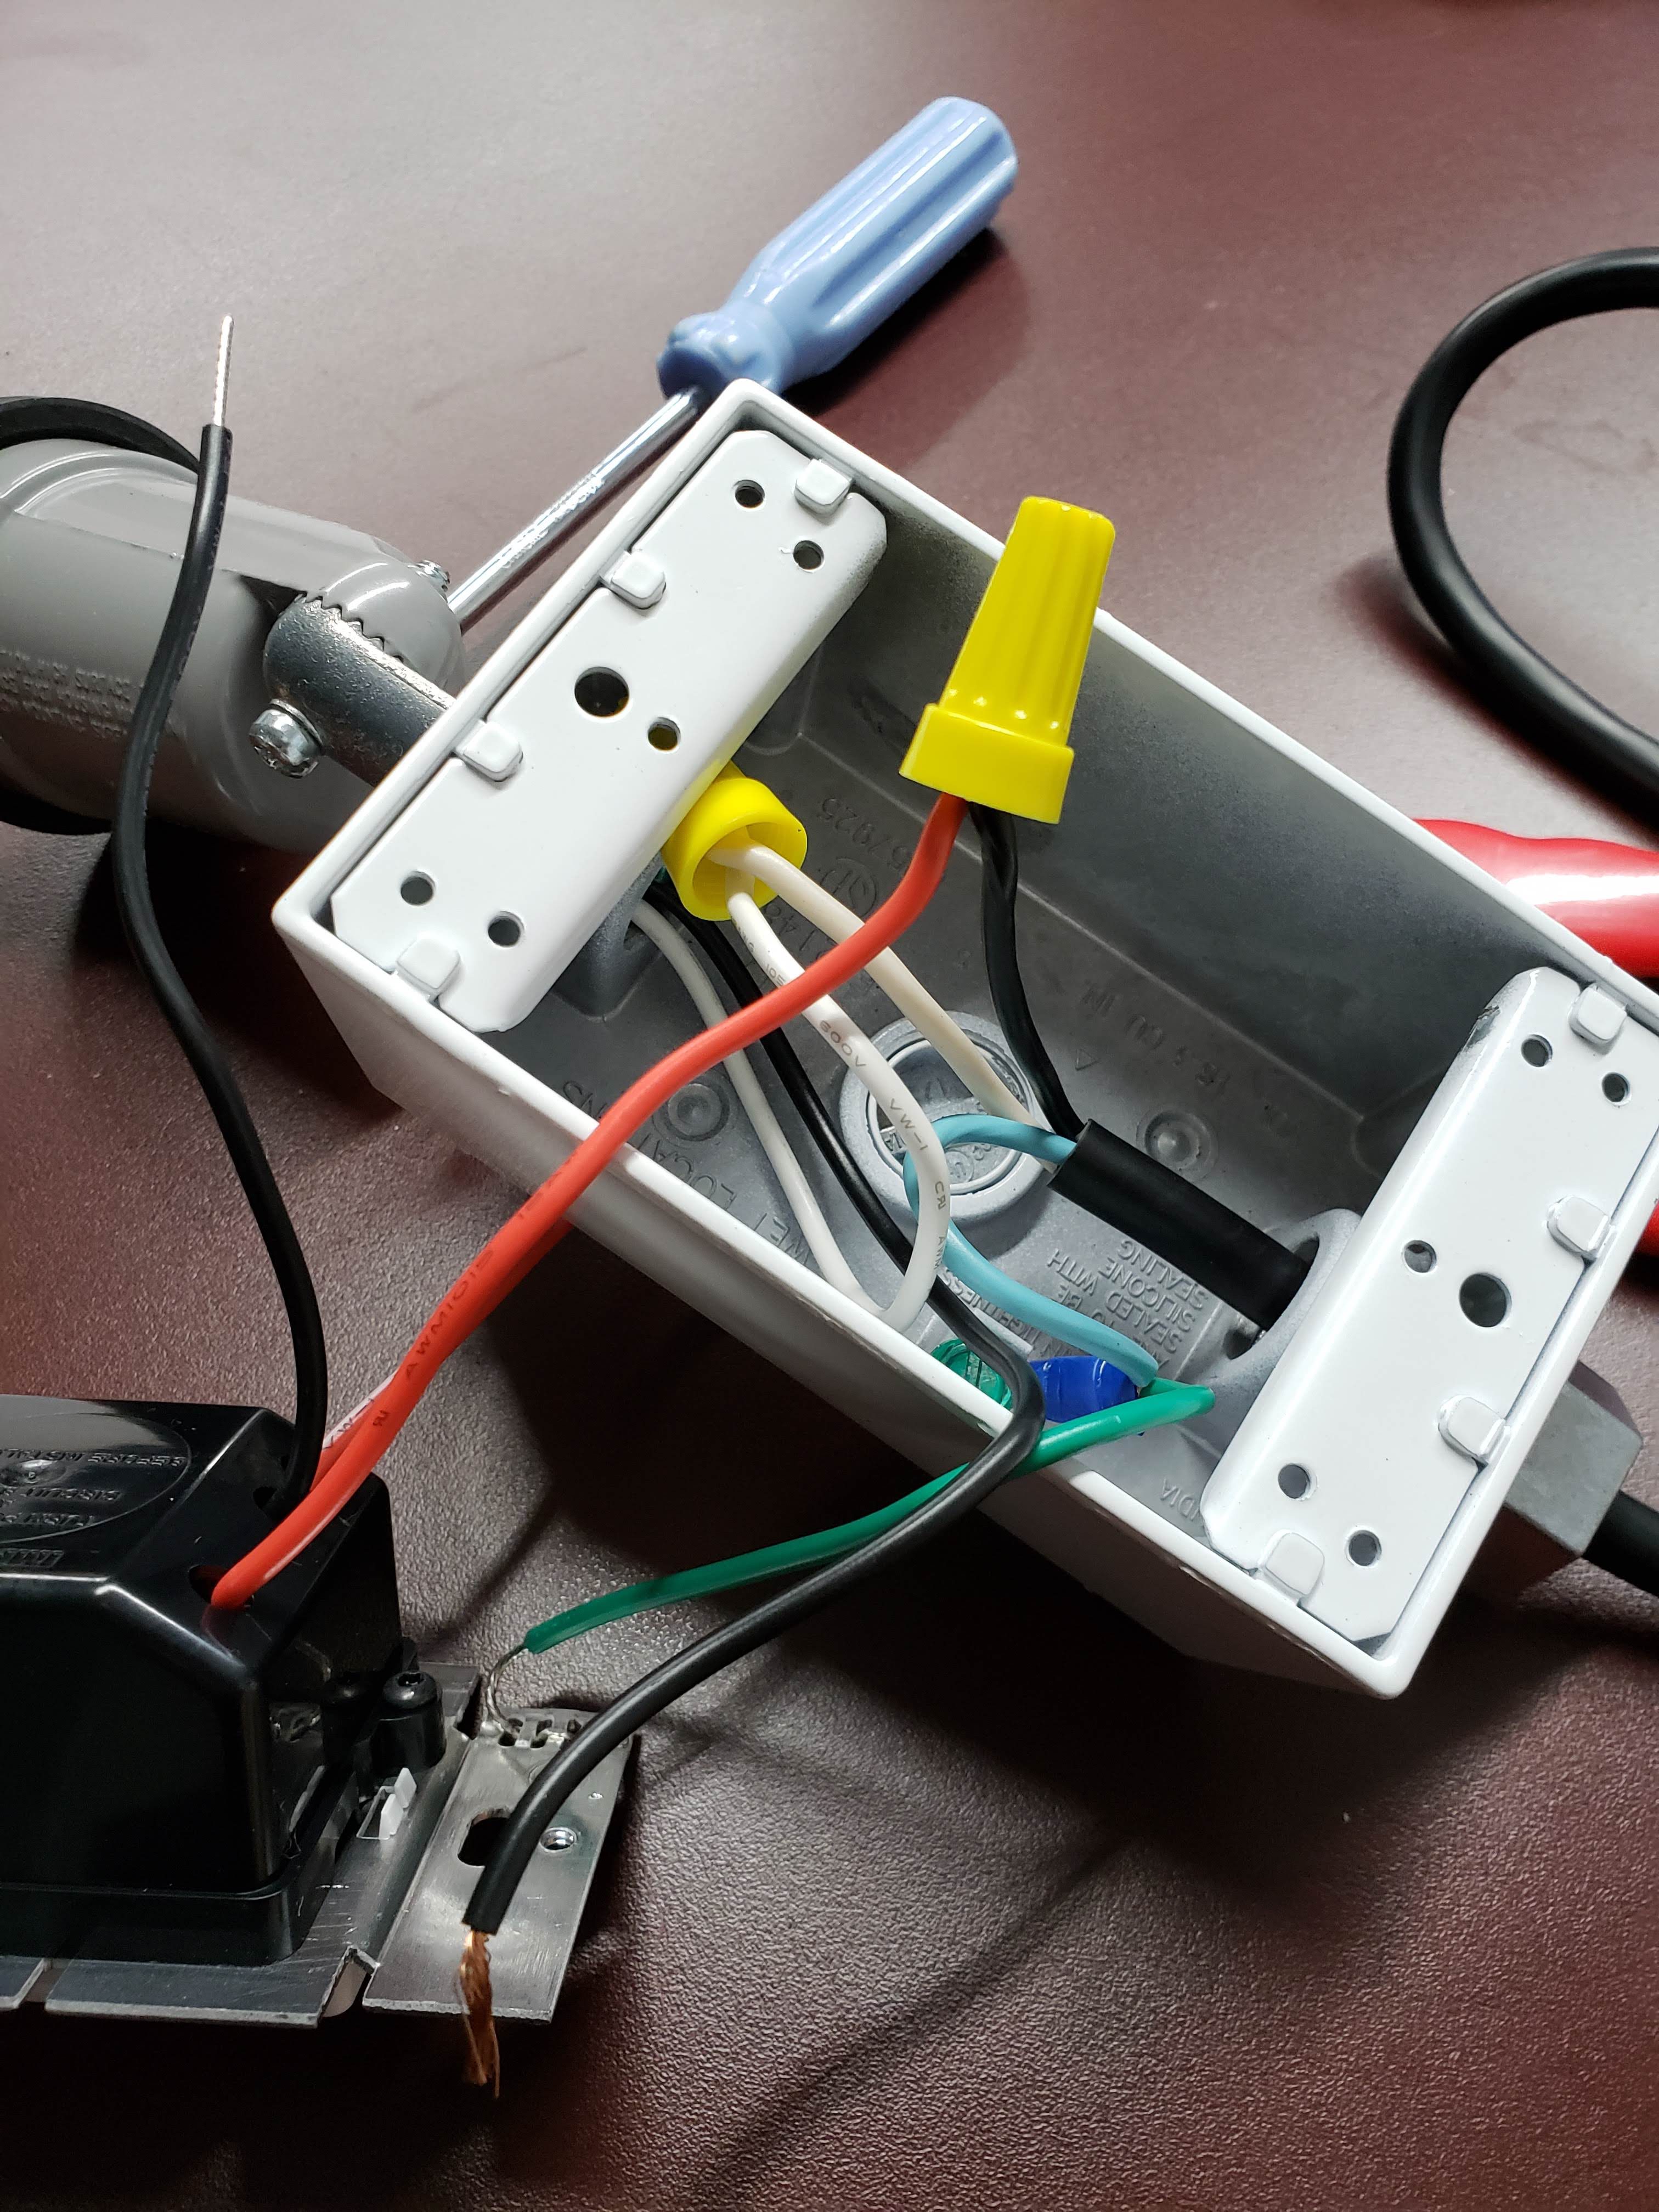

Connect the black wire from the dimmer with the black wire from the lamp holder using a wire nut. Use the small wire nut that came with the dimmer to cap the red wire with a white stripe as it will not be used.
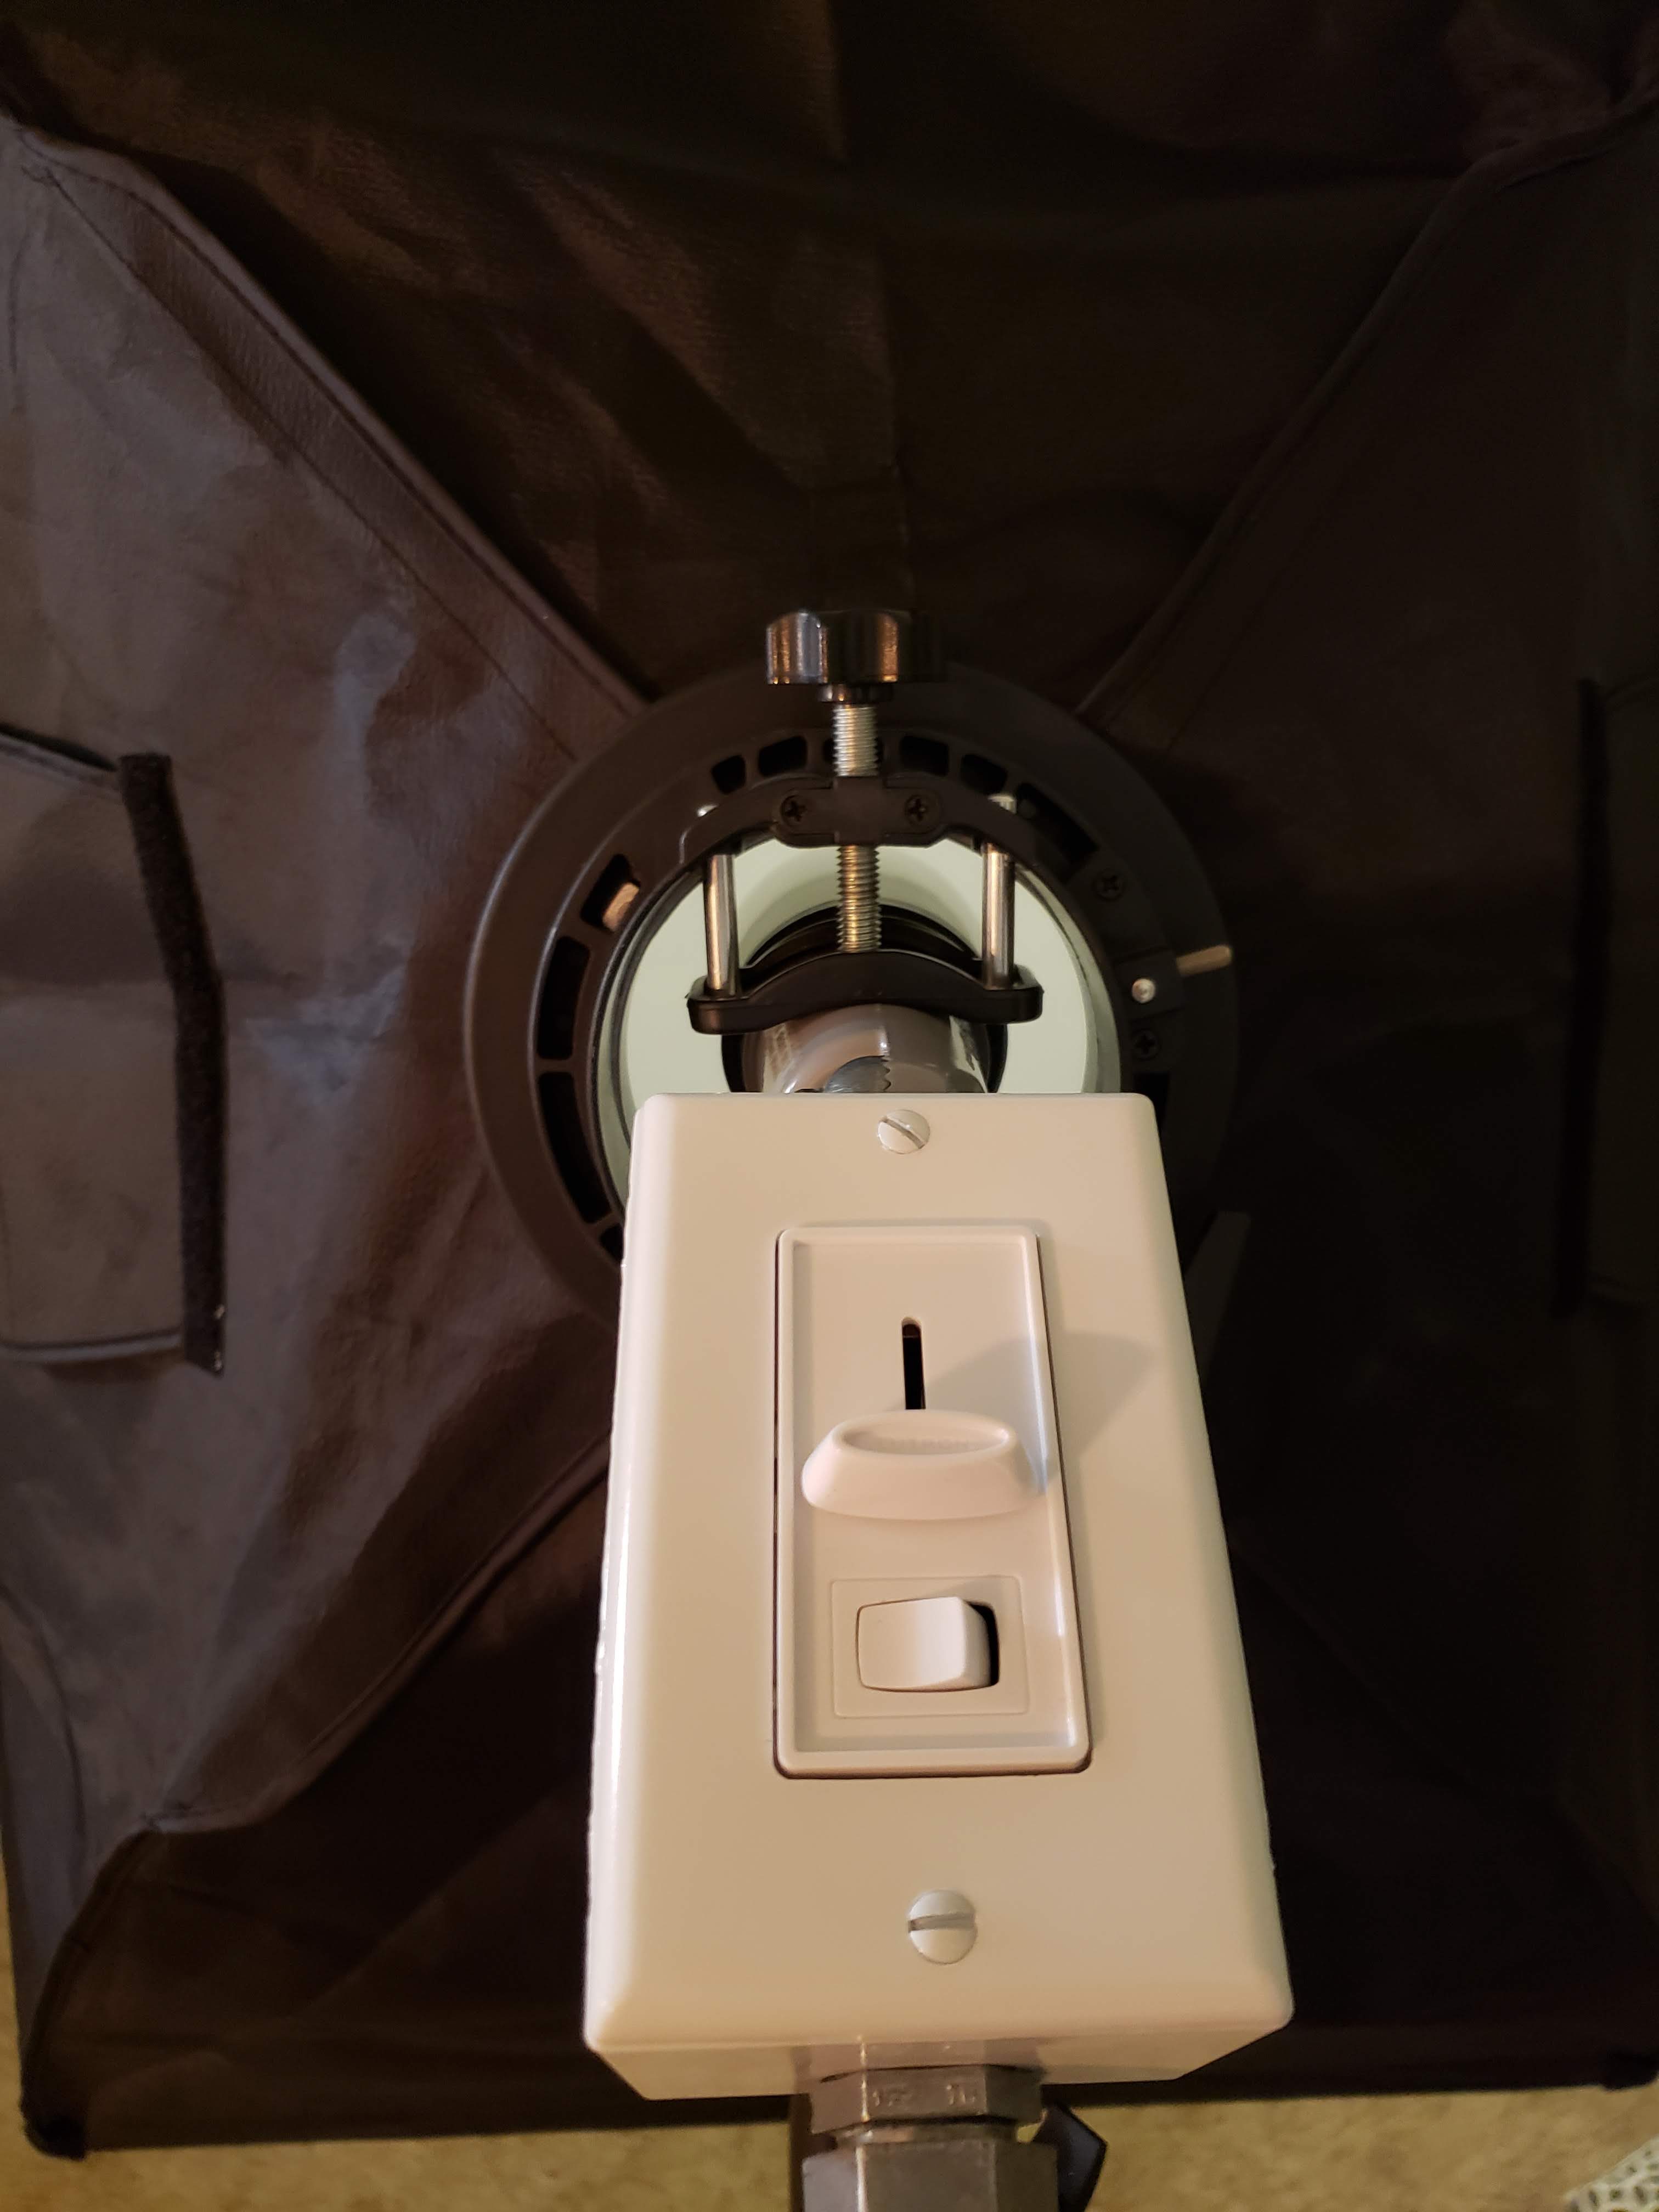
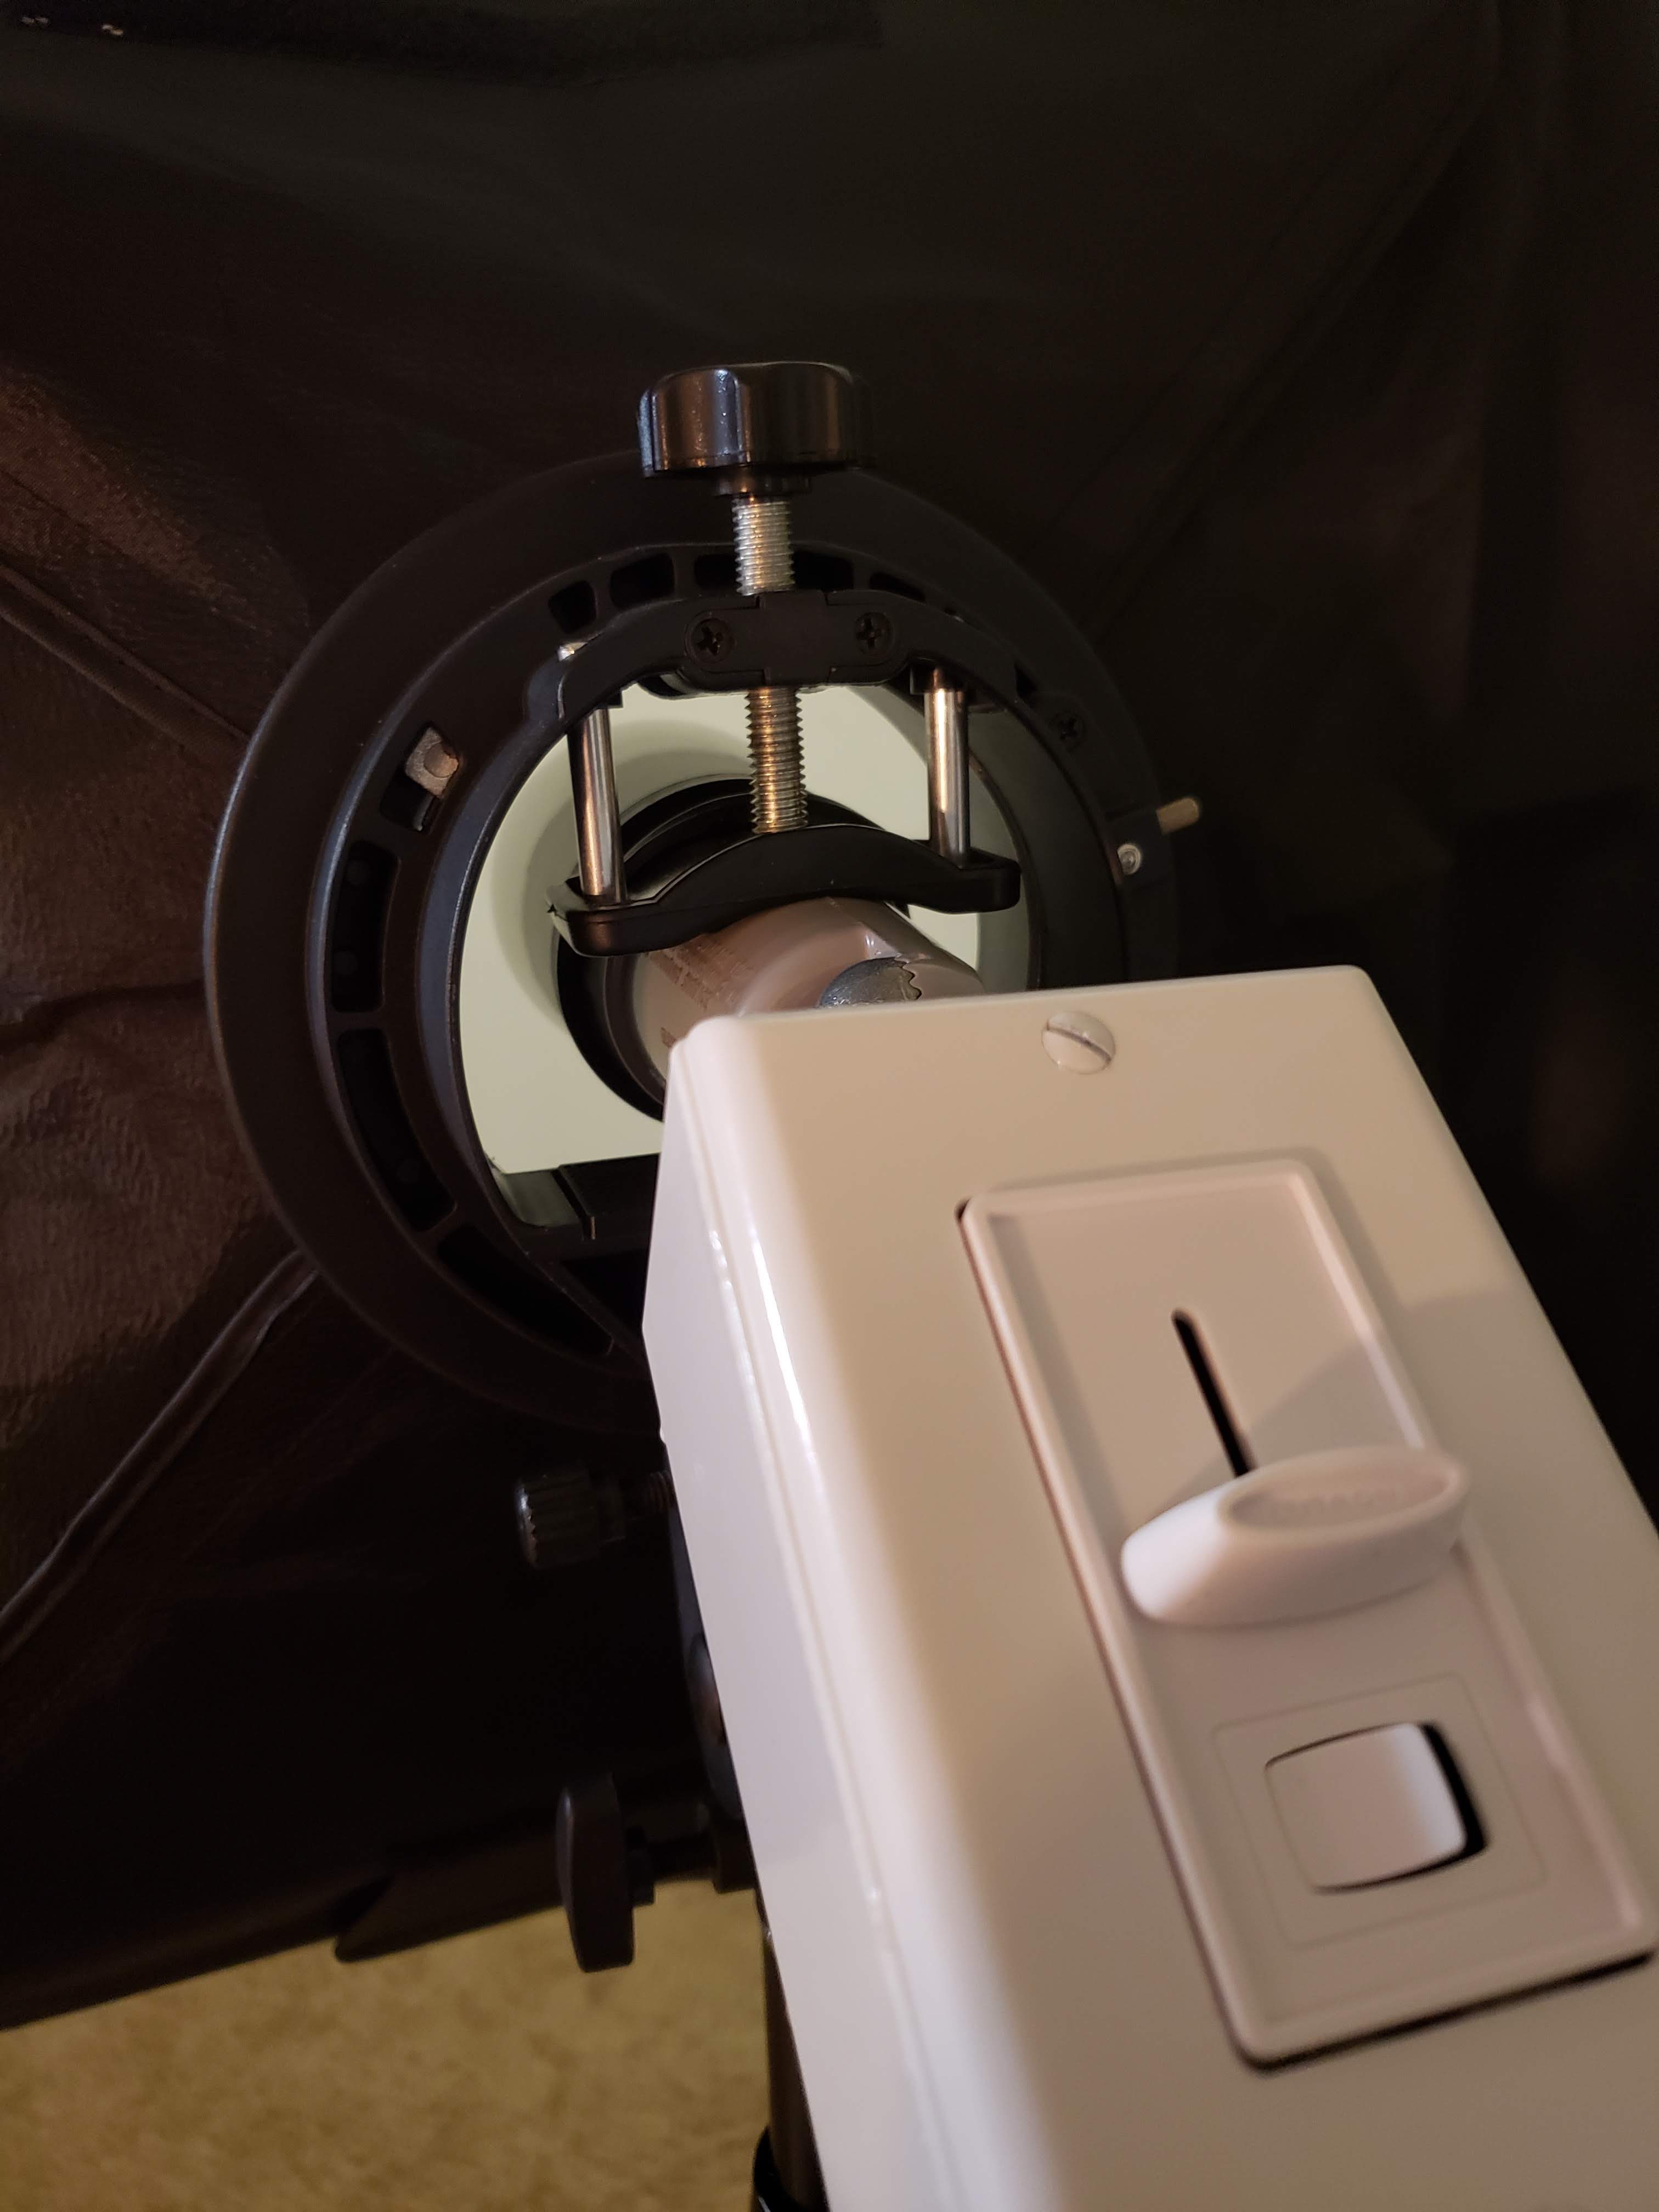
Place the dimmer into the outlet box. You will have to try and shove the wires into open spaces as best as possible. It is a tight fit. Use the screws that came with the dimmer to attach it to the box.
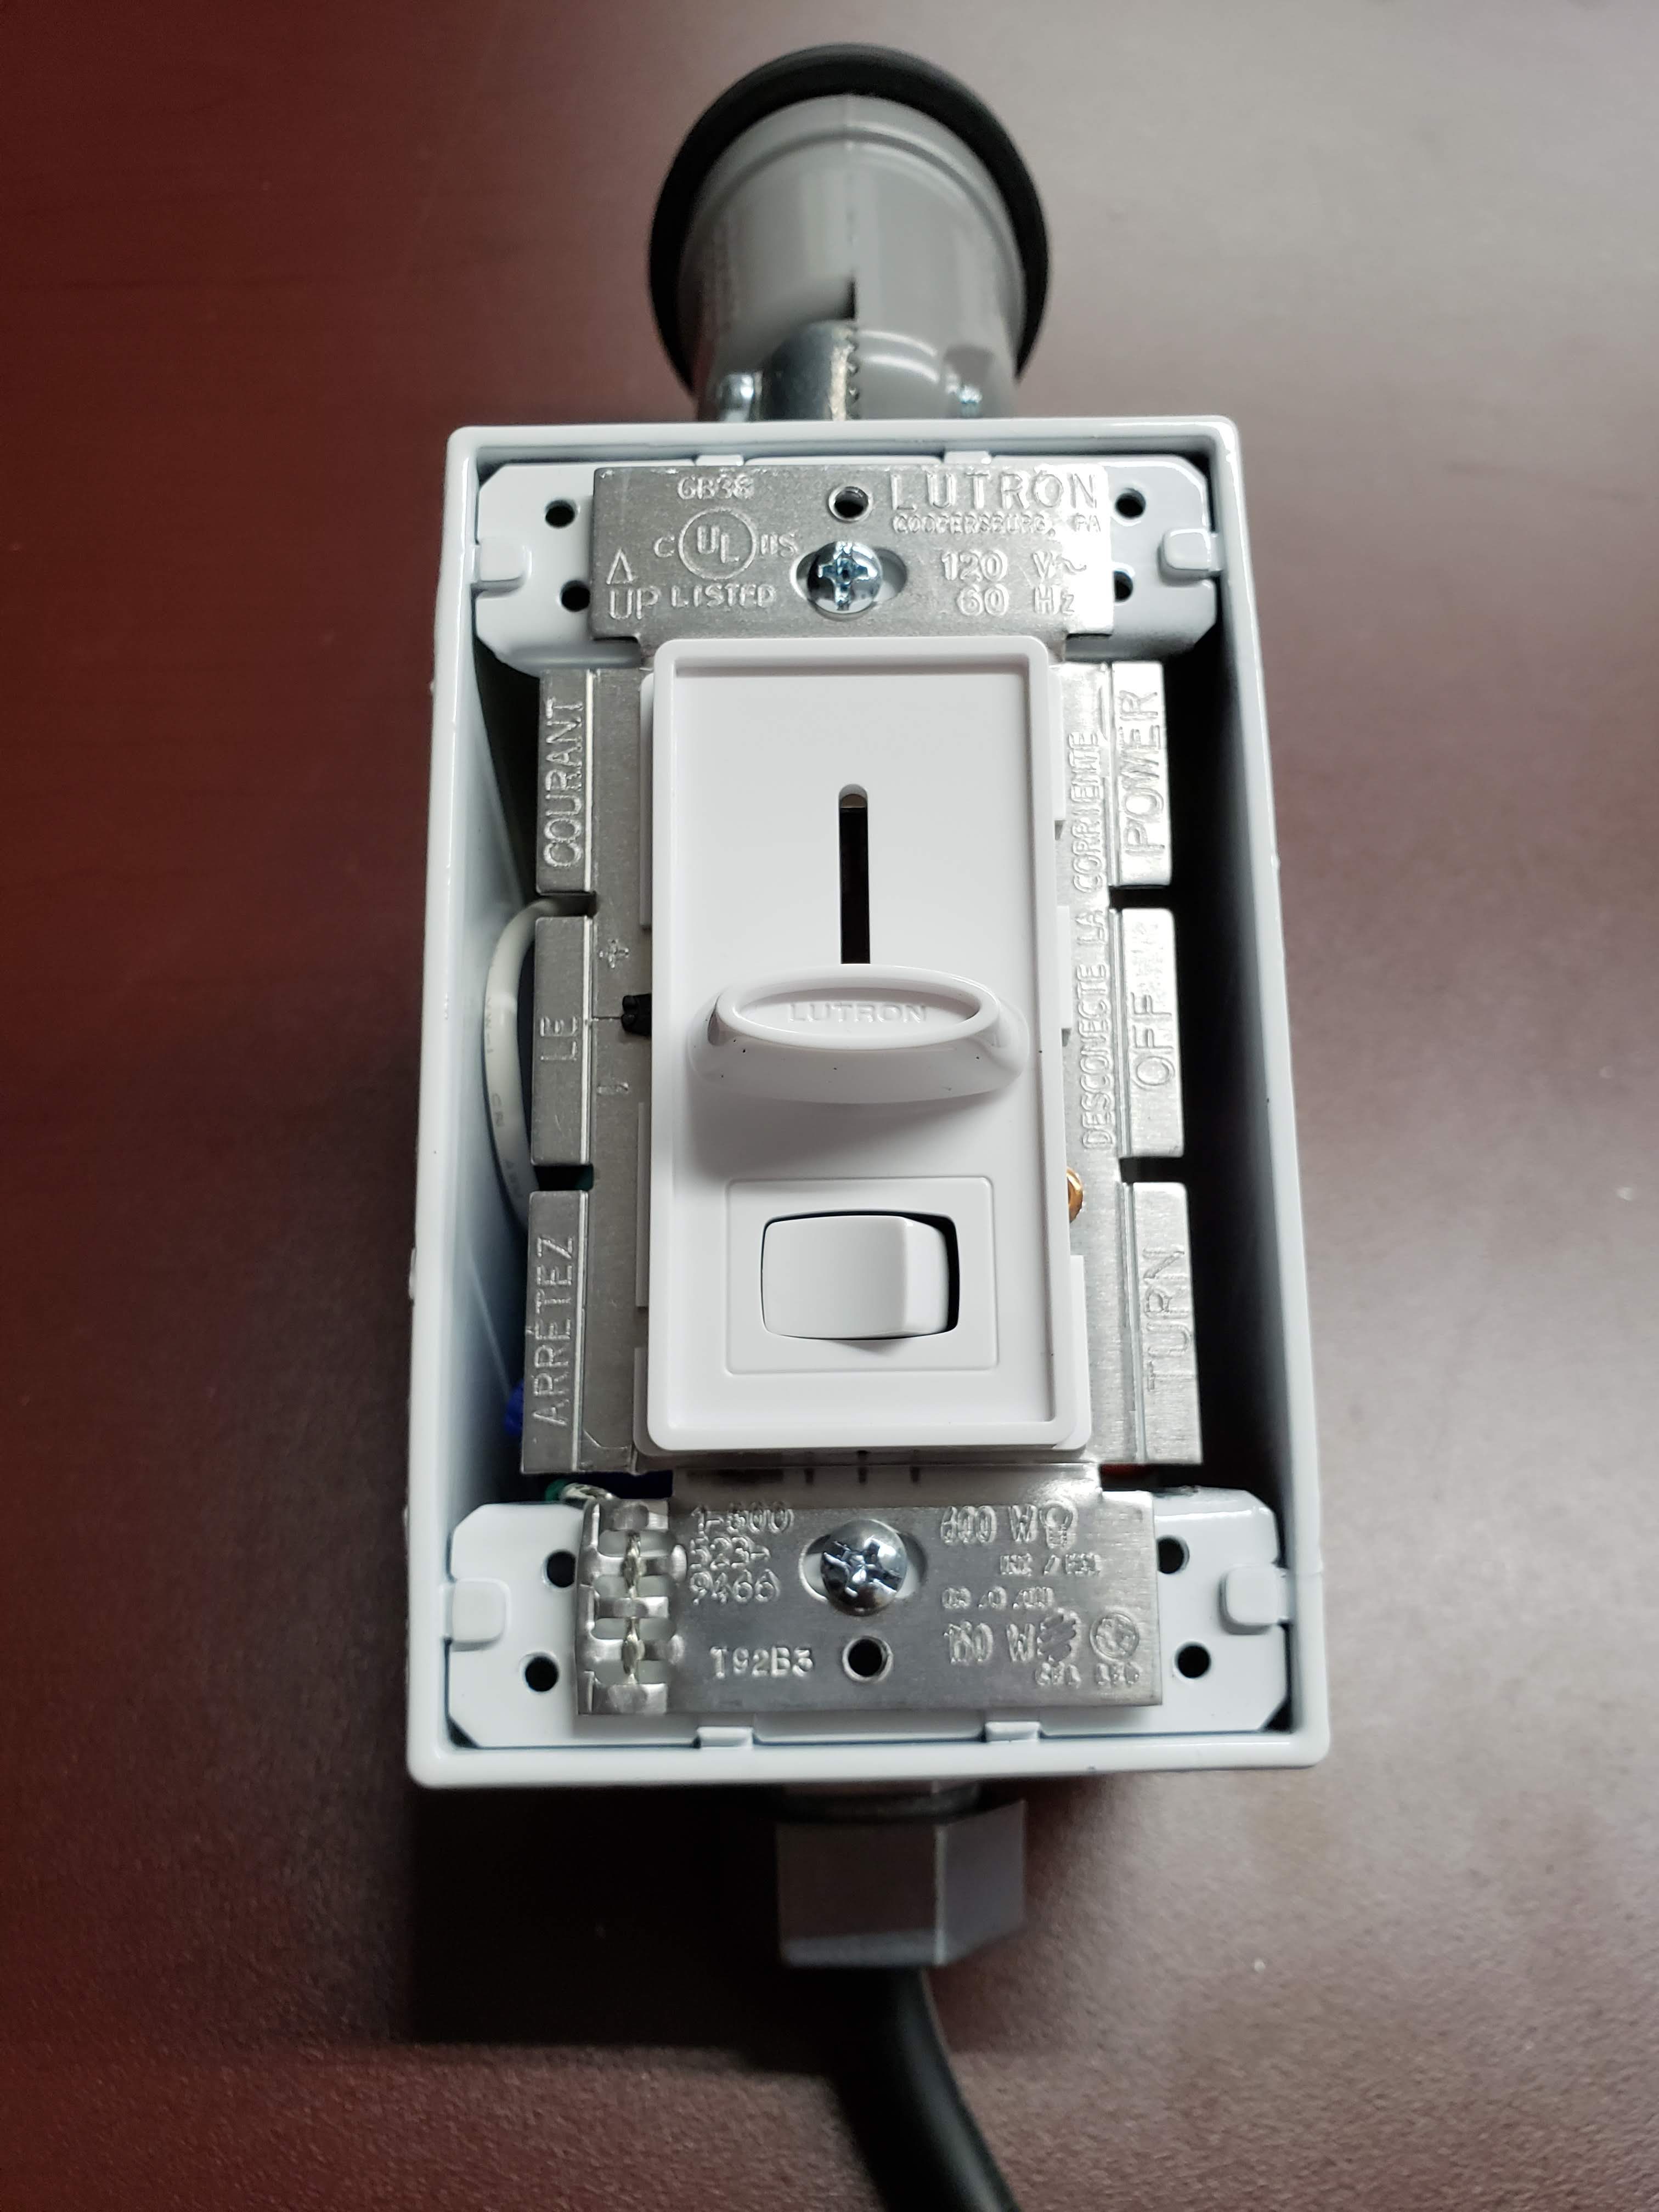
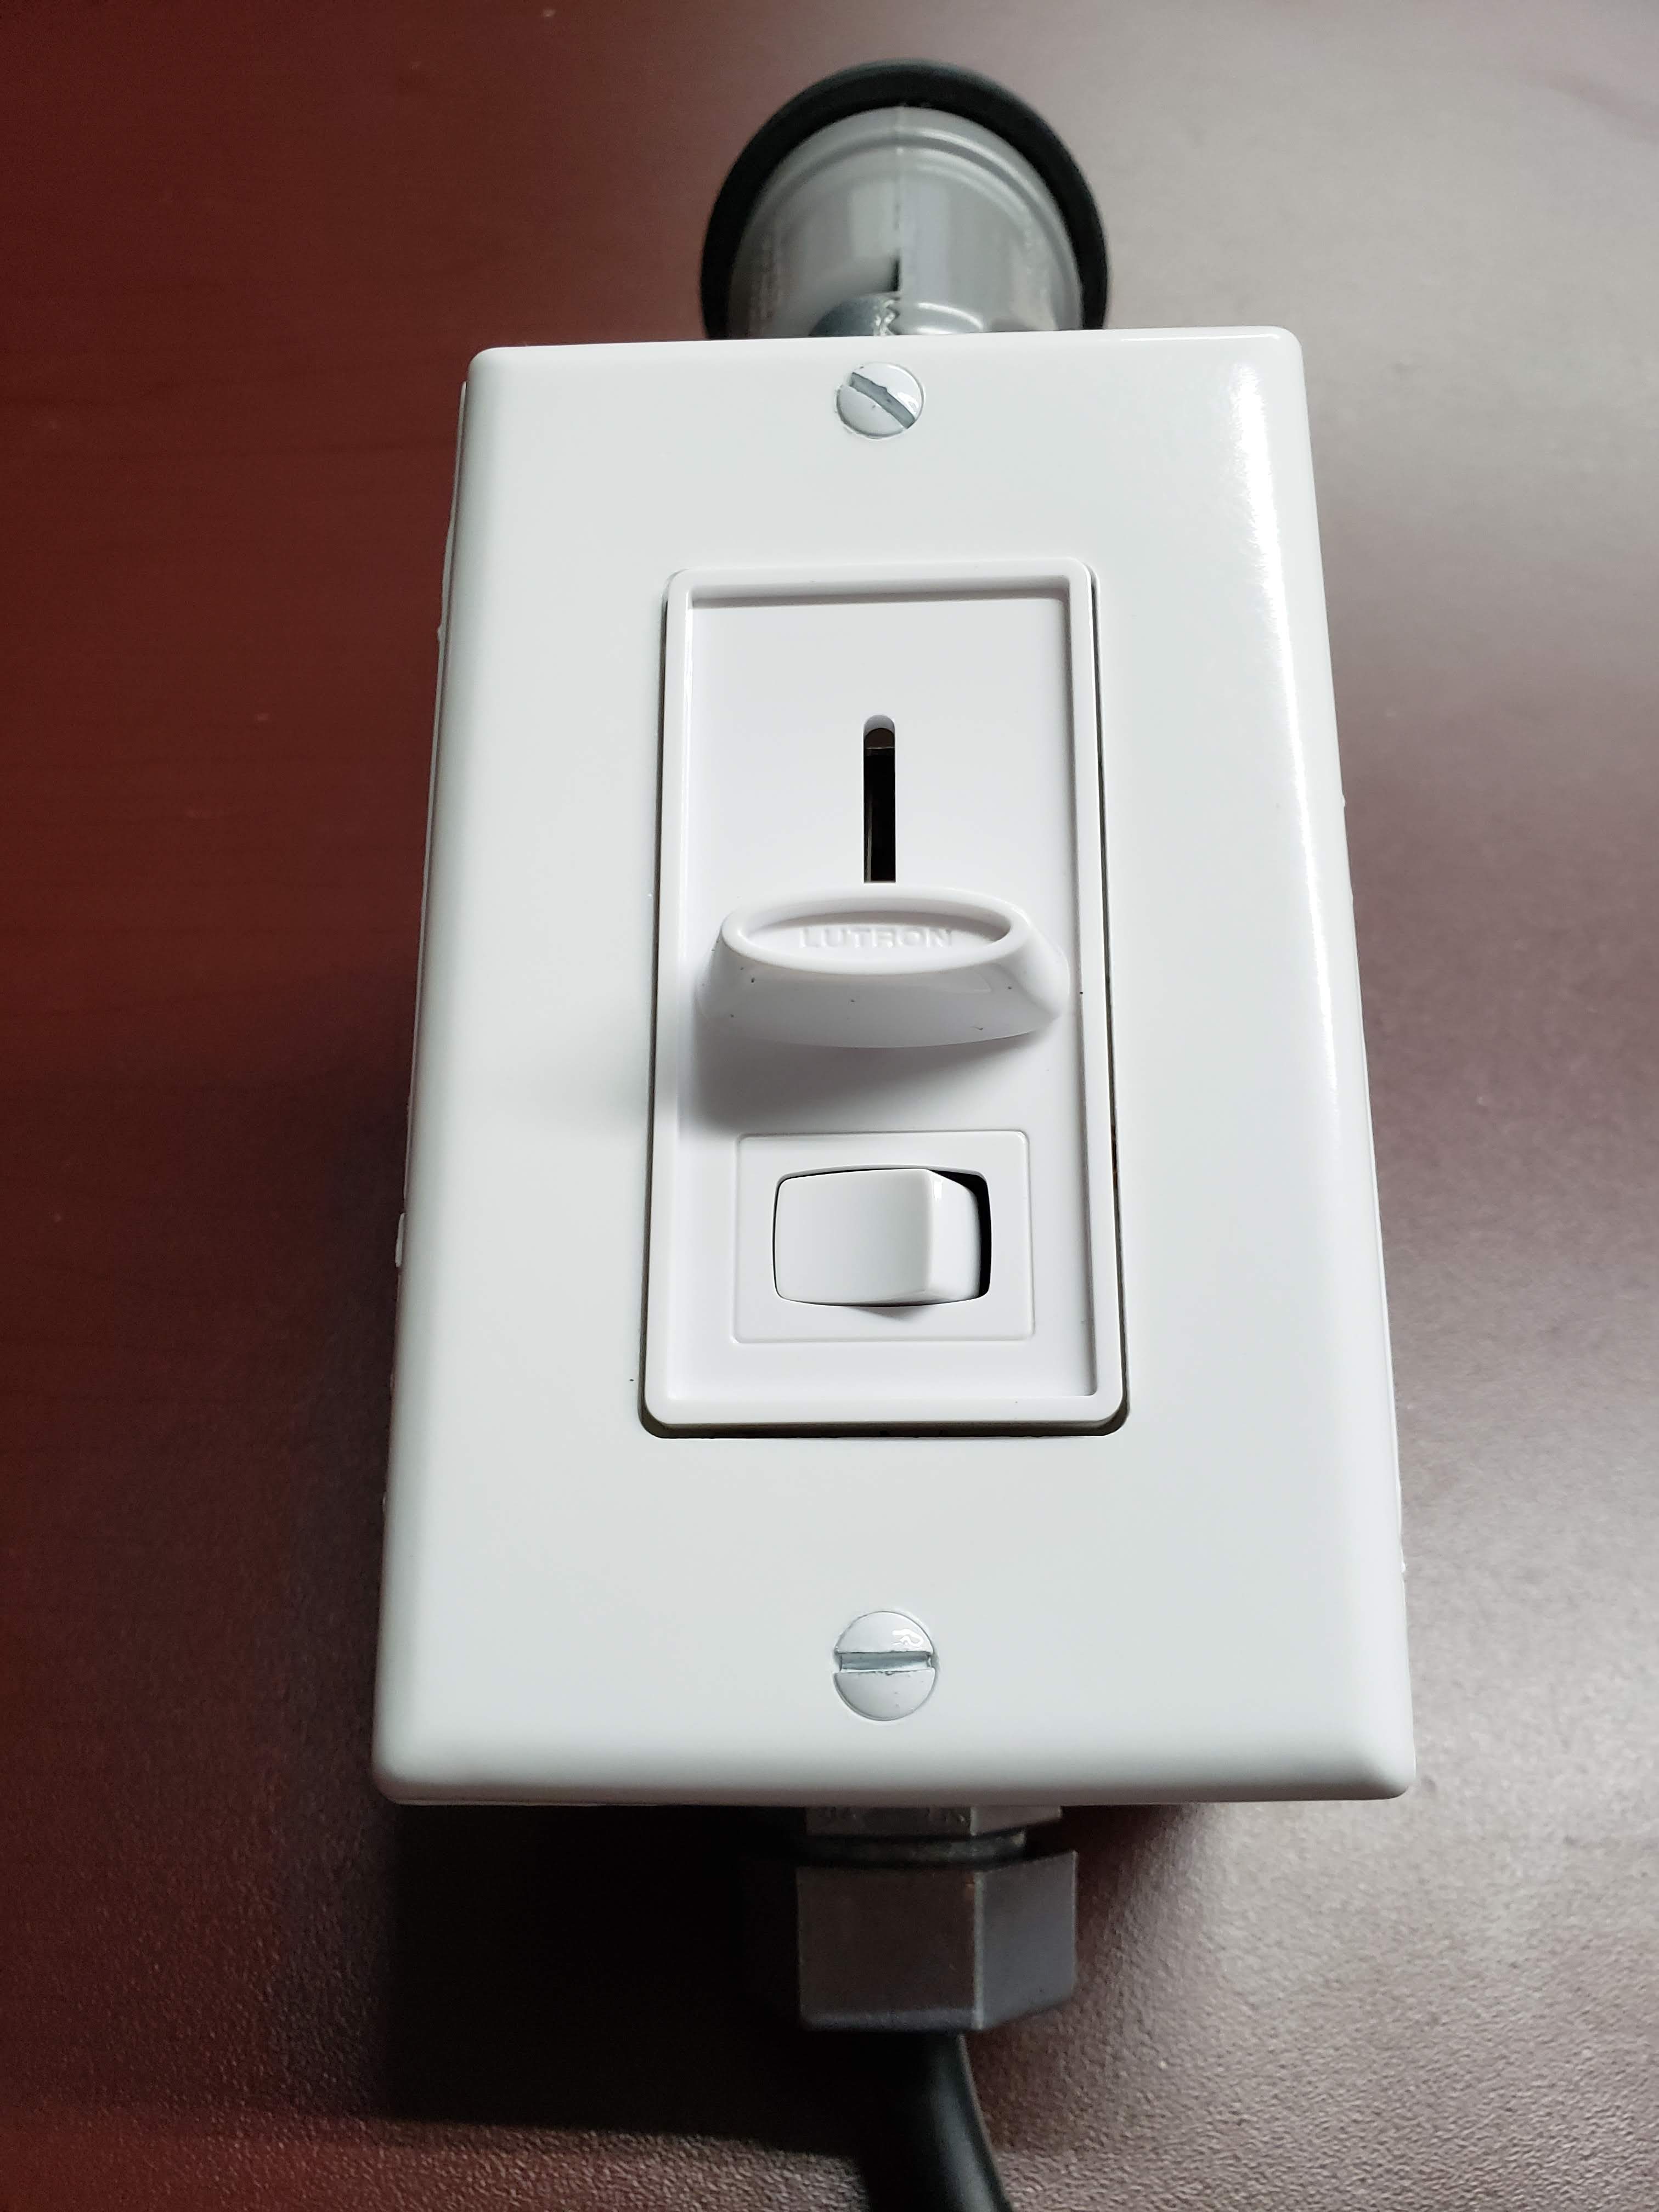
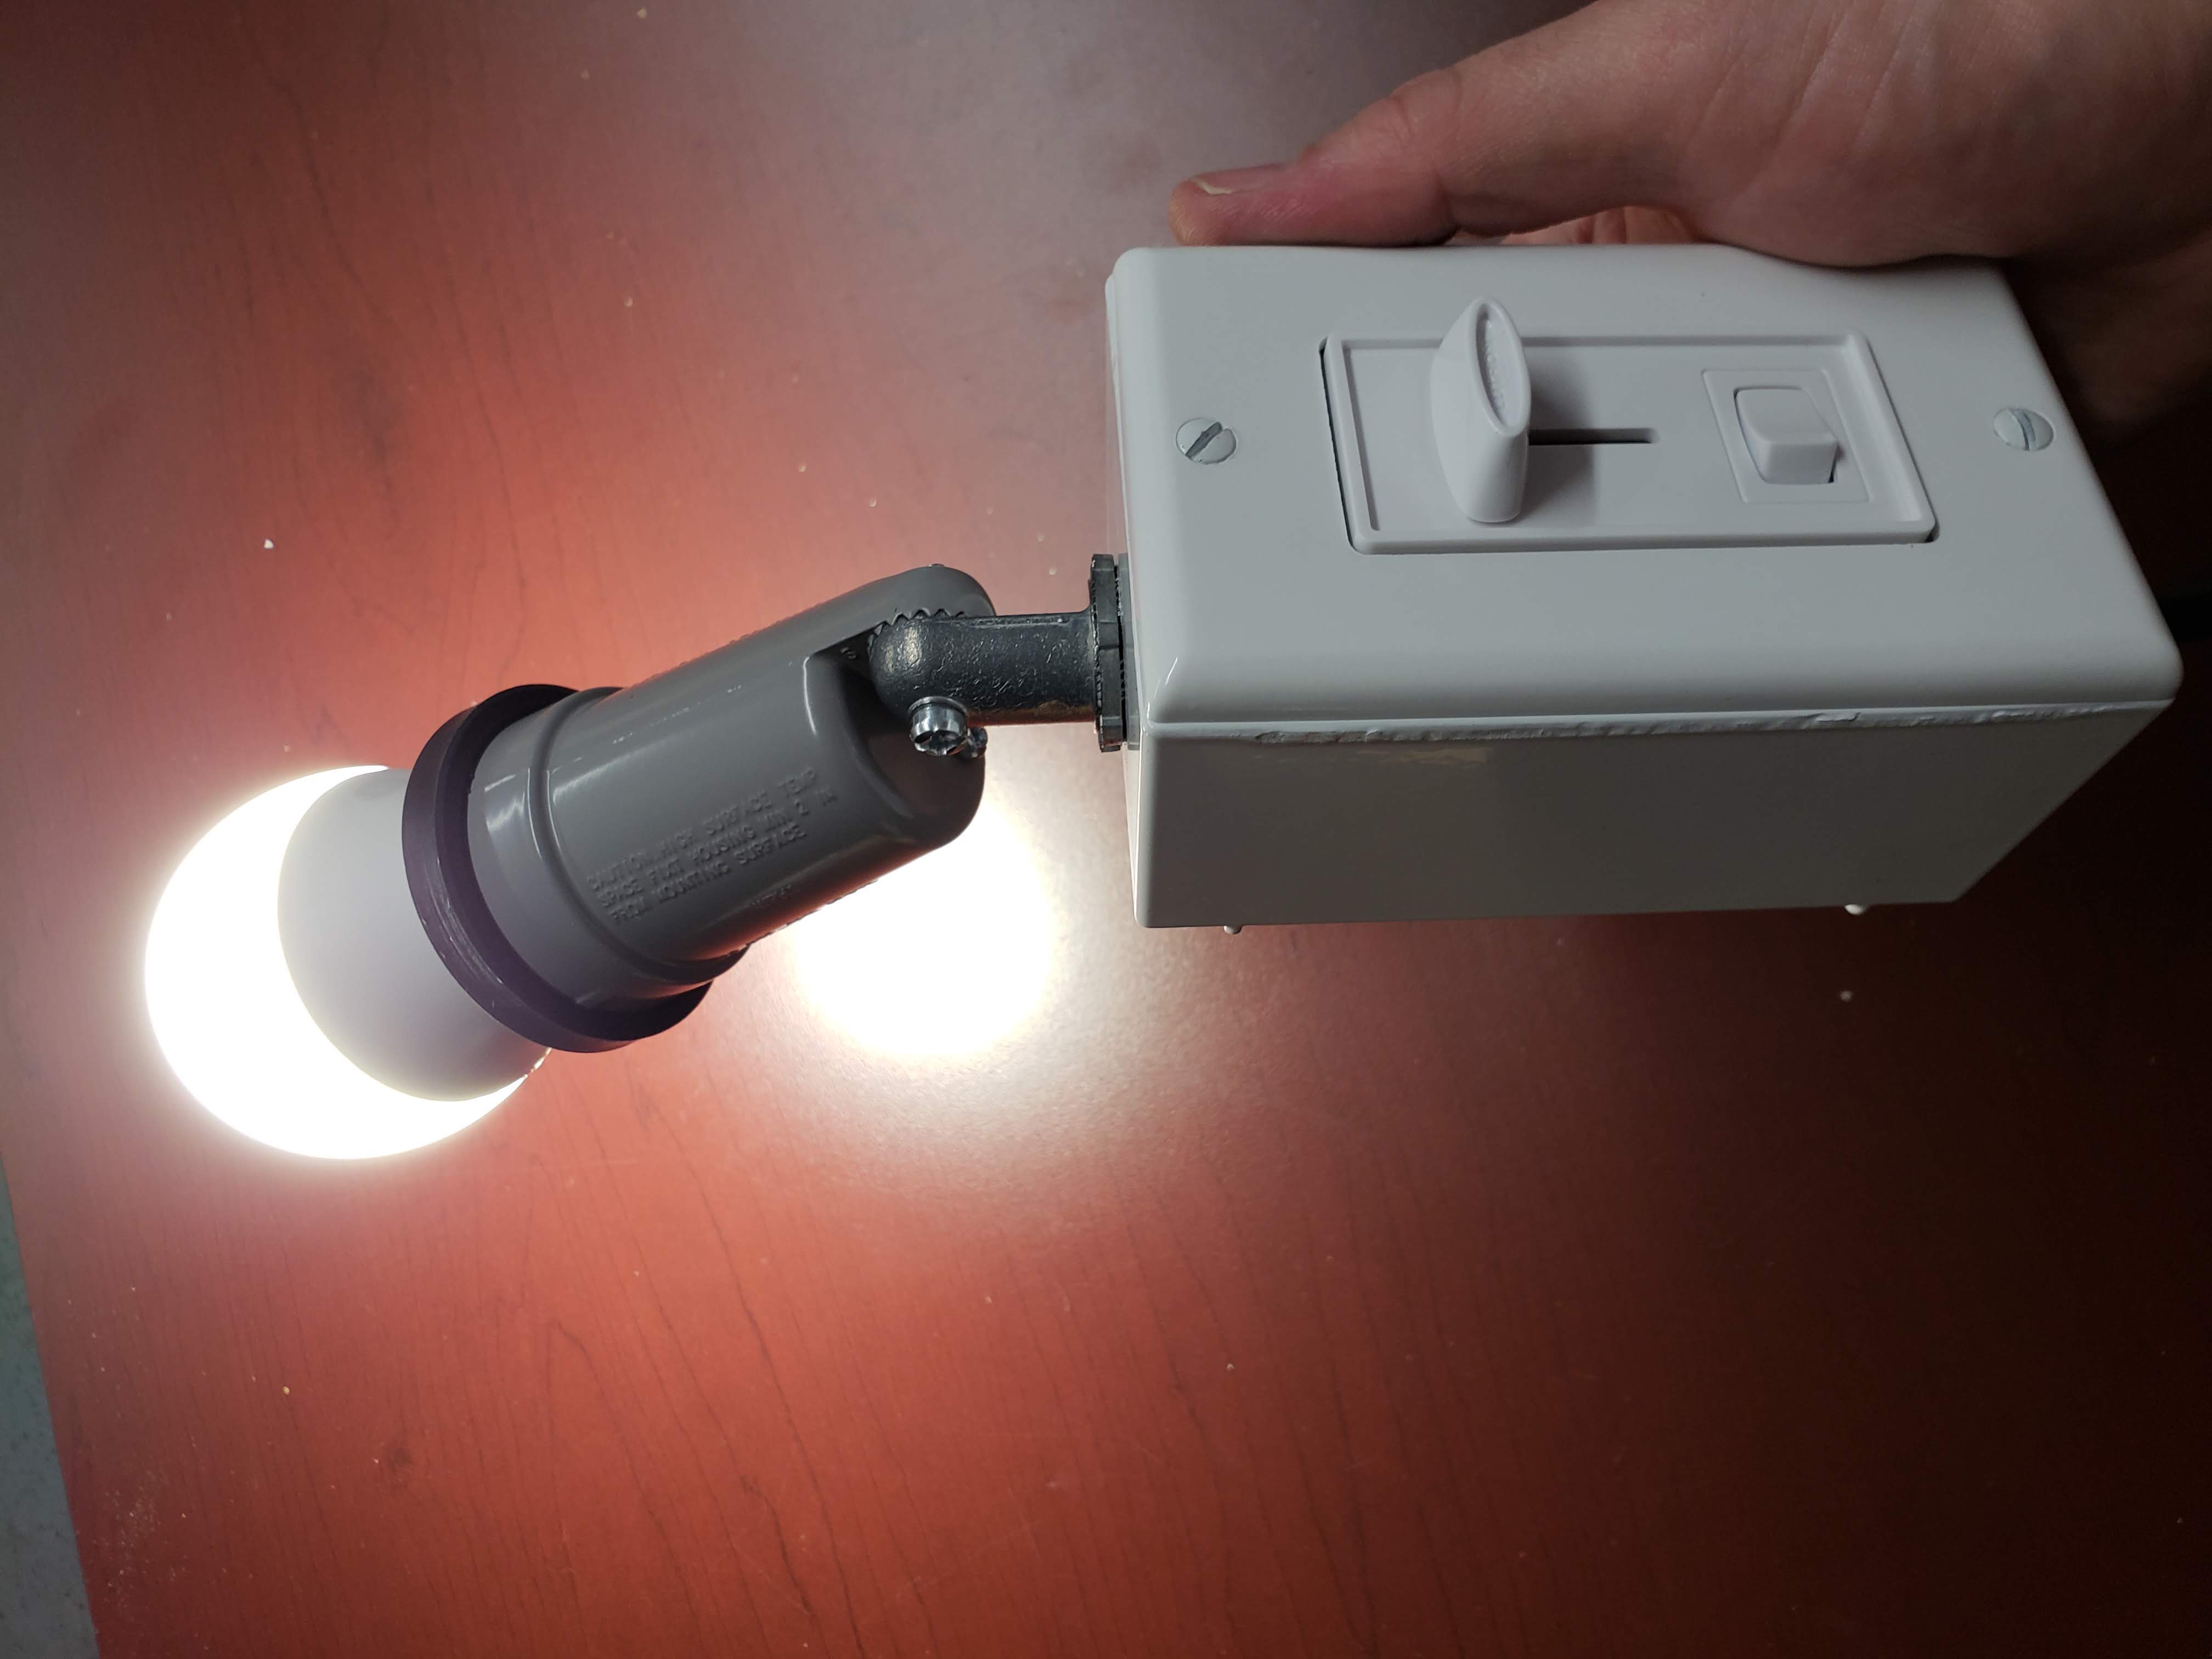
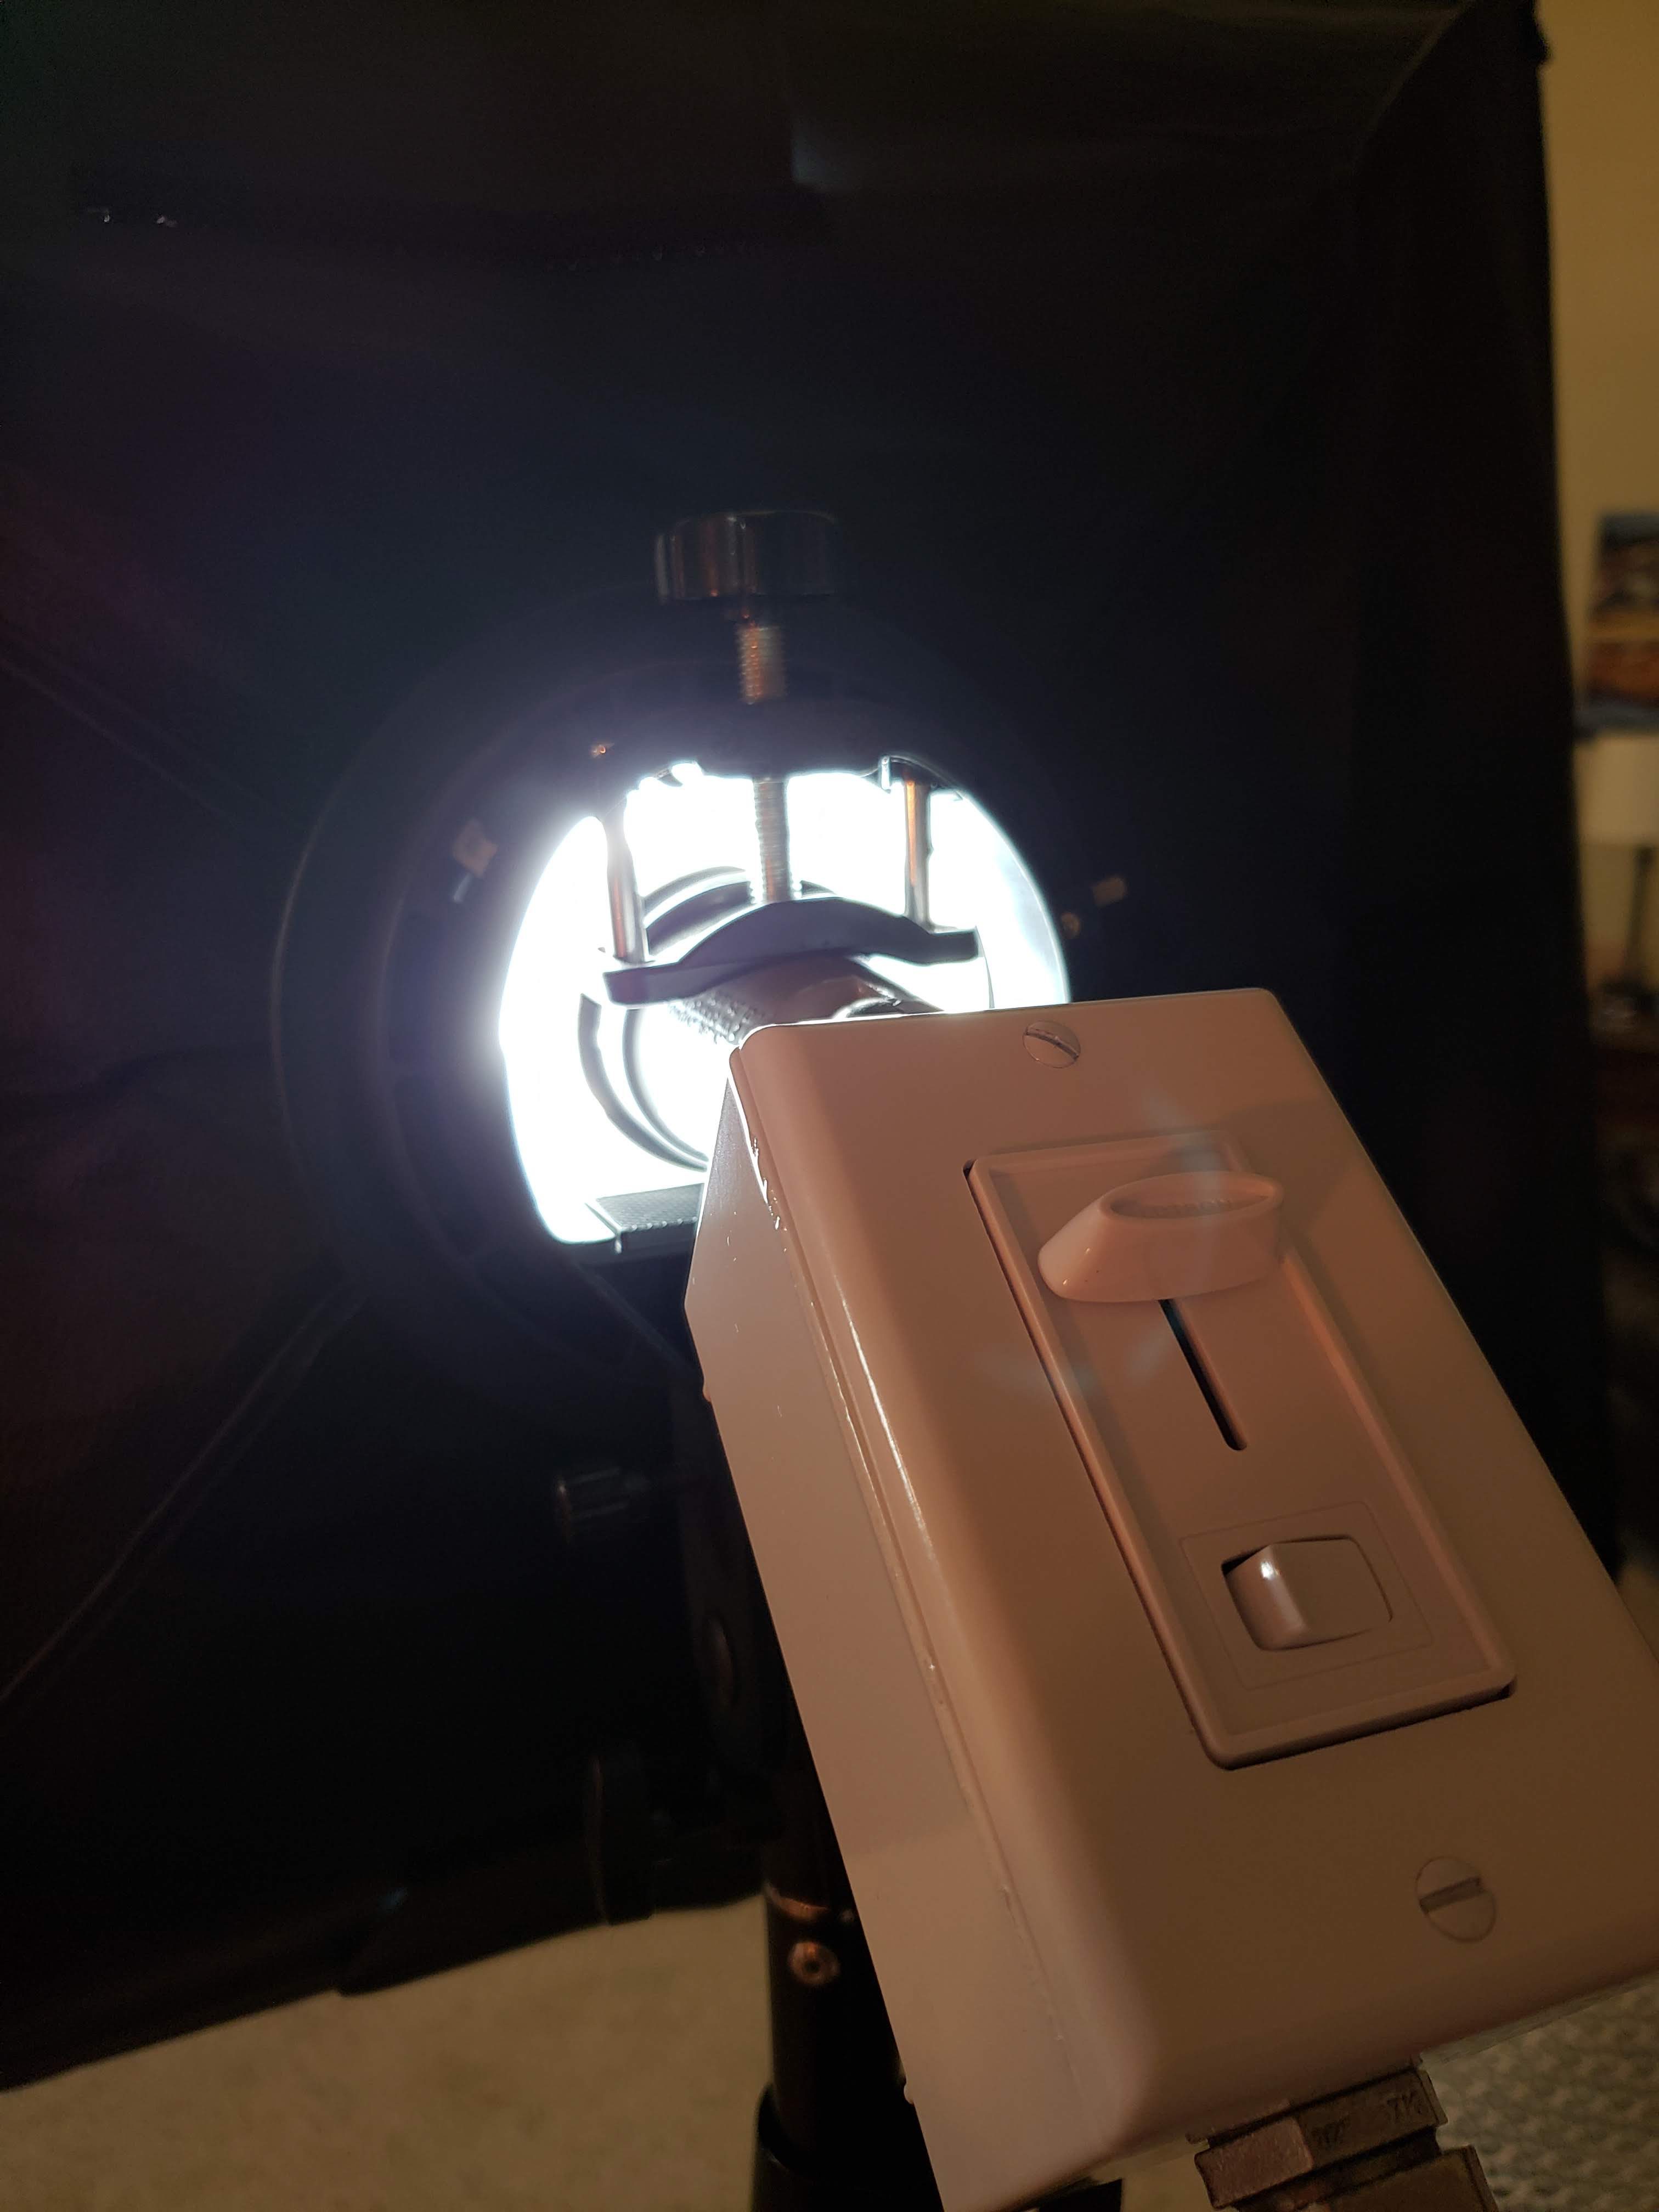
Attach the face plate over the dimmer, and you’re done!
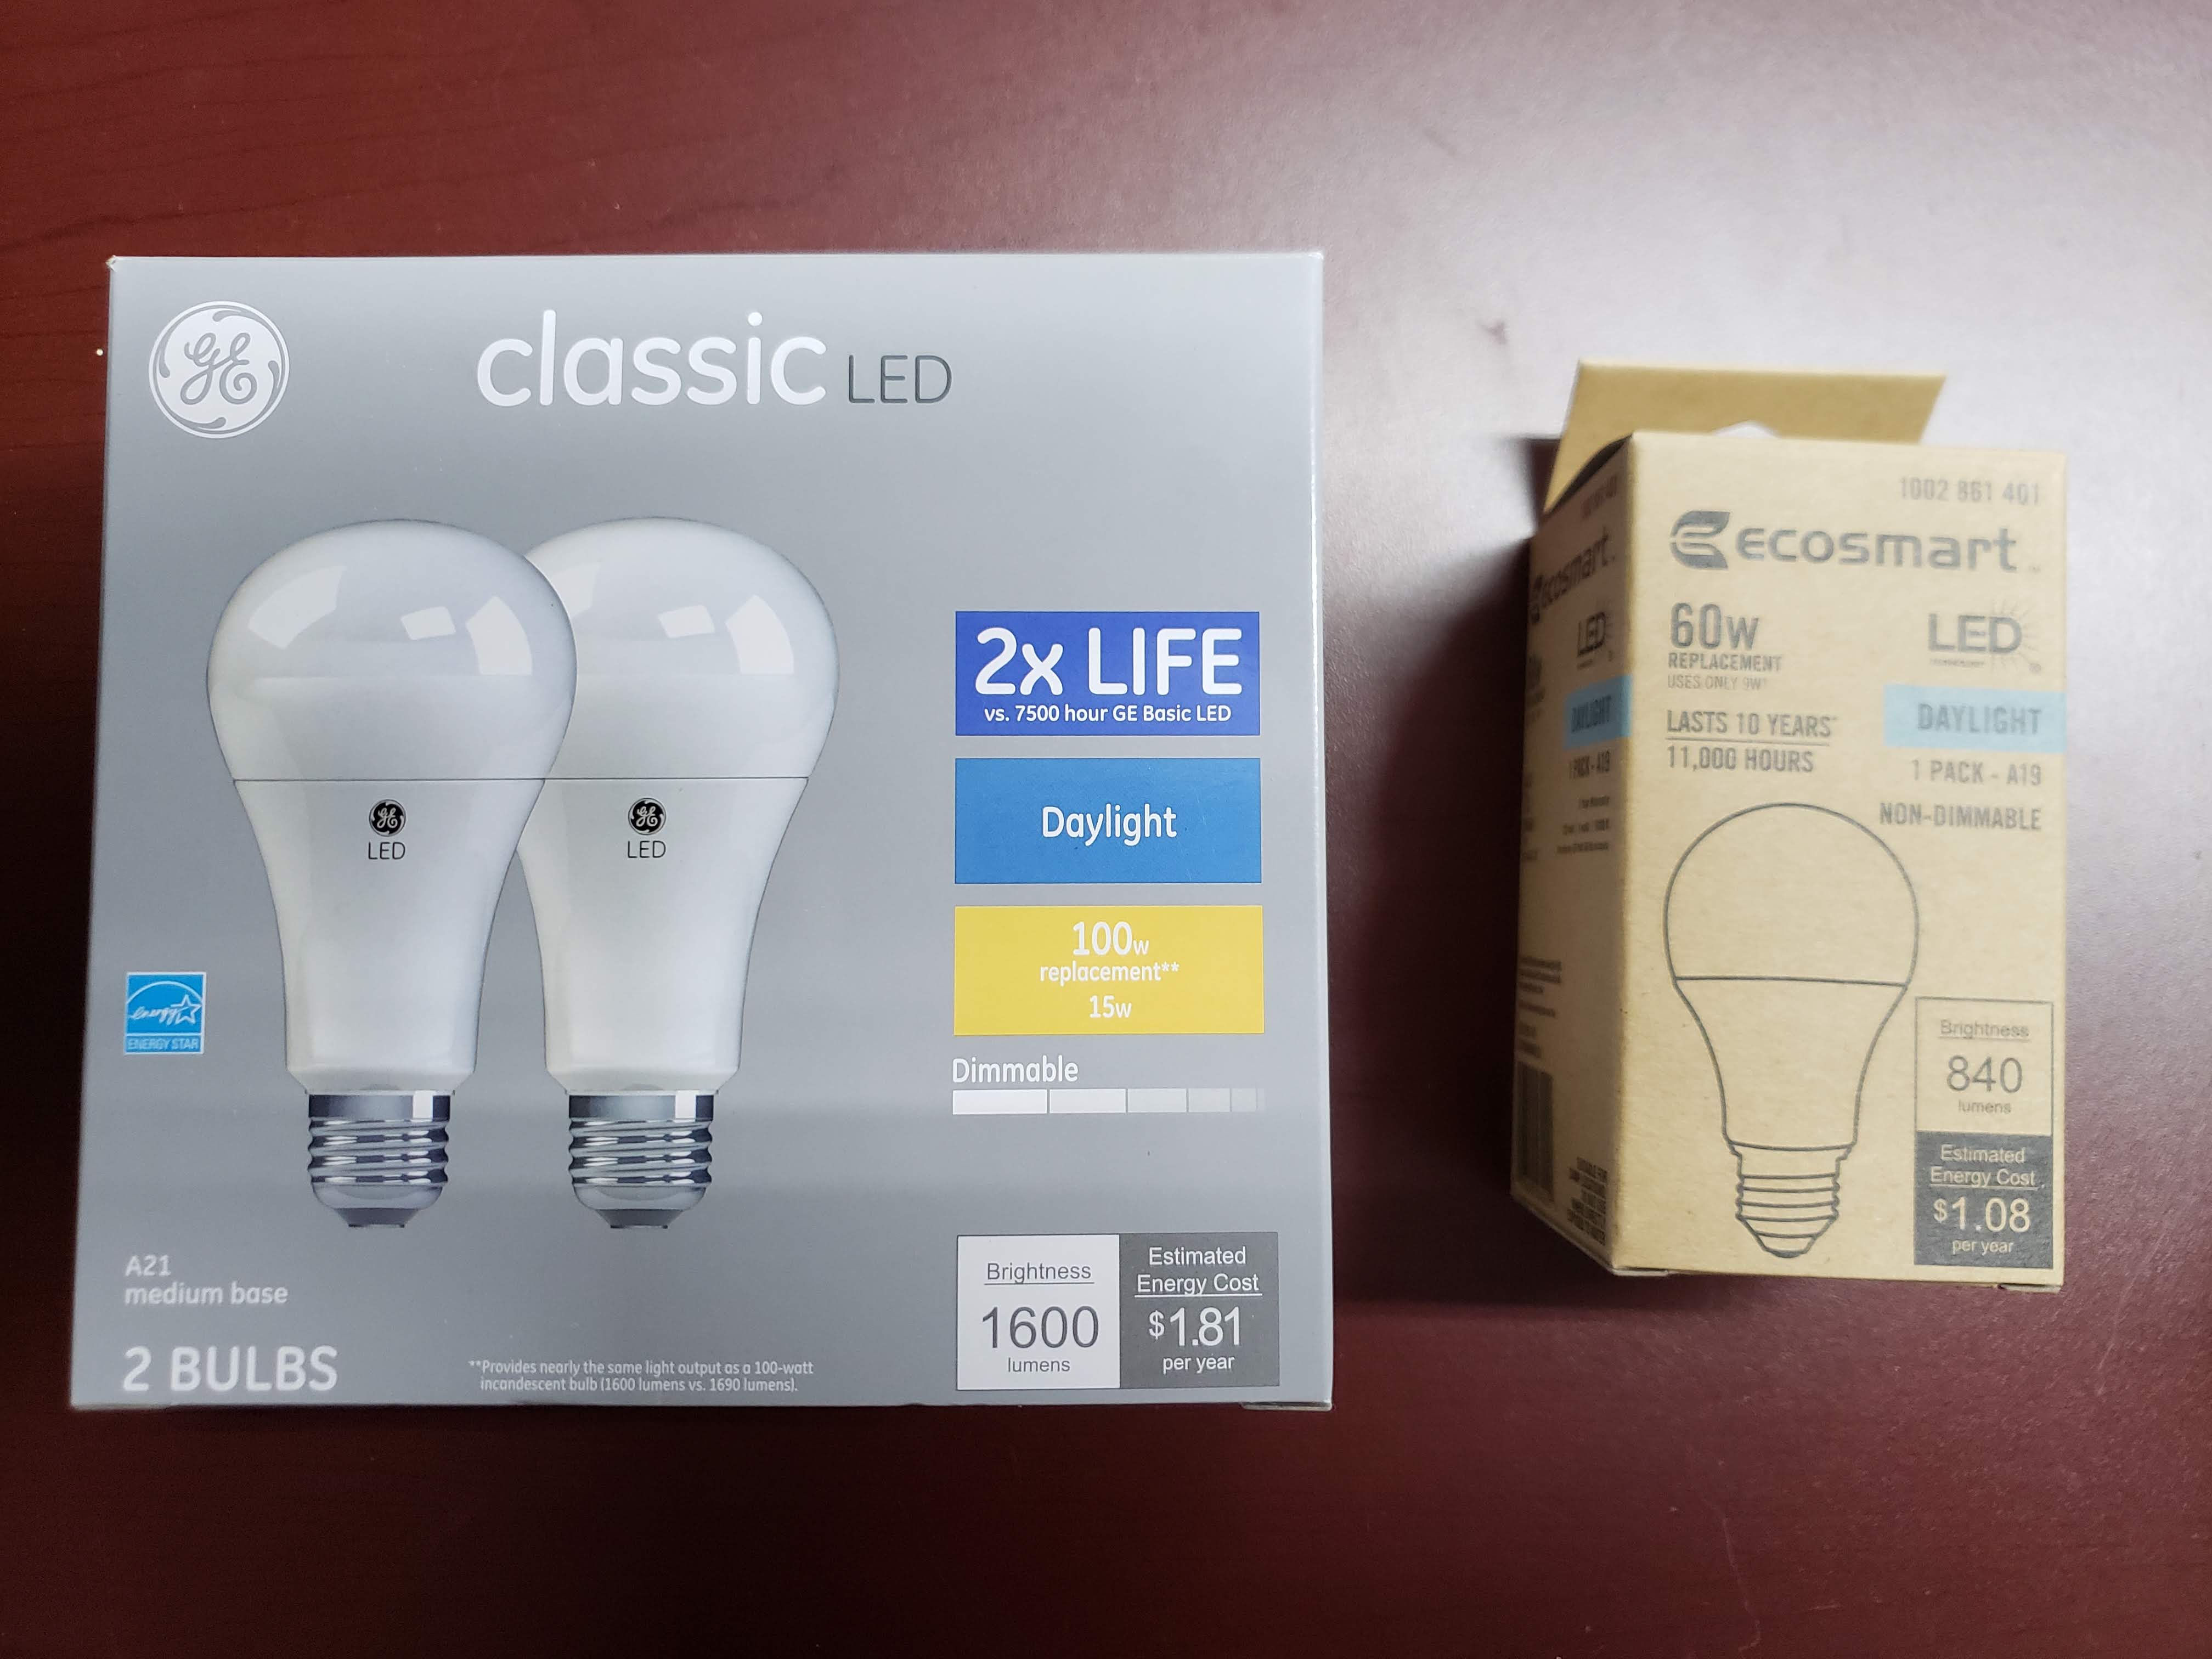
You can use whatever bulbs you want, but if you buy the same items as listed in the shopping list above, your new light should support up to 150W. These are some of the bulbs that I used.
If you found this guide helpful and want to say thanks, click the button and buy me a beer! Thanks!